I decided not to follow this version, but to create my own, simplified version, so that this could be another class taught at my Relief Society's Fabulous Friday.
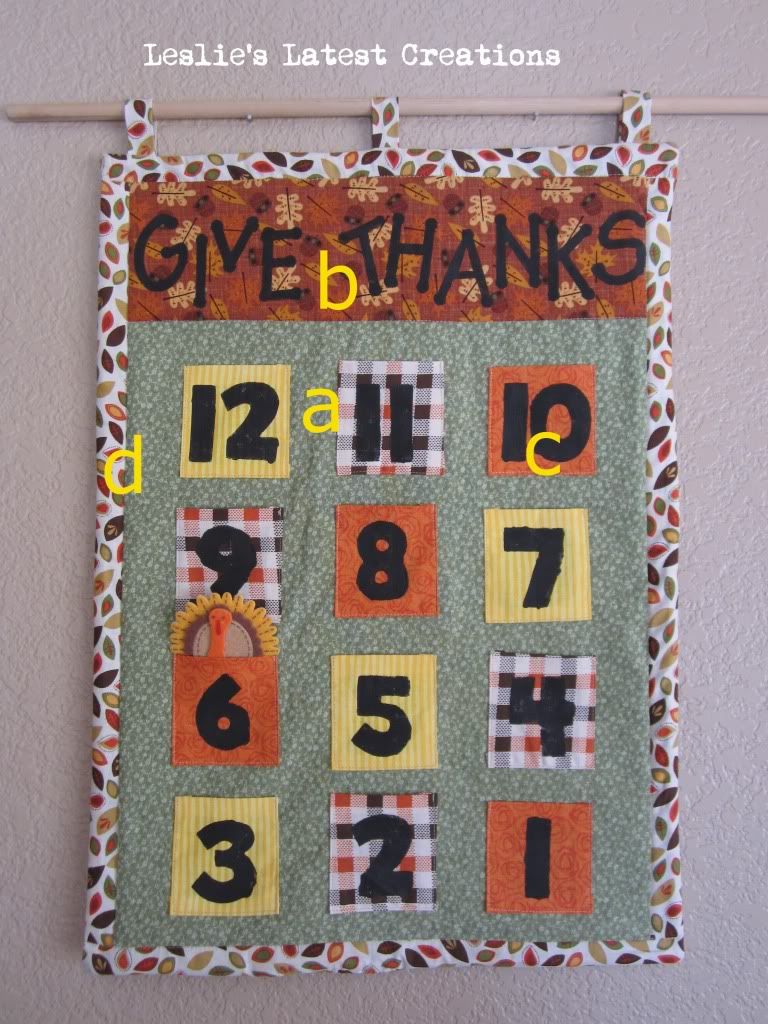
This is what I came up with:

I think this advent will really help my family increase our Thanksgiving spirit. Each day, we will pull out a gratitude/thanks quote and small activity. The kids will love it.
Would you like to make one too? Sew along with me. I am breaking the instructions down into 4 parts, and I will be posting each Saturday. We should finish the last Saturday in October, perfect timing for hanging this quilt up to enjoy the entire month of November. And please, email me links of your project! I would love to see what others come up with.
1.This week, you need to purchase your fabric and supplies.

Items Needed:
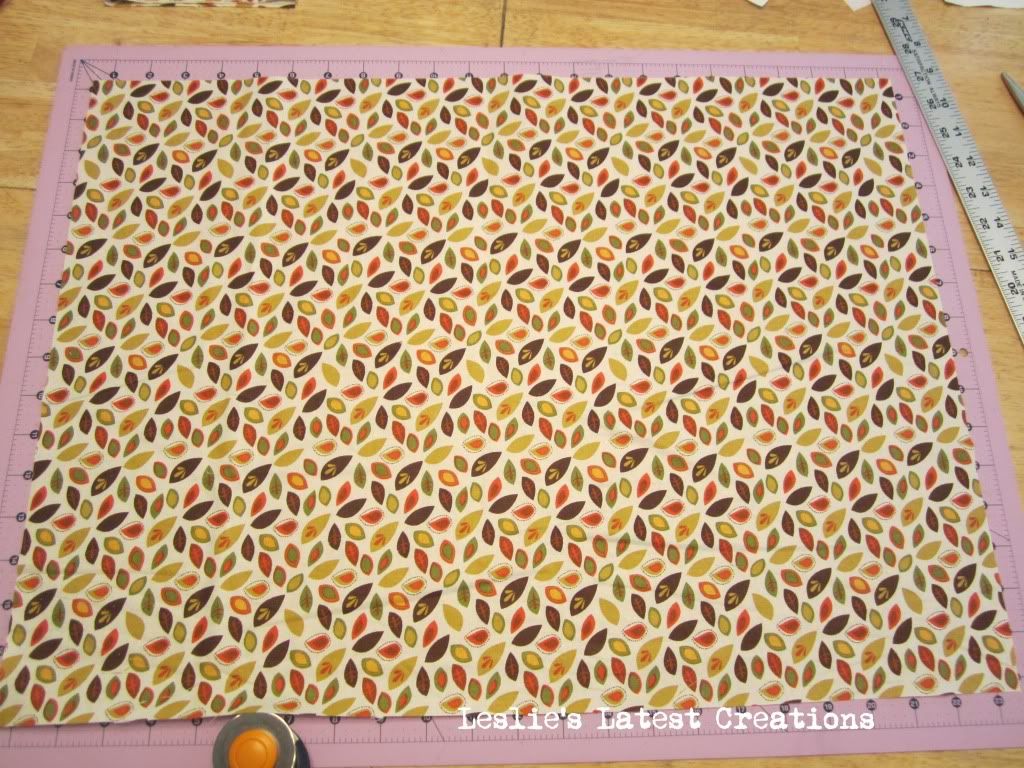
1/2 yd fabric for the back and sides (d)
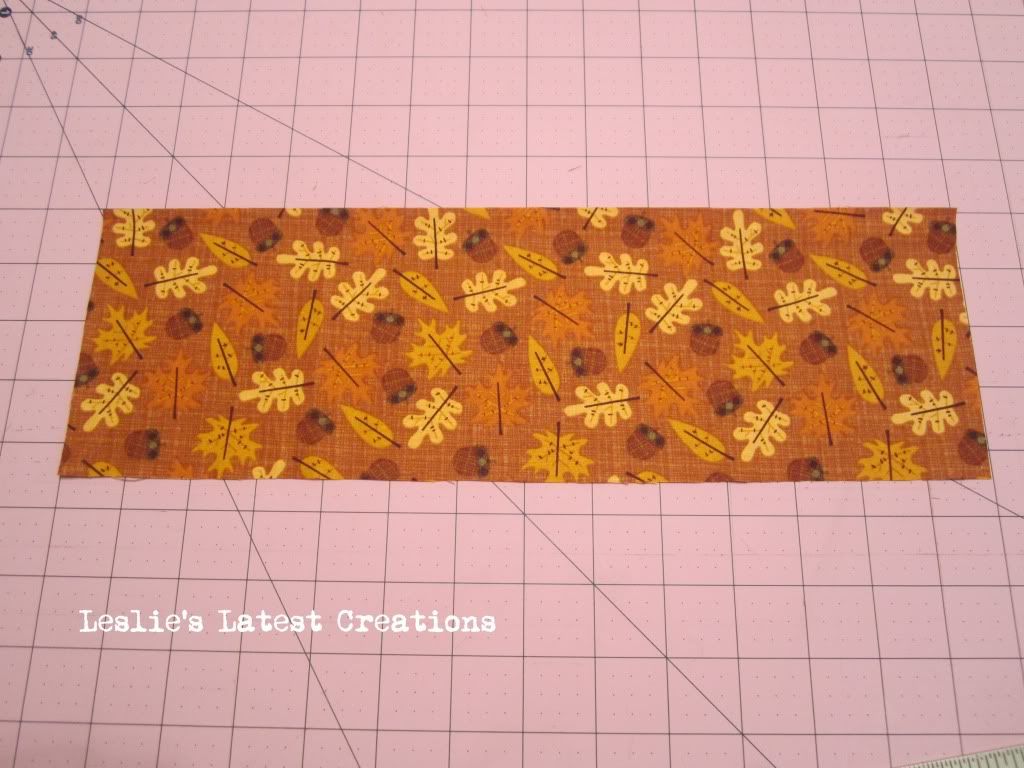
1/8 yd for the "give thanks" rectangle (b)
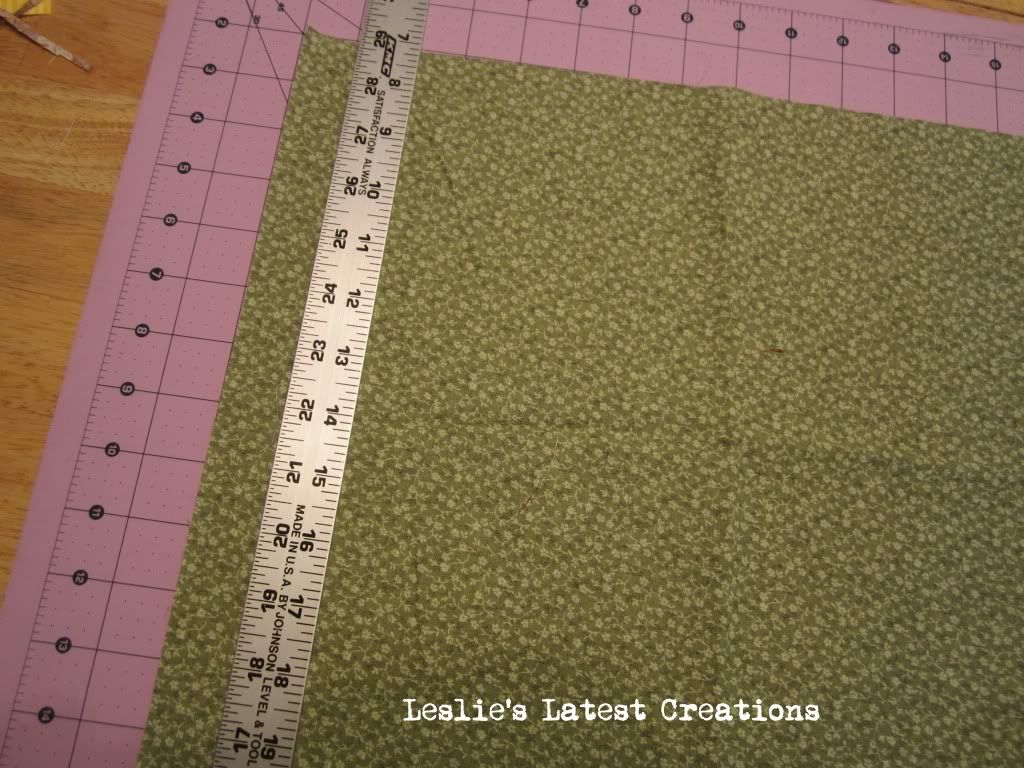
1/2 yd fabric for the background or 1 fat quarter (a)
1/8 yd for pockets (c). If you want 3 colors, like I have, you will need 3 different 1/8yd pieces. There is enough fabric with very careful cutting for 12 pockets out of 1/8yd.
1/4 in Heat n Bond hem tape
1/2 yd fusible fleece
Black fabric paint and brush
freezer paper
wooden dowel
2. Next, you need to cut out the fabric pieces for your quilt's face.
a. Using D, cut out 4 strips that are 1.5inches wide and at least 20inches across.

b. Using B, cut a piece that is 14in x 4.5in

c. Using A, cut a piece that is 14in x16.5in

3. Next, with right sides together, sew a to b, allow 1/4in seam allowance.

Open. Press seam to one side.

4. Now, sew two D strips lengthwise along side. Allow 1/4 seam. Press seam to one side when done.

Trim any strip excess off so that the edge is even.
5. Sew the remaining two D strips to the top and bottom of the quilt face, trim off any excess at the edge and press open.

You are done for this week! See you next Saturday!
Note: I will be linking up the These Awesome Parties!

1 comment:
What a great idea! Thanksgiving is the favorite holiday of half our family members and they would LOVE to have one of these hanging in our kitchen!
Post a Comment