Happy Saturday Everyone!
I hope that it has been a good one. We've been busy. Mr. Right and I cleaned out the workshed and garage today. Not the most exciting job ever, but very rewarding at the end. It's been on my to-do list for the past 2 months. But, as always, there are always other projects that are much more appealing that have a way of creeping onto my list. But today, when Mr. Right started working on it, I got the guilties and had to go out and help since 95% of the mess was mine. Out 3 car garage could only hold my car because there was just too many tools and scraps and thrifted furniture plus bikes and strollers in the way. A good sorting, plus putting those tools and the furniture in the shed cleared the way. Extra bikes and strollers are up in the rafters or on pulleys. And now, we can easily fit both of our vehicles plus several bikes and strollers in the garage. And, even with all the tools and furniture in my shed, with all the tools put away on shelves, I can actually walk into it and work now!
So are you ready to finish sewing the quilt today?
If you've missed the first 2 parts, go ahead and catch up. There is plenty of time to finish this quilt before November.
Thanksgiving Advent Quilt, Part 1
Thanksgiving Advent Quilt, Part 2
Now, if you've completed parts 1 and 2, your quilt face is completed. Today, we will add the batting, sew on the quilt back and tabs, and quilt the top.
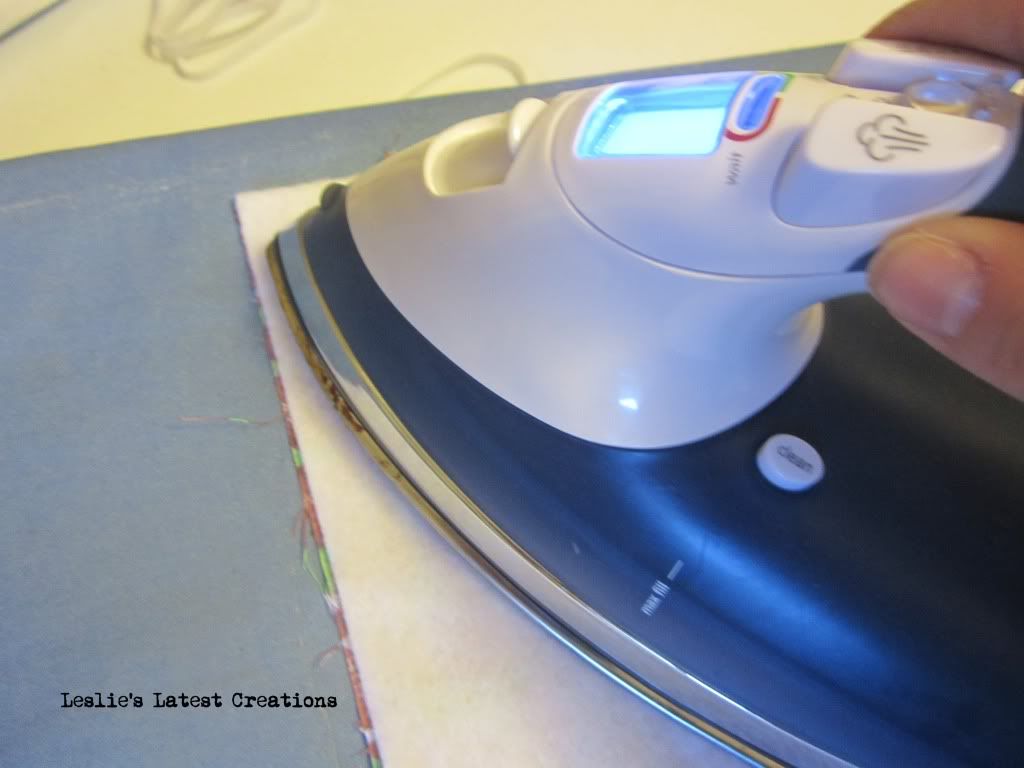
First, take your fusible fleece and cut a piece that is the size of your quilt face. Then, iron it on.
Since this is a wall quilt, we can use the fusible fleece instead of regular, heavy batting. (this quilt isn't going to keep anybody warm!)

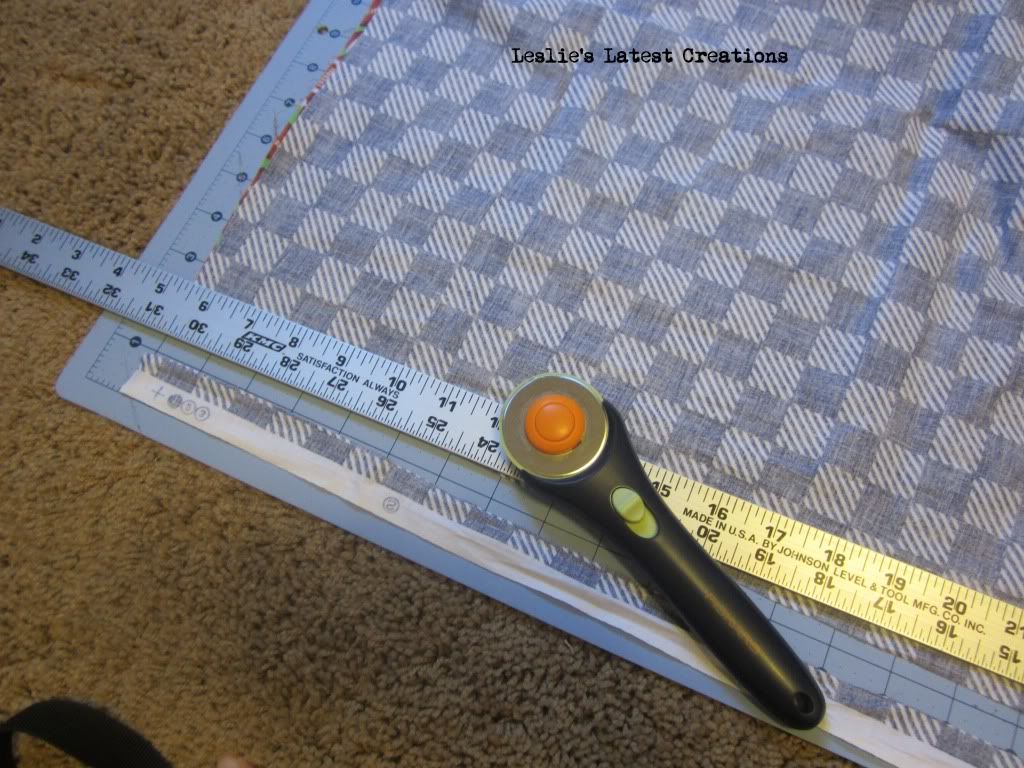
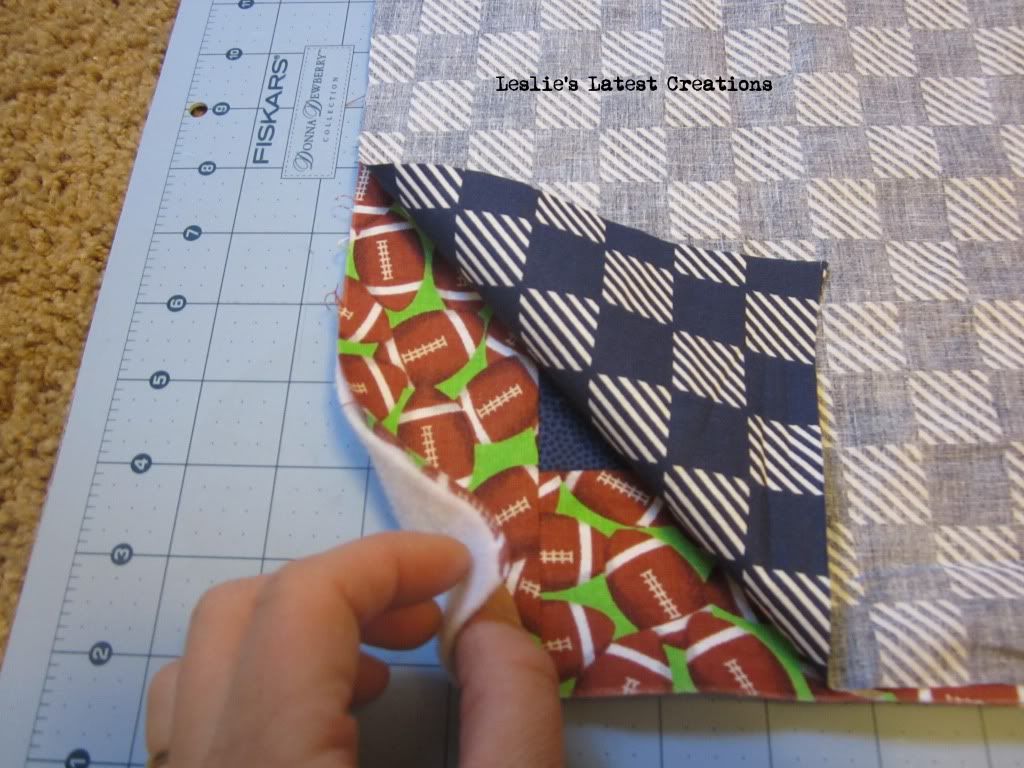
2. Next, cut the back to match the quilt face. (In these pictures, I am actually working on a different quilt. I forgot to take photos of the advent quilt while working on it.)

Now, the backing should match up perfectly with the quilt face and the fused on fleece.

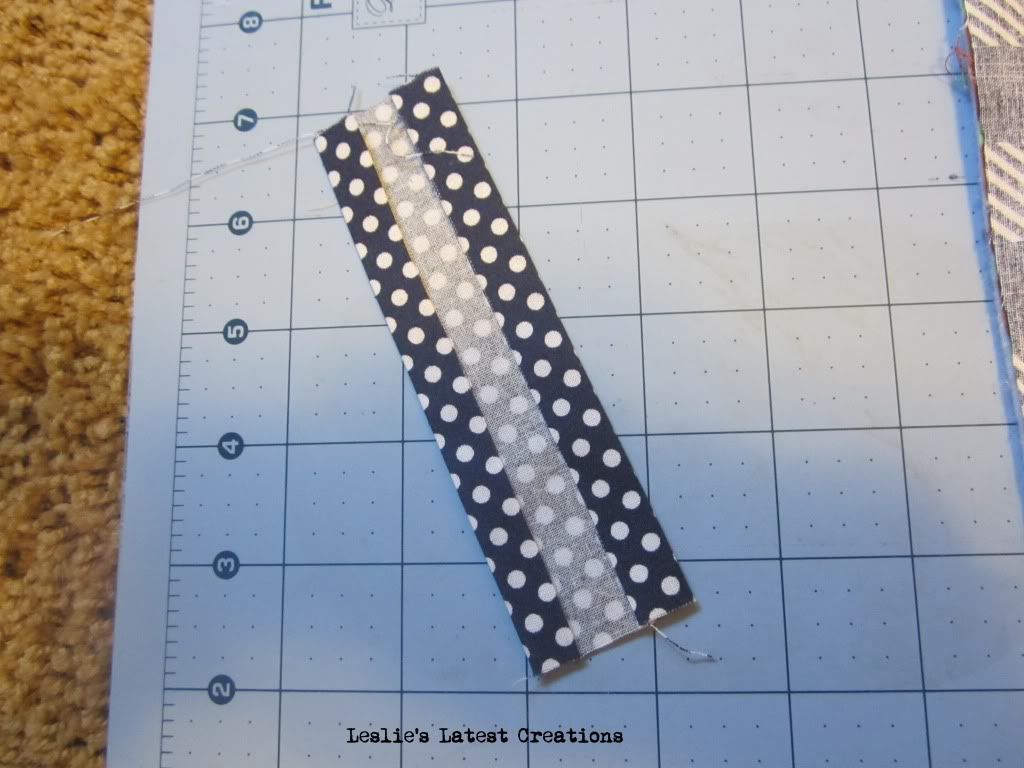
3. To make your tabs, cut strips and iron on Heat N Bond hem tape to the edges.

4. Fold in half and pin. This is your tab. I made three tabs.

5. Now figure out your spacing. I place one tab in the center of the quilt, then the remain tabs on either end, about 1-2 inches in.

6. Pin the back to the quilt face, right sides together.

7. Sew the quilt together, 1/4in seams. Leave a samll 6-8in gap on the bottom edge. When the seam is completed, you will turn the quilt right side out through this hole.

8. Press the edge seam open and quilt flat!

9. Hand sew the opening closed.

10. Now it is time to "quilt" the quilt. I "stitch in the ditch" along all of the seams. Simply line up your needle with the edges of all of the pieces. Then carefully sew down the length.

The quilt is now complete and ready to hang up!

For the turkey I'm using as a marker, I used a felt sticker I purchased at Michaels.
Next Saturday, I will share the notes and activities that I will be placing in each of the 12 squares.

No comments:
Post a Comment