Are you ready to work on your own Advent Quilt?

Click Here for Part 1.
Today, we are going to sew on the pockets and stencil in the numbers and the Give Thanks!
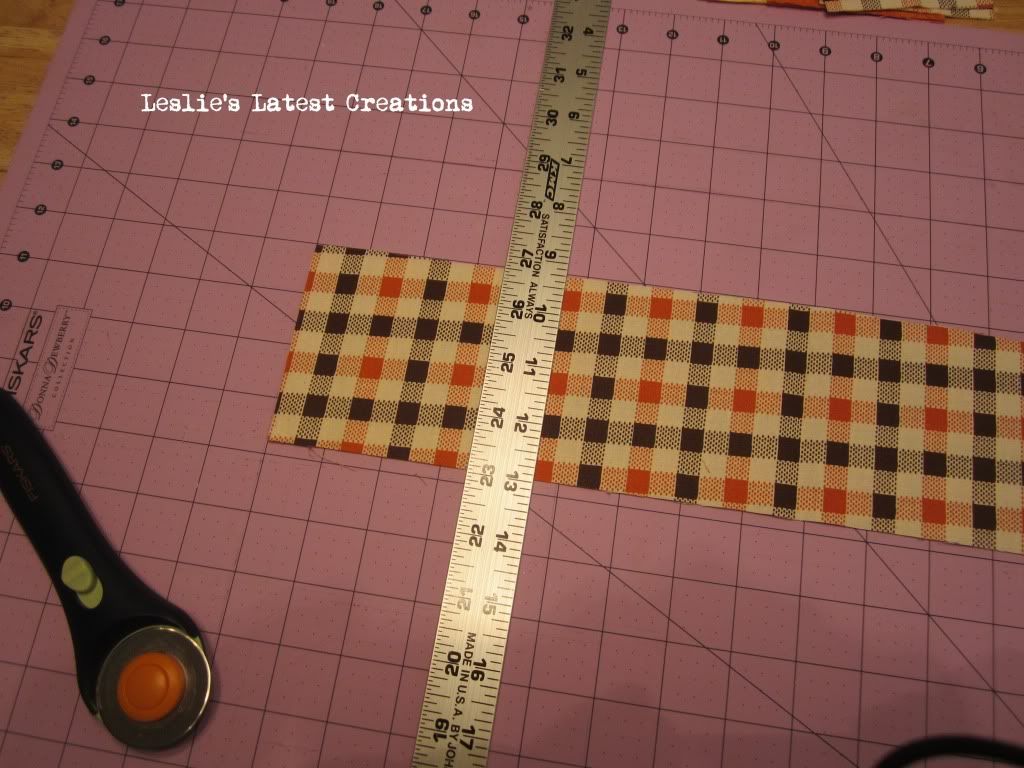
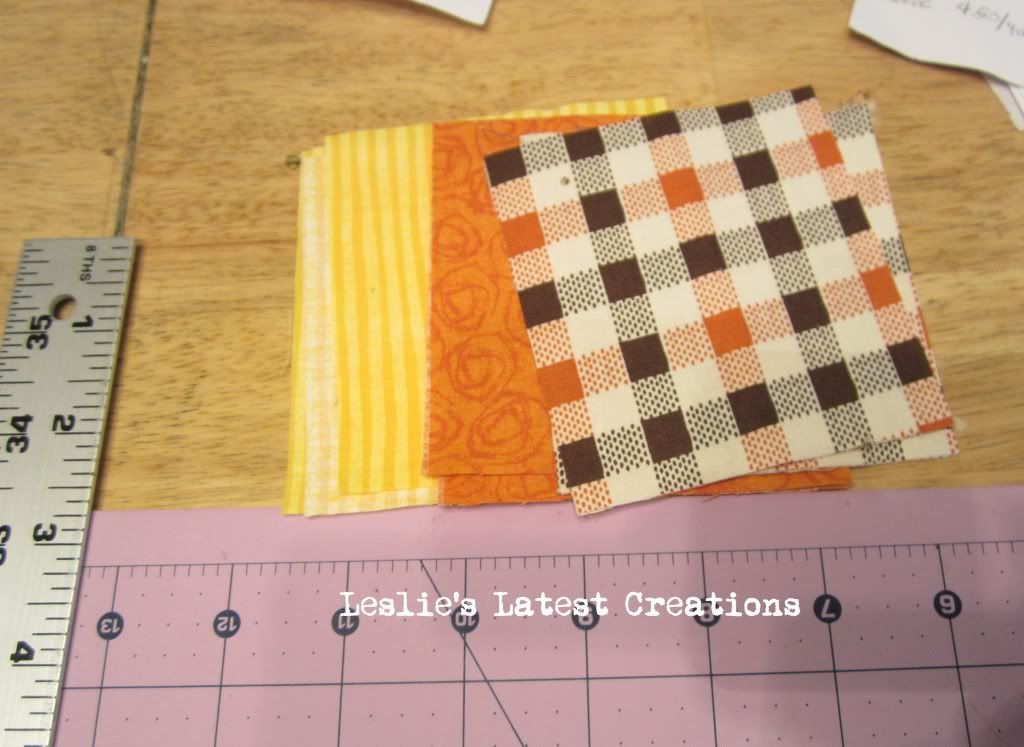
1. First, you need to cut out 12 rectangles that measure 3 3/4 inch x 3 1/2 inches.

For my quilt, I had 3 fabrics, so I cut out 4 rectangles from each.

2. Ncxt, take one rectangle and on the long side, iron down 1/4 inch with Heat N Bond hem tape. This creates an easy finished edge. We don't need to worry about fraying since this is a decoration and not an article of clothing that will be washed. This will be the top opening of each pocket.

3. Now, go around on each side and iron down 1/4 inch. Your fabric should now look like this on the wrong side.

Repeat this for all 12 rectangles.

4. Arrange your pockets on the quilt face into 3 columns, 4 rows each. Pin each pocket in place, making sure that the side with the hem tape is facing up.

5. Now, carefully top stitch around the sides and bottom edges, as close as you can to the edge, leaving the top side open. Now you have a pocket! Repeat this on all 12 rectangles.


6. Now it's time to create freezer paper stencils. If you have a cricut and a silhouette, simply print numbers 1-12 and "Give Thanks" onto freezer paper. If you have a die-cut machine, punch these out.
I don't have a cricut or silhouette. I don't have a die-cut machine either. However, my local scrapbook supply store has a project room with hundreds of die cuts anyone can use. So, I did! If you don't have access to these things, you can always draw your letters and numbers and then cut them out by hand.
The paper side of the freezer paper will be the top of the stencil, and waxy side will be the bottom. You won't be using the pieces you cut out, but rather the negative. This is your stencil!
7. Carefully place your stencils onto your fabric, waxy side down, and IRON in place. The wax melts to the fabric, holding the stencil in place.

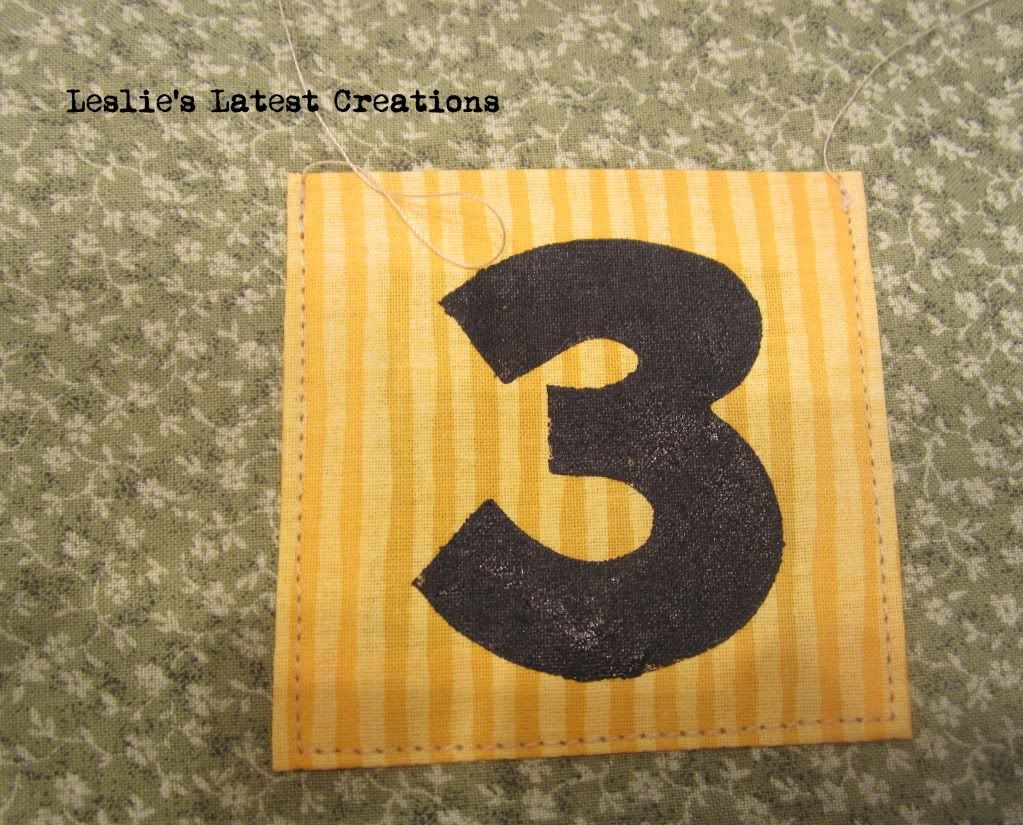
8. Paint your numbers and "Give Thanks" with fabric paint.

9. After the paint has dried for a few minutes, you can carefully peel the paper off!

There will be no waxy residue left, just a beautiful stencil!
Allow the paint to fully dry. This can take a couple of hours.

That's all for today. I will see you next week!
I will be participating in these Parties this week.

2 comments:
I can't wait to see more!
Thanks for linking up for this weeks Pinteresting Party.
Love the idea of an advent calendar for Thanksgiving. I have pinned this and am visiting from a Pinteresting Party. Vicky from www.messforless.net
Post a Comment