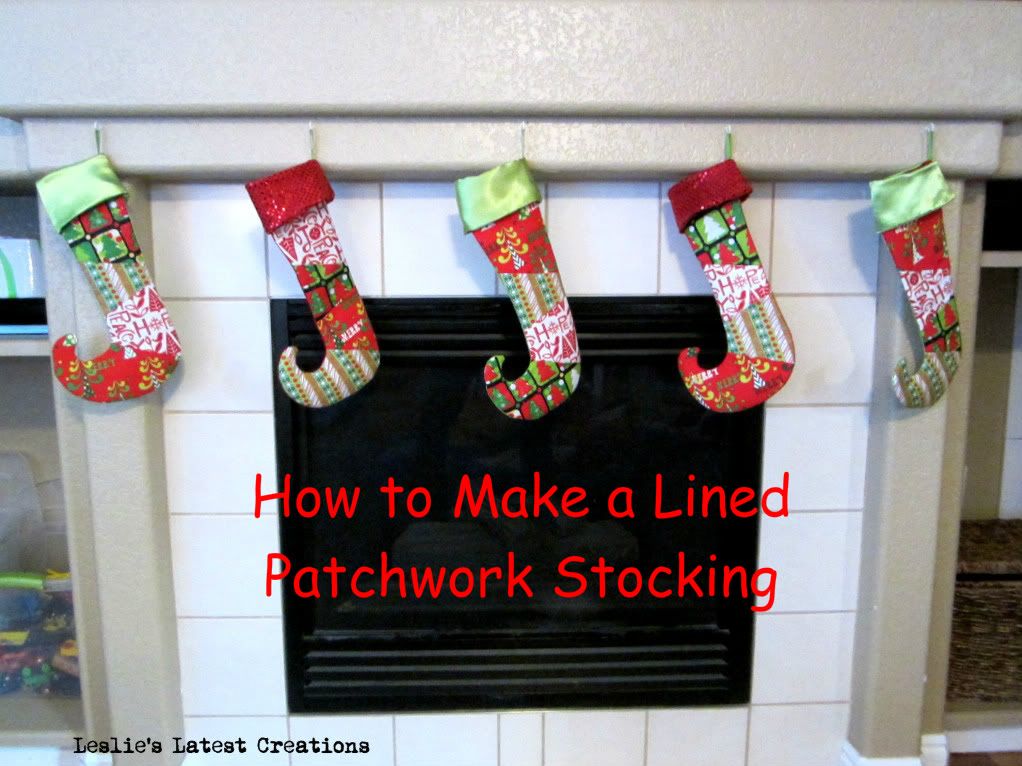
Want to make your own?
Supplies Needed:
3-5 different fabrics, depending on how many pieces for want. To make 5 stockings, (plus a little extra in case I need to make another in a few years) I needed about 1/4 yard of each.
Cuff fabric- I used green satin and red sequins, but I needed about 1/2 total for all of the stockings.
Backing: I backed mine with red satin. I used about 1 yard and it was plenty.
Fusible Fleece
Lining Fabric
Ribbon
1. First, draw your desired stocking shape. I made mine on the smaller side, since Santa has a stocking budget at our house. These are just big enough to fit a clementine orange, some candy and a few lego guys and matchbox cars.
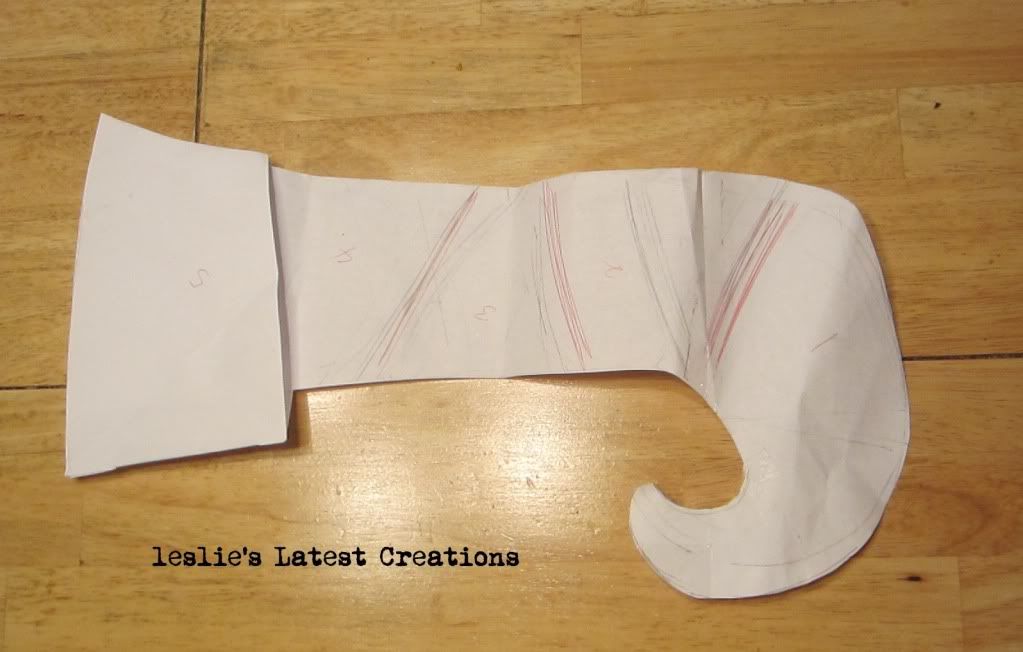
2. After drawing the sock, cut it into the desired patchwork pieces.
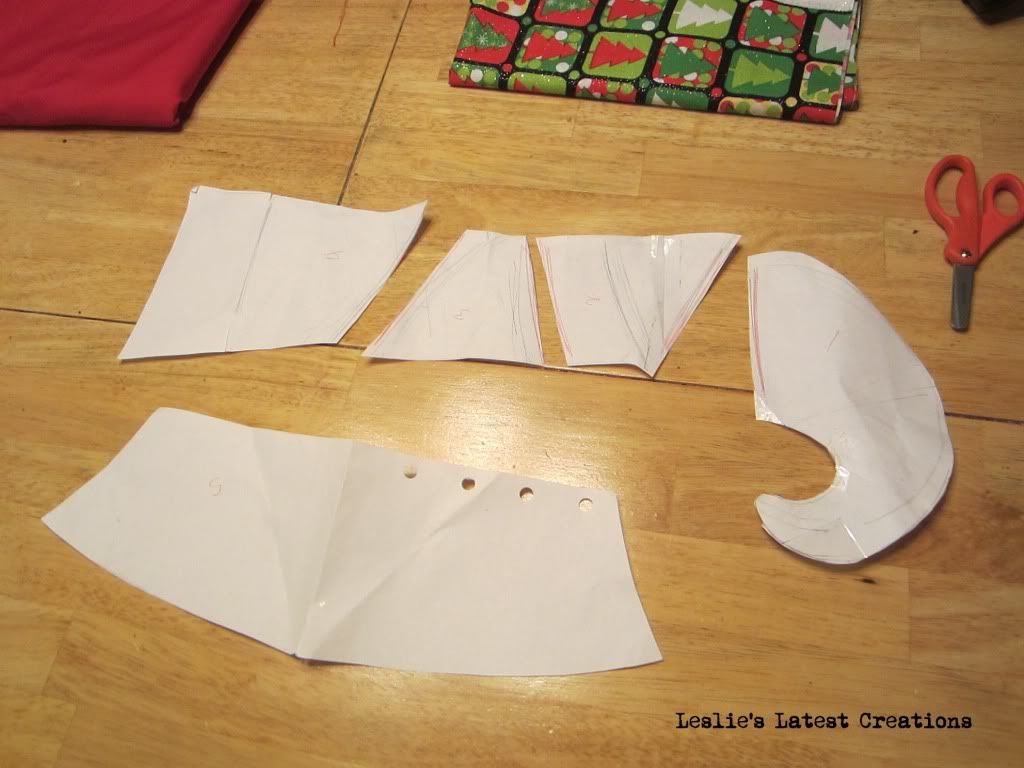
3. Pick coordinating fabrics and cut them out with the patterns you just created.
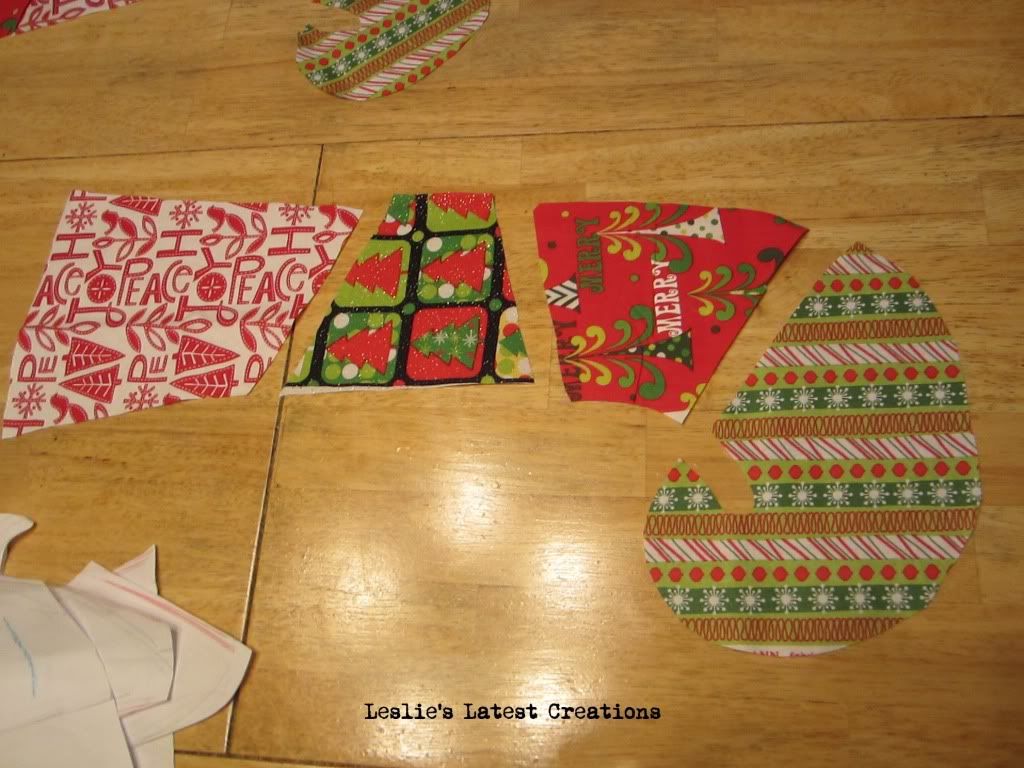
4. Sew them together, using a 1/4inch seam. Press flat.
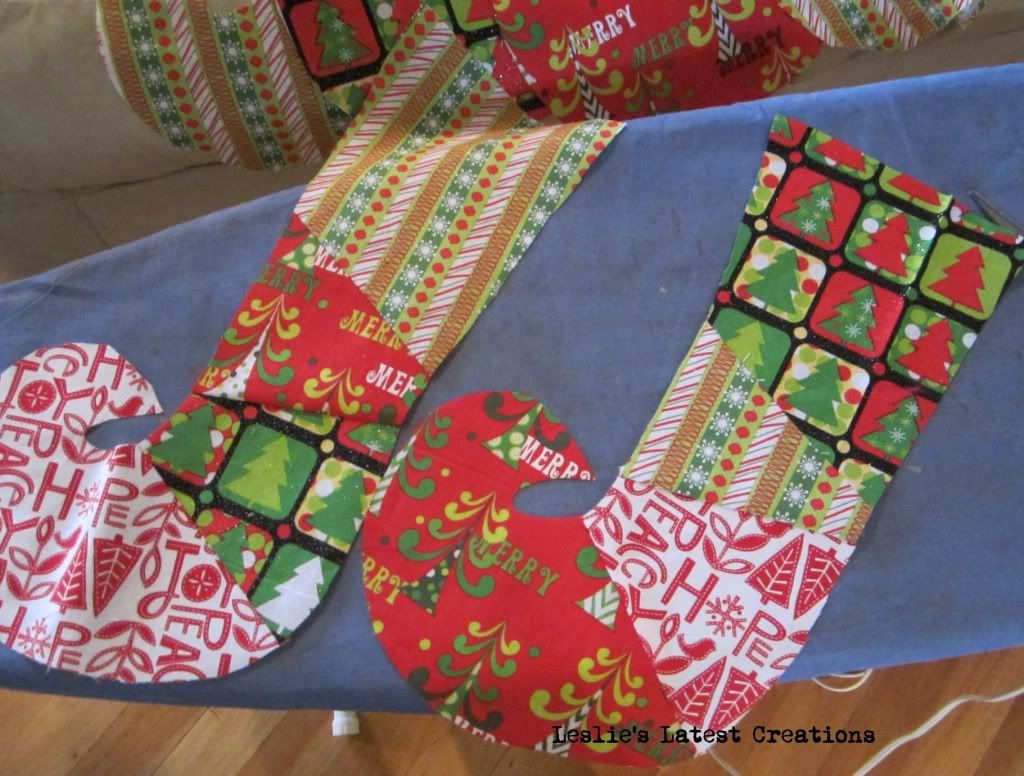
5. Next cut the fusible fleece to the shape of the sock, and iron it to the wrong side.
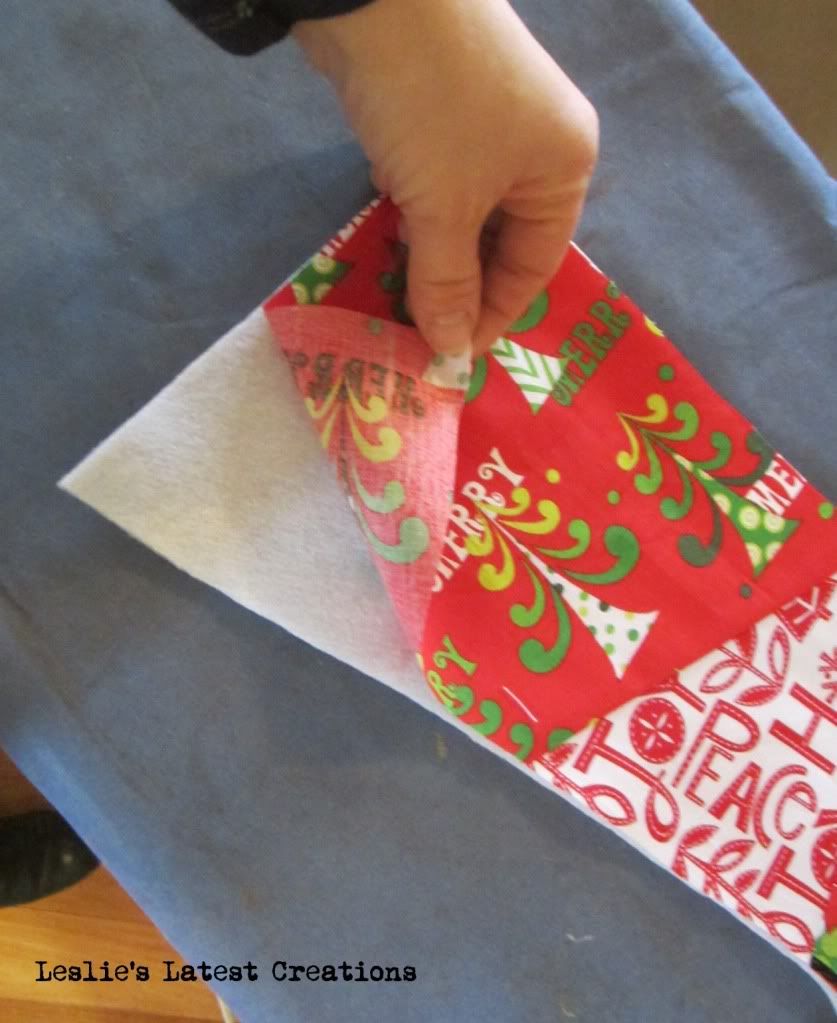
6. Lay the sock face onto the backing fabric and cut out the back of the stocking. With right sides together, sew the patchwork face and the backing together with a 1/4in seam.
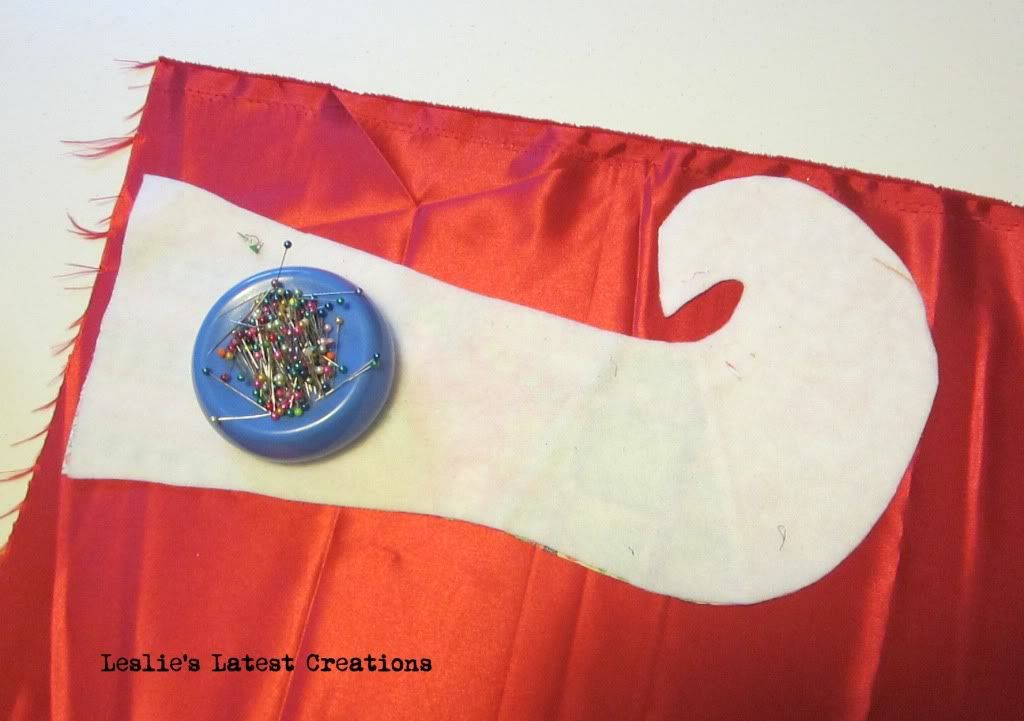
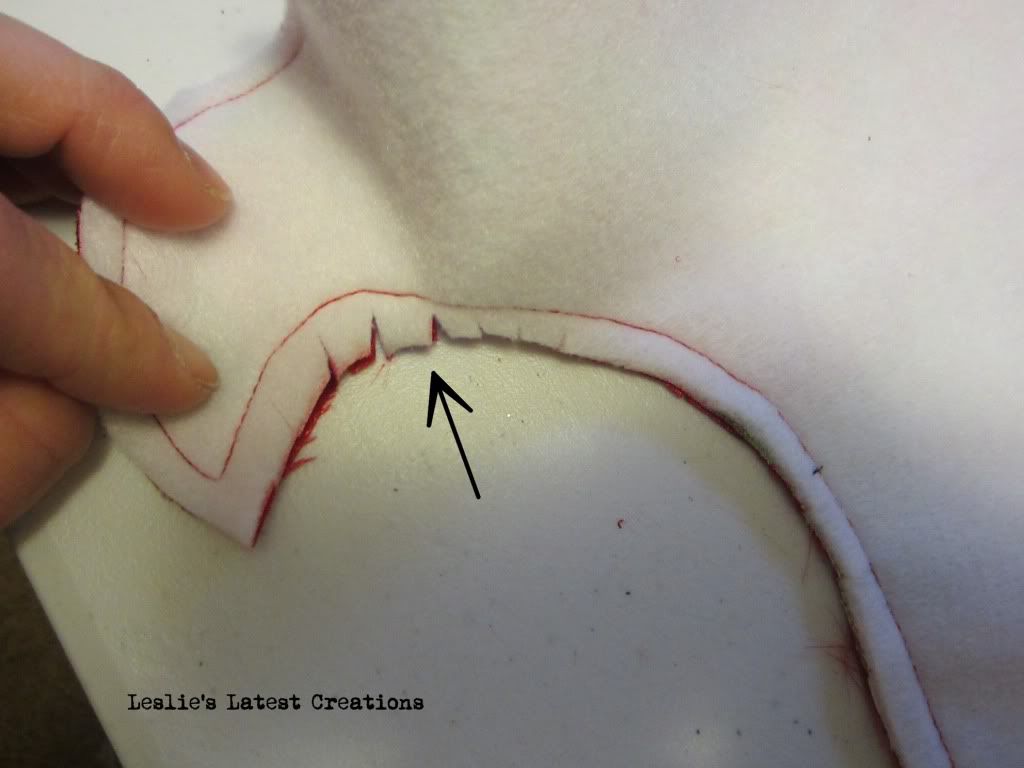
7. Trim the edges.
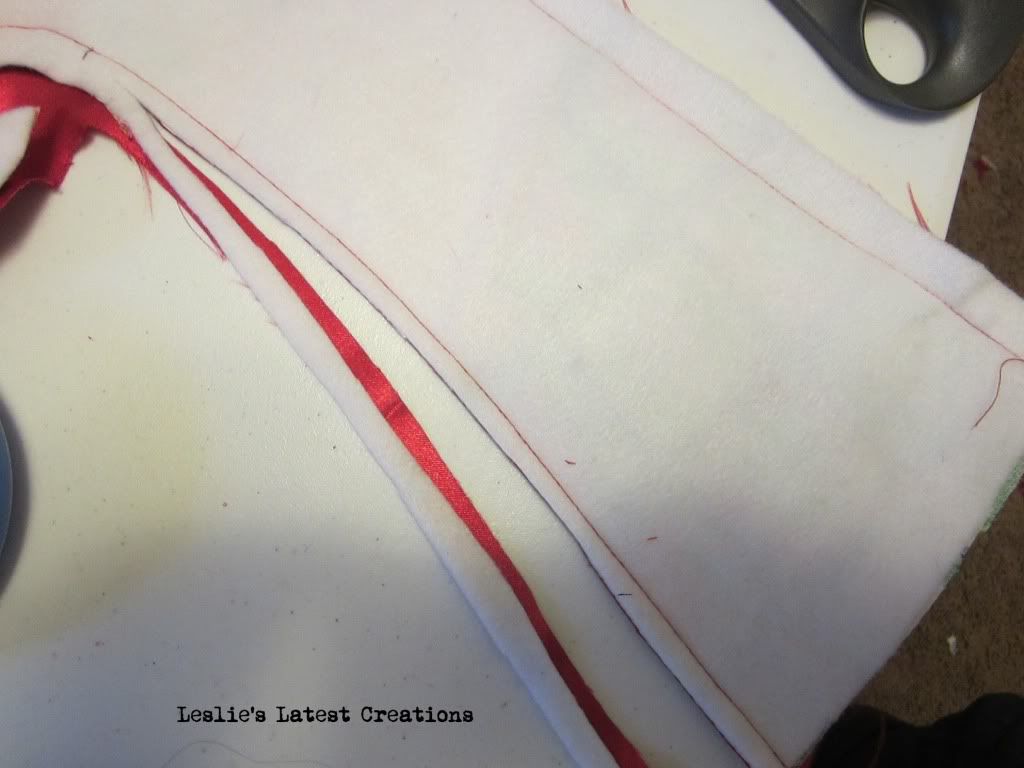
and clip the corners. This is a crucial step if you want the fabric to lay flat after you turn it right-side out, which you should do now. Press.
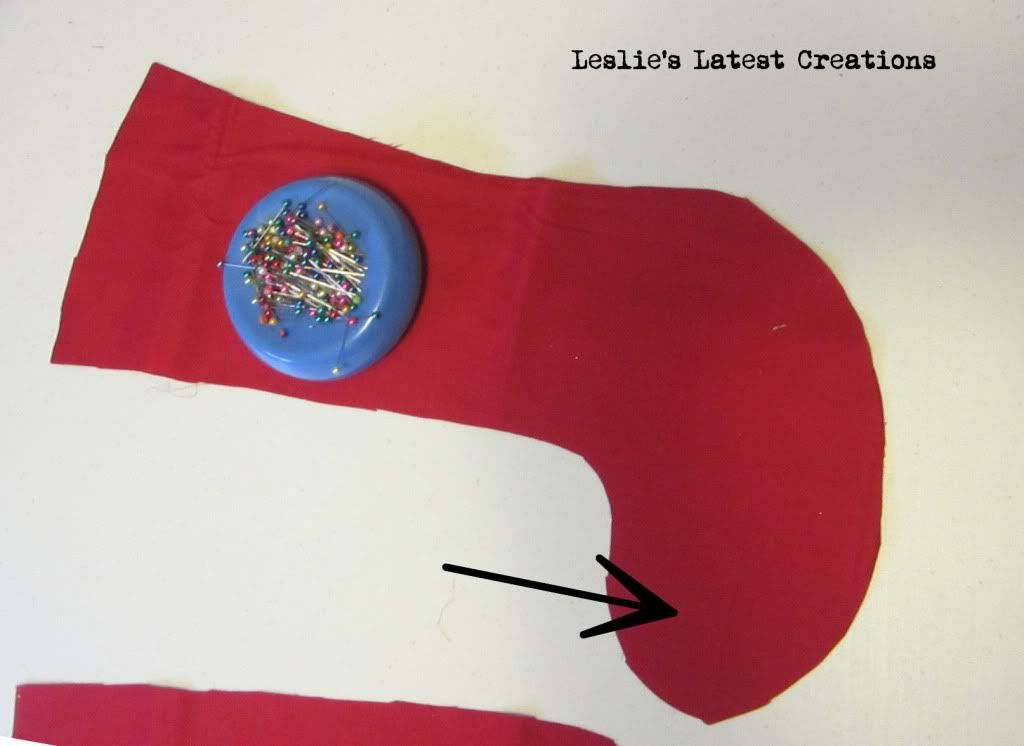
8. Now, onto the lining. Cut out 2 sock pieces from the lining fabric. The sides are the same, but I modified the toe shape a little on the lining since it won't be seen.
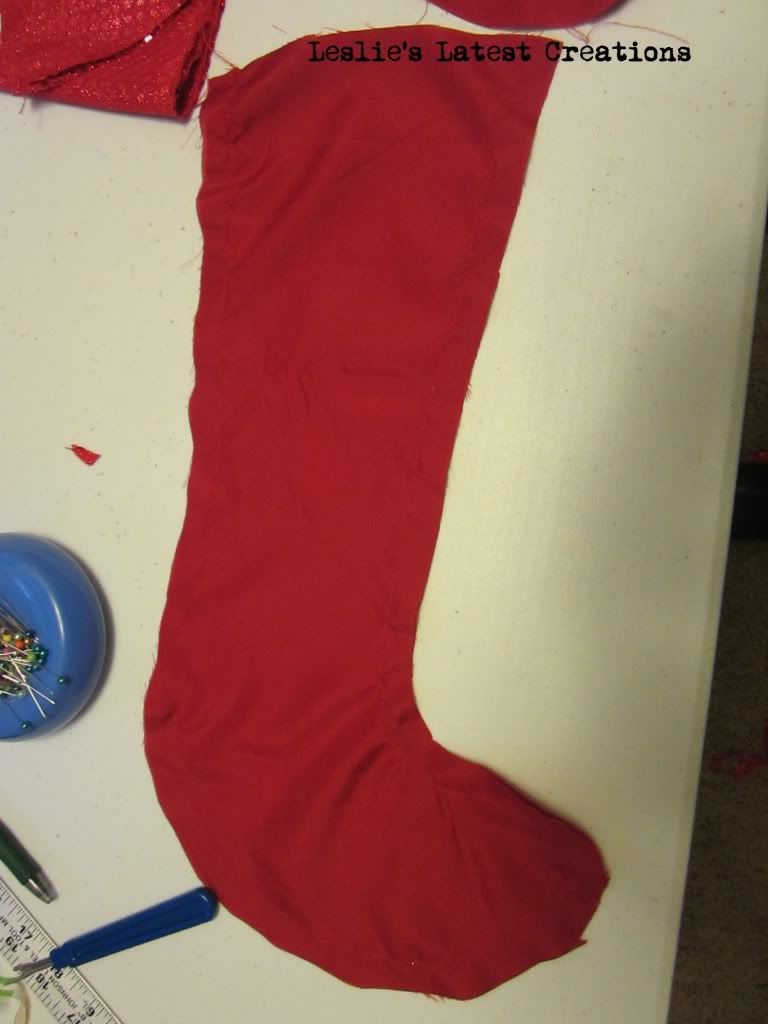
9. Sew the lining pieces together but don't turn it right side out. Leave it as is. Now, stuff the lining with the wrong-sides out, into the stocking. The seamed edges of the stocking should be touching the seamed edges of the lining. This makes the inside of the sock nice and smooth with no fabric edges. You shouldn't feel any of the seamed edges when you put your hand into the stocking.
10. For the cuff, cut out 2 pieces of fabric. One will be the cuff and the other will be the cuff facing.
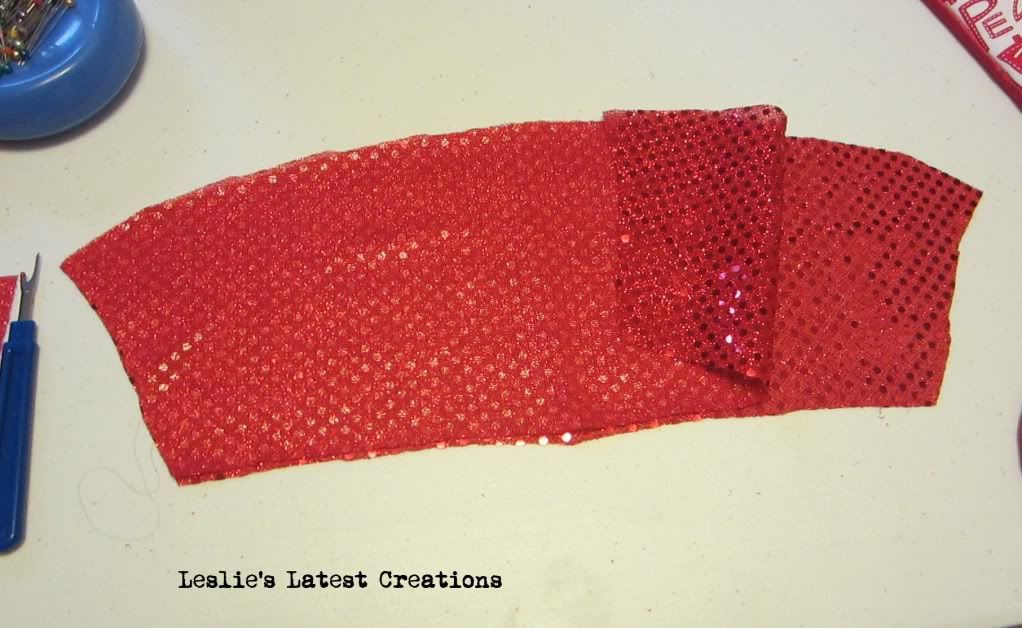
11. Fold each in half, right sides together and sew together. You should have 2 "tubes"
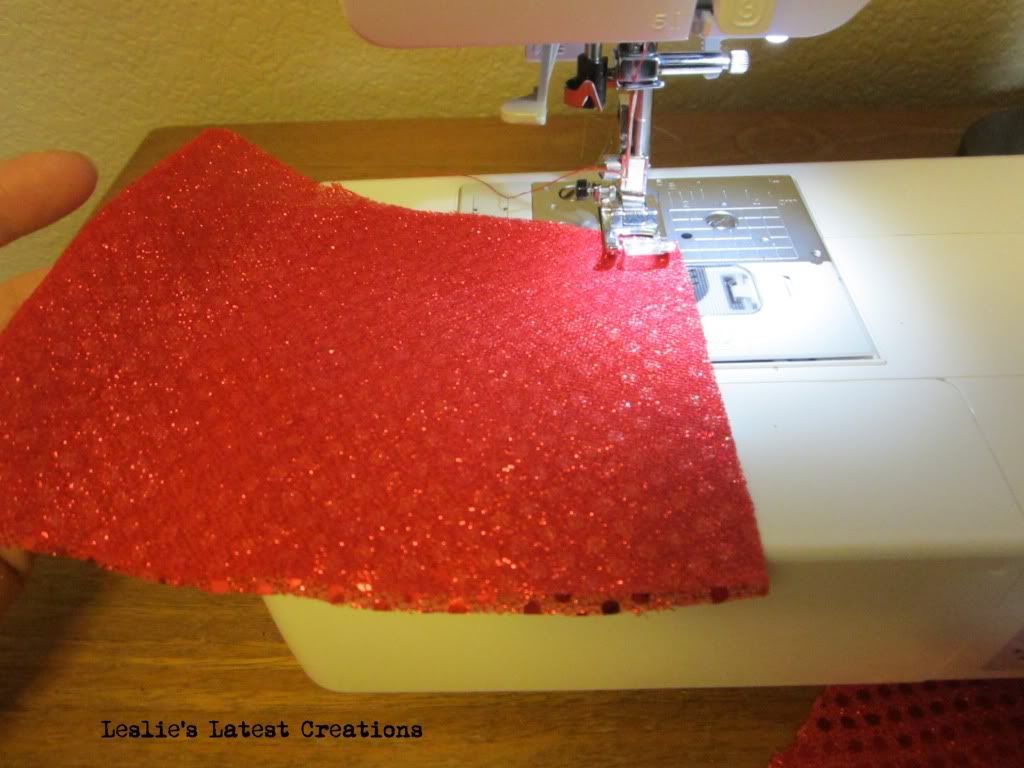
12. Turn one right side out and slip it into the other piece.
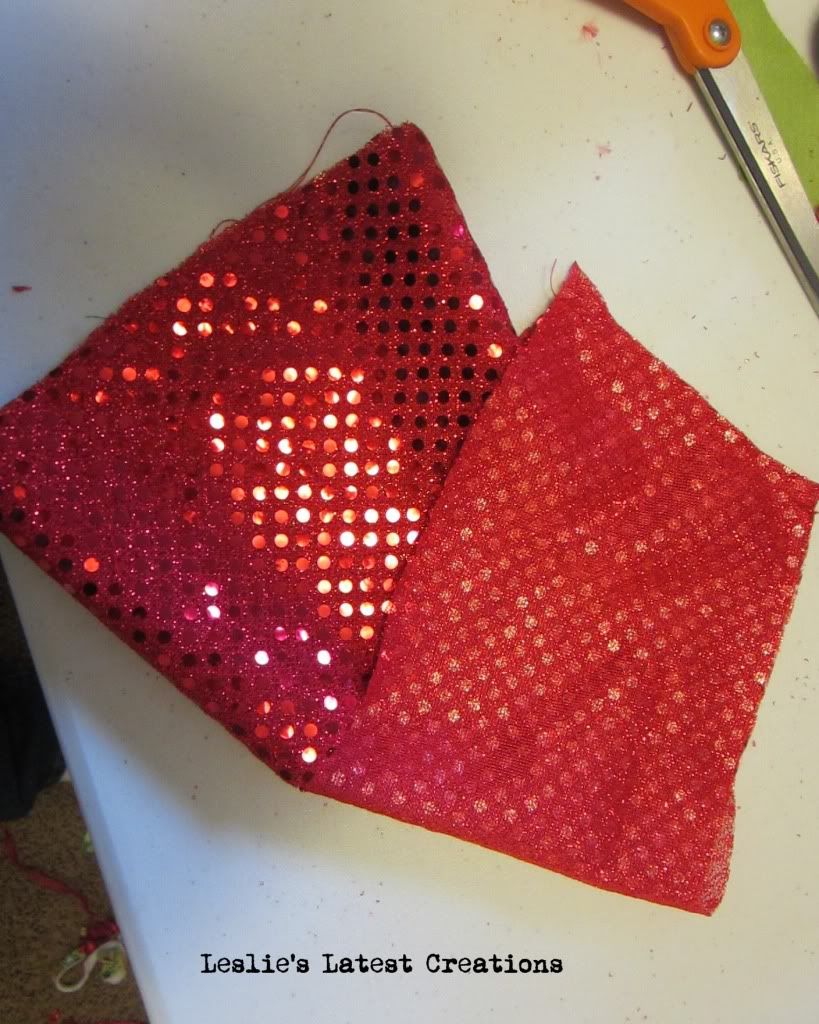
13. You should end up with the 2 pieces right sides together. Sew the tubes on 1 side. This will be the bottom of the cuff.
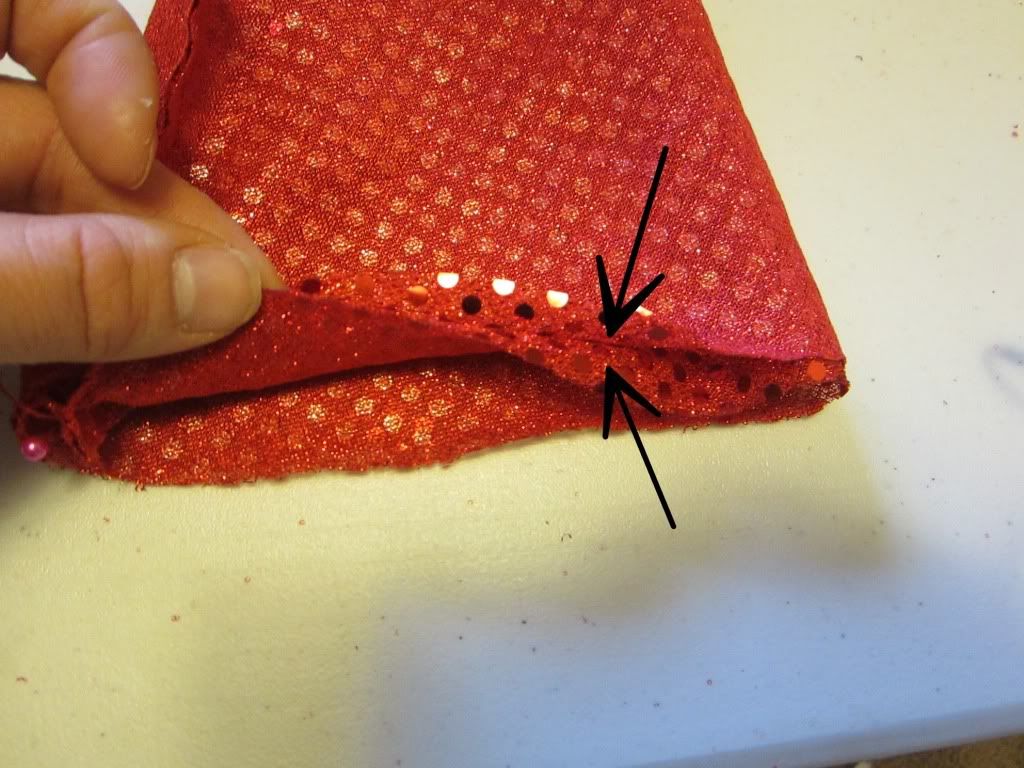
14. Turn it right side out. You should still have a tube, but the outsides and the insides should be the right side of the fabric now. For me, this means that the sequins are now showing. What will be the bottom of the cuff now has a nice finished edge.
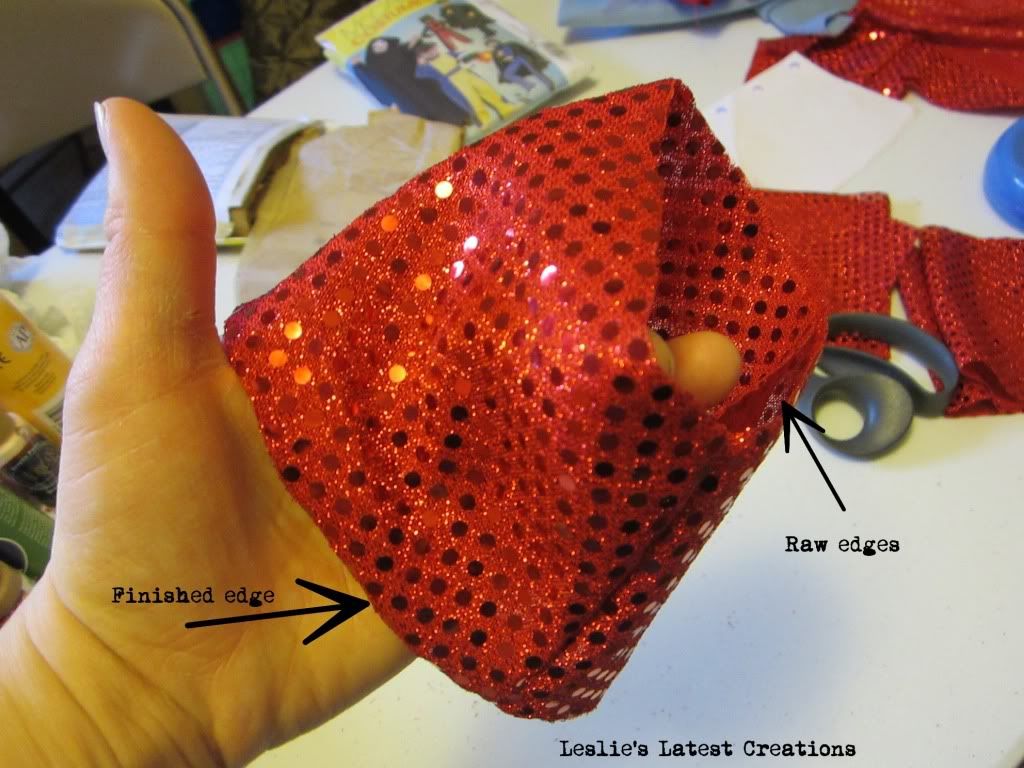
15. Its almost time to sew the cuff to the stocking, but first cut a small length of ribbon, form a loop and pin it to the edge of the stocking, loop side down.
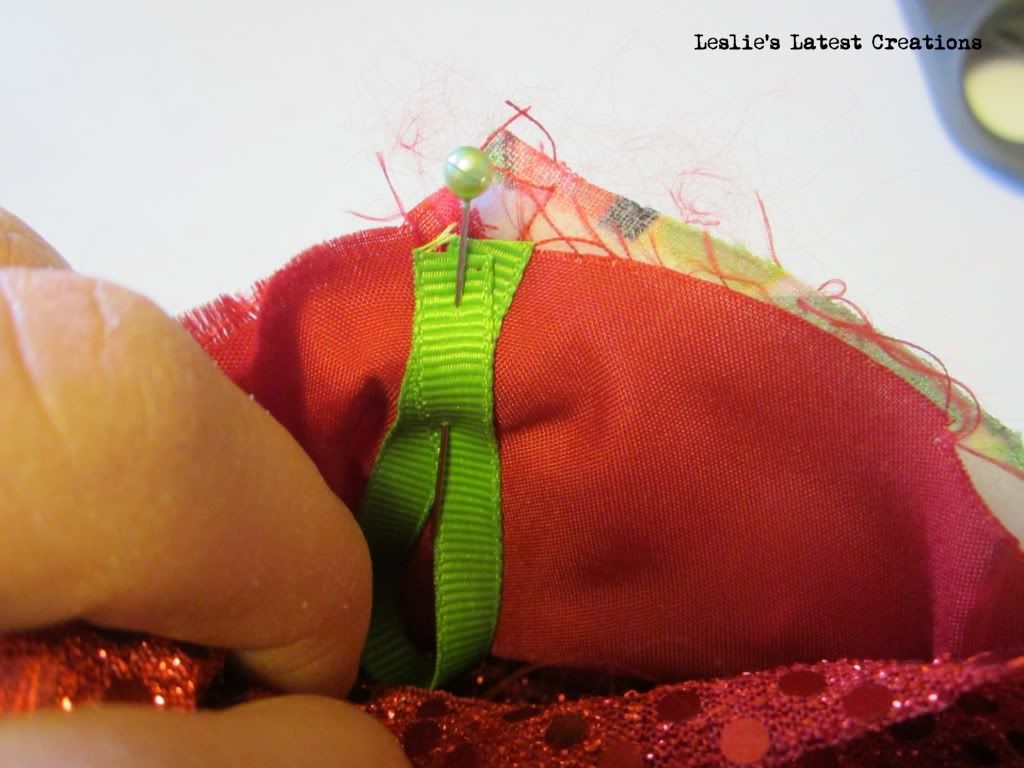
16. Now, slip the cuff into the stocking, with the finished edges on the bottom and the raw edges matching the raw edges of the sock.
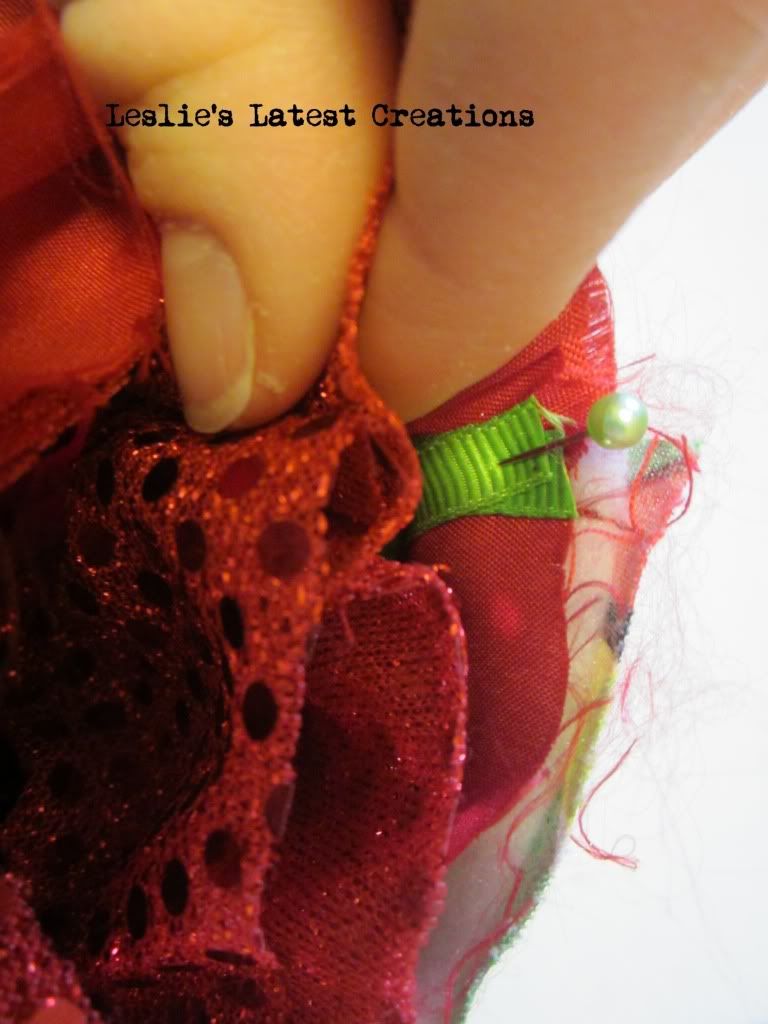
17. Pin in place and carefully sew the cuff to the sock.
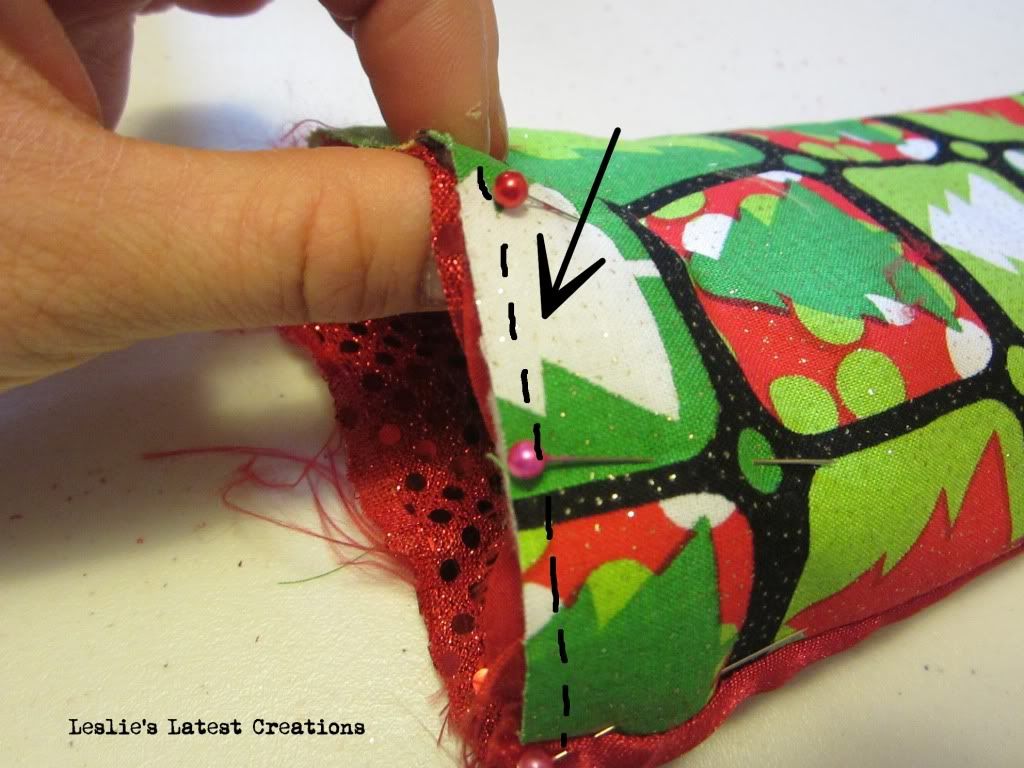
18. When you pull of the cuff, it should look like this.
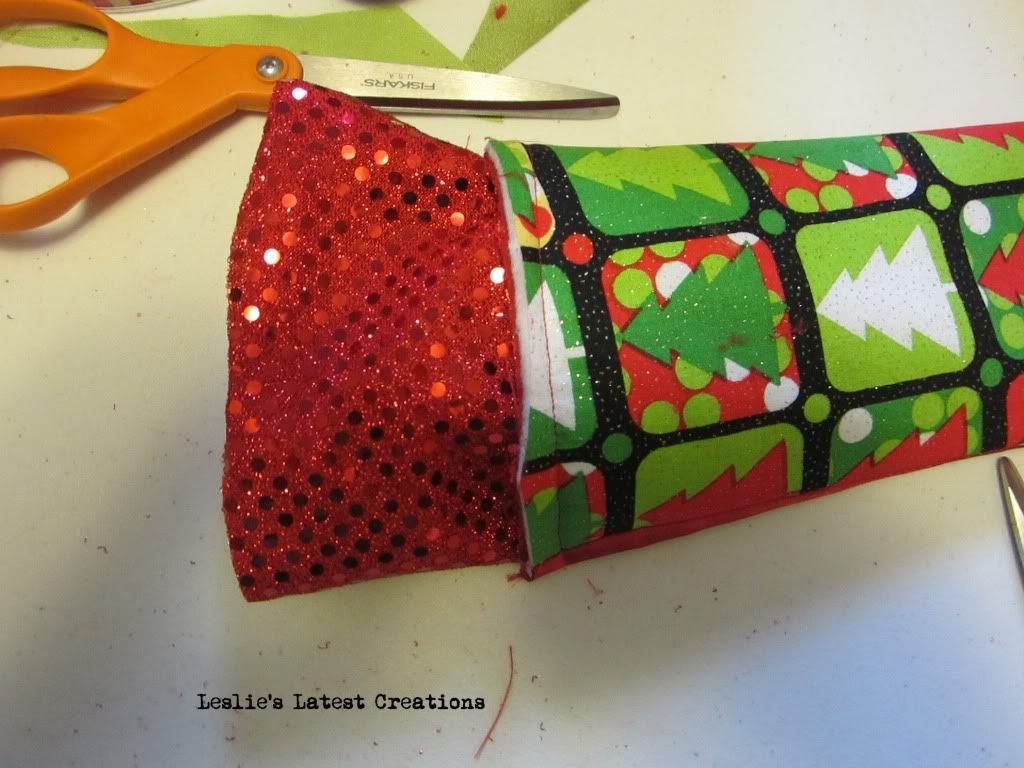
19. Fold down the cuff, and you are done!!!
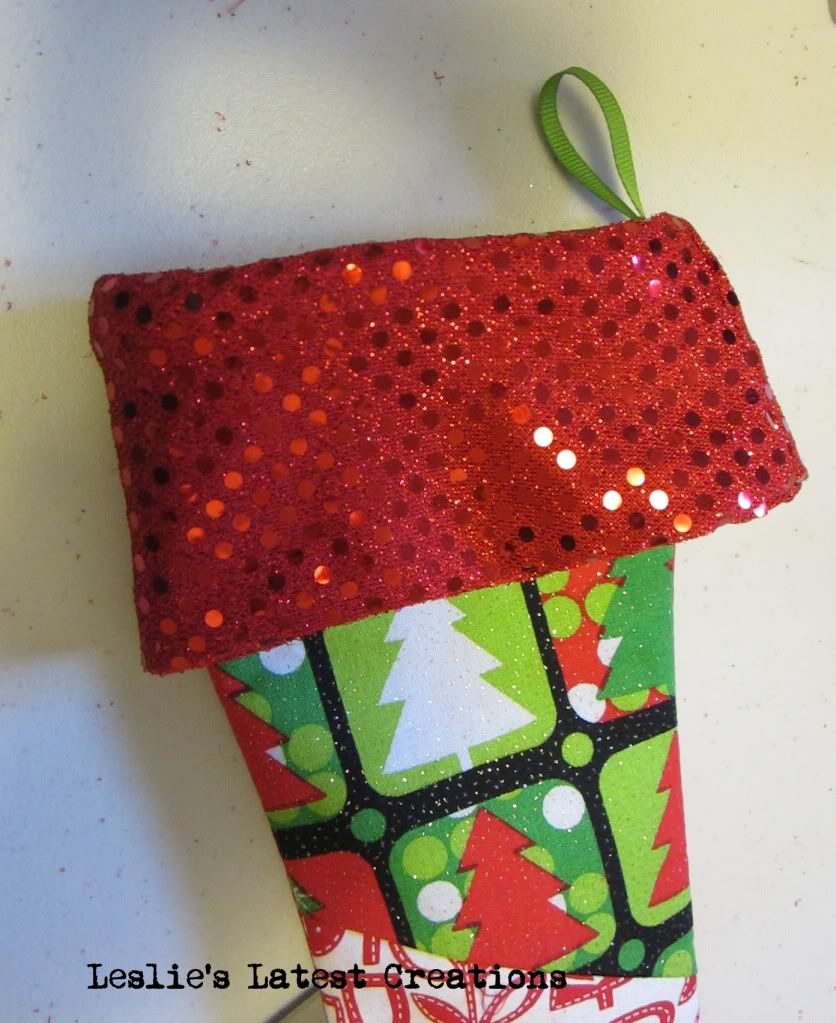
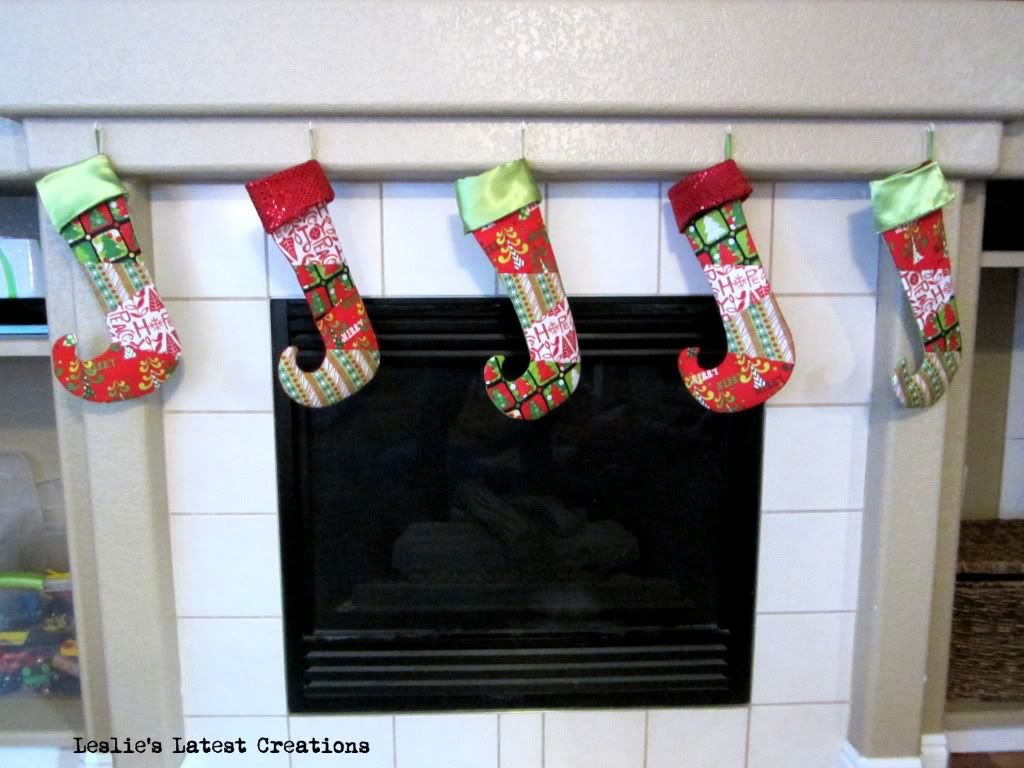
You now have your very own elf shaped, lined, patchwork stockings.
I will be linking up to THESE Fabulous Parties.

1 comment:
Oh boy, these are cuter than I even imagined!! I absolutely LOVE the funky shape of the stockings and the bright colors. Definitely darling.
Post a Comment