 \
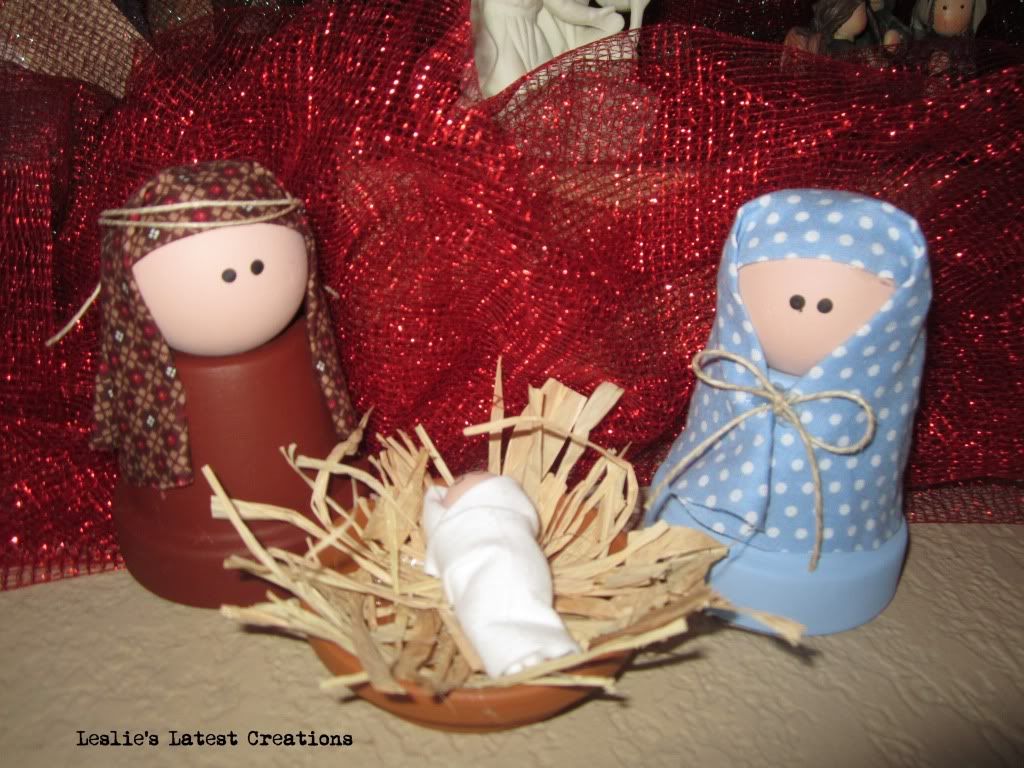
\I finally finished this nativity the week before Christmas. Its a project that has been waiting for me to complete for over a year. I purchased the supplies in the fall of 2010 for my Relief Society's Fabulous Friday. This was the sample below. I didn't make it, but the owner didn't want to teach a class. So, I was in charge. I ended up buying a bunch of clay pots and the wooden ball for the heads when they were on sale. Fewer women signed-up than I expected, so I was stuck with a bunch of pots and balls. And, since I was in charge, I was too busy to work on my own version.
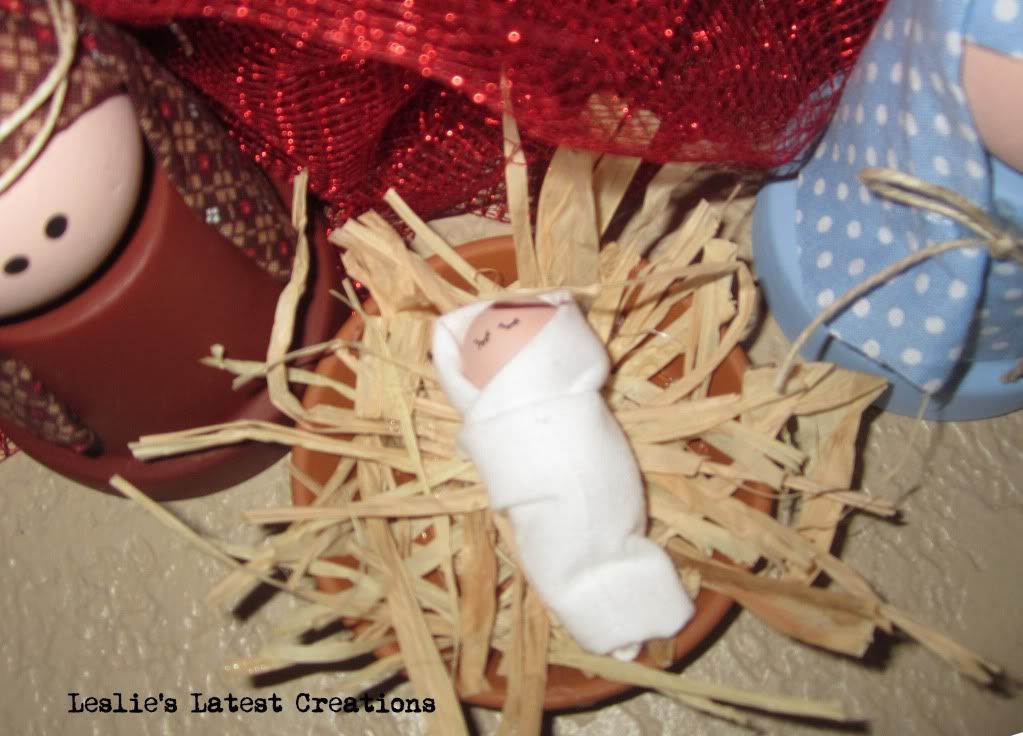
The supplies have been sitting in a box in my craft room closet since that night in the fall of 2010. This Christmas I decided I would make my own. And, I did! I finished it 4 days before Christmas, just in time. These are super easy to make. I simply painted the clay pots colors to coordinate with the fabric I had on hand for the head pieces. Then, I painted the wooden balls skin color. I used hot glue to attach the balls to the clay pots. I glued on fabric for the head pieces. I added a little jute rope for a headband for Joseph and a bow for Mary. I used pieces of rafia for the hay in the manger. The baby Jesus is formed from a wad of white muslin with a wooden ball glued on for the head.

I love my newest nativity. It is definitely a little more colorful than the original, but that suits me. I love color and this looks darling on my shelves with the rest of my nativities.


1 comment:
Ok... that is super cute! LOL! Finally a nativity craft that wouldn't kill me if 'someone' dropped one piece.
~Kimberlee, The Spunky Diva
Post a Comment