Monday, December 12, 2011
Ruffle Christmas Trees
One of my ward's RS Fabulous Friday crafts this year were these Ruffled Christmas Trees. I made them back in October, but I didn't feel like posting about a Christmas craft when i was still in the midst of creating Thanksgiving stuff.
Theses were super easy to make. We had the option of using taupe ticking that the instructor would purchase and ruffle for us, or we could bring our own fabric. I naturally picked my own fabric. I love the bright greens and reds.
The trees are made with styrofoam cones glued to wooden candlesticks that I painted cream. Then you attach the ruffles. Most people hotglued their ruffles. However, I decided to use small push pins. I thought it might be easier and I wouldn't accidentally melt my styrofoam cone. I was done in a snap!
I love these little whimsical trees.
Sunday, December 11, 2011
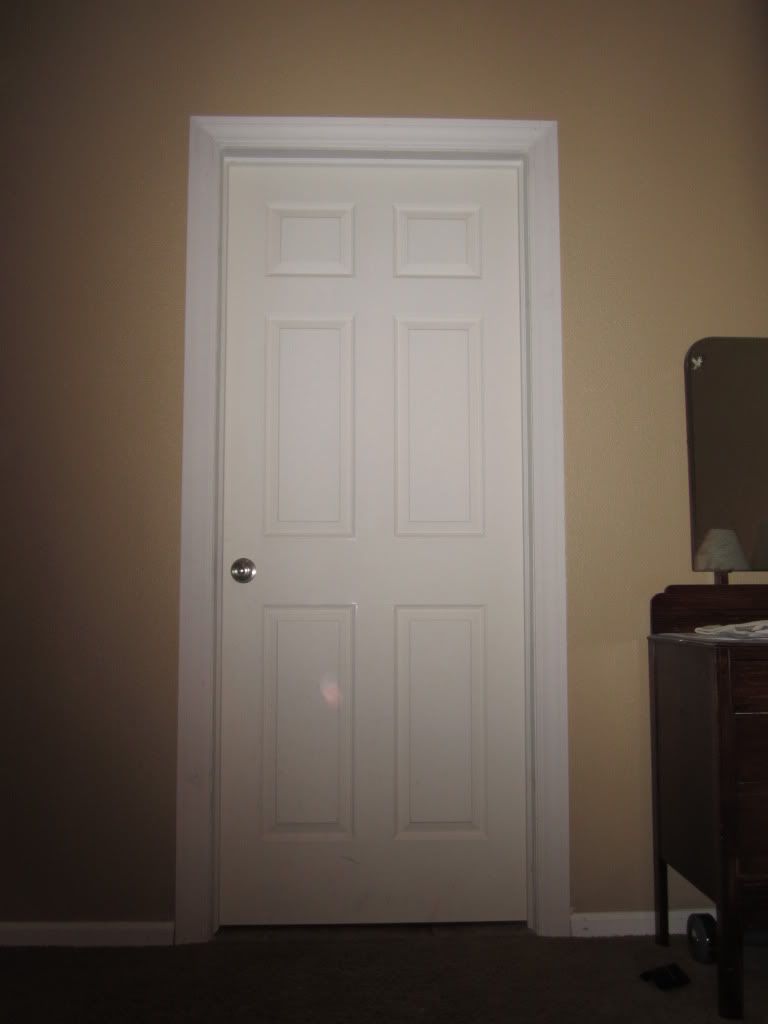
I've got a DOOR!
I always think its a little goofy to build a master suite without a door going into the bathroom.
In our house, the master bath didn't have a door, and it drove me nuts! If Mr. Right was getting ready for work before I got up, the light and the noise would inevitably wake me up. Grrr!
So, we decided to install a door going into our bathroom. I'm getting ready to fully redecorate our master bedroom, so this was the perfect time to add the door.
I think Mr. Right did a fastastic job! Thanks honey!
It is so nice to be able to shut the door and have a little privacy! I still need to paint the door and the trim, but I am waiting until I am ready to paint the whole room. I want to add some woodwork and trim to the walls, so I will paint everything then.
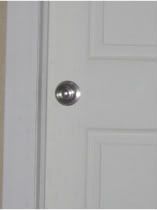
On a less glamourous note but just as exciting to me, Mr. Right also replaced the hinges and the door knobs to the closet and water closet doors. They were the dated shiny brass. Now, they are a beautiful brushed nickel.
We plan to gradually make our way through the house replacing the brass fixtures.
Friday, December 9, 2011
Gingerbread
I know it has been a while. Blogging has a way of sucking me in and I start to feel totally obsessed with posting and linking, and reading everyone elses posts. I think maybe I have a problem with time management? :)
So, in an attempt to really focus on the kiddos and sewing projects (the kiddos Halloween costumes), I put posting on the back burner for a few days the end of October. Well, after a few days, the amount of posting I needed to accomplish built up to a slightly overwhelming time amount, so I continued to put it off. (I just didn't have 2 hours to spare that week!) And put it off, and put it off. And really, all I have done is just postpone a task that will continue to become larger and larger. I now have 6+ weeks of projects to write up. So instead of 2 HOURS, I'm looking at a solid 2 DAYS of photo editing and writing to catch. But who can spend that much time on a blog during December? I can't. I have too many Christmas projects to work on. Plus, with many of my completed, postless projects revolving around Halloween or Thanksgiving, I'm not feeling super enthusiastic at the moment. I am completely in Christmas mode right now. Maybe if I tackle one post a day I can get caught up? Maybe... But, I am going to post what I am working on now first. On days that I have nothing, I can tackle items on my backlog. Maybe...
In December 2010, I decided that I wanted to decorate my kitchen for Christmas with a gingerbread theme. I really love to eat all things gingerbread/gingerspice/gingersnap and the season just wouldn't be the same without them. So, a gingerbread kitchen is perfect for me. My mom happily passed down her old gingerbread decorations. I love them! And, I will slowly add to the collection so that I can fill every little nook and cranny!
I keep a slim tree tucked into the corner of the breakfast nook.
Last year, I fixed some of her ornaments to match my more obnoxious Christmas color scheme of lime green and bright red. I love the way it looks. I wouldn't change a thing...
except to add a tree skirt. I have a brilliant idea, now I just need time. I may or may not get to it this year.
My kitchen is triangular shaped, and I have cabinets on all three walls. They are the short cabinets, so I am left with space above them before hitting the ceiling. This is a perfect place for me to stuff decorations, thus leaving my countertops cleaner. I don't have quite enough gingerbread stuff to fill all 3 of the spaces right now, so I will gradually add gingerbread pieces every year until I do.
The first wall you face as you enter from the dining room, and thus can be seen from our front door.
The second wall is to the left, and you face it as you enter the kitchen from the family room, but you can also see it when you are looking at the first wall.
The third wall can only be seen when you are in the kitchen facing the fridge.
Consequently, the first 2 walls have decorations at the moment and the 3rd has had nothing (finish the places that are most easily seen first!)
Above the cabinets on this first wall, I put our gingerbread train.
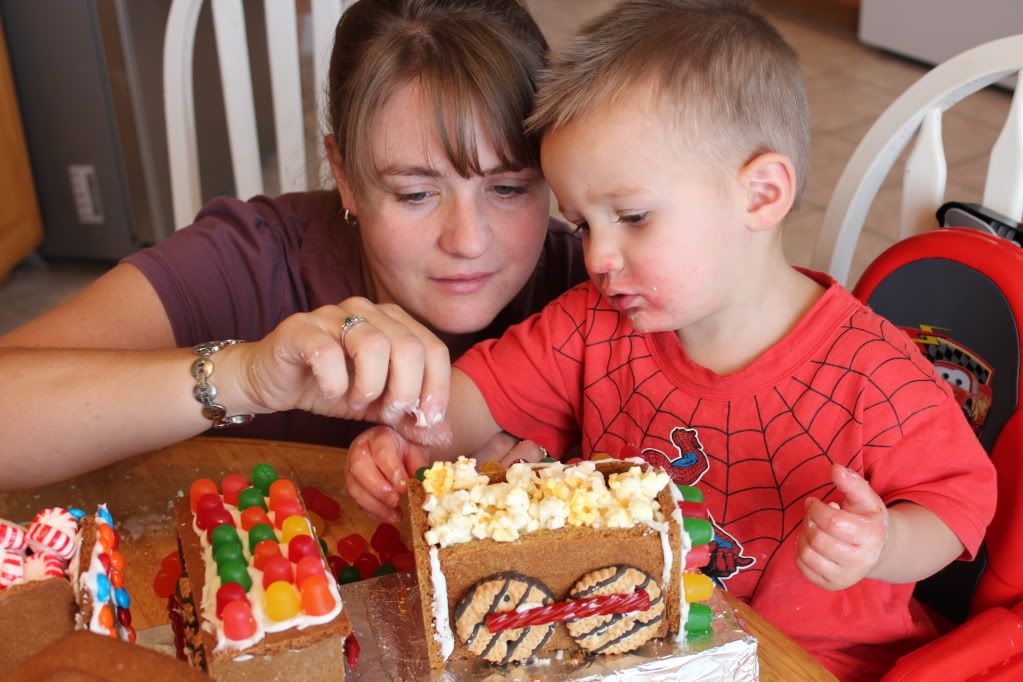
We made a gingerbread train last year, and the kids had so much fun! So, we decided to make another one this year. I made an engine, caboose and 3 cars (something for everyone in the family!) The train might not be perfect; it might look as if a kid frosted it (he did!) but maybe that is part of the charm. I really had to put my Type A personality away and let the kids go to town. They had a great time, and really that is all that matters.
The "before" display on wall #2 holds all of my permanent gingerbread decorations, thus leaving nothing for wall #3. However, what if I add these darling letters?
These are just some more of my wooden letters that I cut out with my scroll saw, stained and modpodged fun papers.
For the gingerbread letters, I used snow tex to create the look of frosting. I piped it onto the letters just like I would have piped real frosting onto a gingerbread man.
I found candy ornaments at Hobby Lobby and the Dollar Tree that I used for decorations. I simply removed the ribbons and hooks and glued them on. I think that these figures look almost like real gingerbread creations.
Now, with such a long word, I had to switch around my gingerbread displays. I wanted Gingerbread to be on wall #2 since it can be seen so easily from both entrances into the kitchen.
So, all of the things that were on wall #2 are now displayed on wall #3!
I'm happy to say my kitchen feels decidedly more decorated for Christmas now!
I will be linking up to these parties as well as to a Gingerbread Party at Cozy Home Scene!
So, in an attempt to really focus on the kiddos and sewing projects (the kiddos Halloween costumes), I put posting on the back burner for a few days the end of October. Well, after a few days, the amount of posting I needed to accomplish built up to a slightly overwhelming time amount, so I continued to put it off. (I just didn't have 2 hours to spare that week!) And put it off, and put it off. And really, all I have done is just postpone a task that will continue to become larger and larger. I now have 6+ weeks of projects to write up. So instead of 2 HOURS, I'm looking at a solid 2 DAYS of photo editing and writing to catch. But who can spend that much time on a blog during December? I can't. I have too many Christmas projects to work on. Plus, with many of my completed, postless projects revolving around Halloween or Thanksgiving, I'm not feeling super enthusiastic at the moment. I am completely in Christmas mode right now. Maybe if I tackle one post a day I can get caught up? Maybe... But, I am going to post what I am working on now first. On days that I have nothing, I can tackle items on my backlog. Maybe...
In December 2010, I decided that I wanted to decorate my kitchen for Christmas with a gingerbread theme. I really love to eat all things gingerbread/gingerspice/gingersnap and the season just wouldn't be the same without them. So, a gingerbread kitchen is perfect for me. My mom happily passed down her old gingerbread decorations. I love them! And, I will slowly add to the collection so that I can fill every little nook and cranny!
I keep a slim tree tucked into the corner of the breakfast nook.
Last year, I fixed some of her ornaments to match my more obnoxious Christmas color scheme of lime green and bright red. I love the way it looks. I wouldn't change a thing...
except to add a tree skirt. I have a brilliant idea, now I just need time. I may or may not get to it this year.
My kitchen is triangular shaped, and I have cabinets on all three walls. They are the short cabinets, so I am left with space above them before hitting the ceiling. This is a perfect place for me to stuff decorations, thus leaving my countertops cleaner. I don't have quite enough gingerbread stuff to fill all 3 of the spaces right now, so I will gradually add gingerbread pieces every year until I do.
The first wall you face as you enter from the dining room, and thus can be seen from our front door.
The second wall is to the left, and you face it as you enter the kitchen from the family room, but you can also see it when you are looking at the first wall.
The third wall can only be seen when you are in the kitchen facing the fridge.
Consequently, the first 2 walls have decorations at the moment and the 3rd has had nothing (finish the places that are most easily seen first!)
Above the cabinets on this first wall, I put our gingerbread train.
We made a gingerbread train last year, and the kids had so much fun! So, we decided to make another one this year. I made an engine, caboose and 3 cars (something for everyone in the family!) The train might not be perfect; it might look as if a kid frosted it (he did!) but maybe that is part of the charm. I really had to put my Type A personality away and let the kids go to town. They had a great time, and really that is all that matters.
The "before" display on wall #2 holds all of my permanent gingerbread decorations, thus leaving nothing for wall #3. However, what if I add these darling letters?
These are just some more of my wooden letters that I cut out with my scroll saw, stained and modpodged fun papers.
For the gingerbread letters, I used snow tex to create the look of frosting. I piped it onto the letters just like I would have piped real frosting onto a gingerbread man.
I found candy ornaments at Hobby Lobby and the Dollar Tree that I used for decorations. I simply removed the ribbons and hooks and glued them on. I think that these figures look almost like real gingerbread creations.
Now, with such a long word, I had to switch around my gingerbread displays. I wanted Gingerbread to be on wall #2 since it can be seen so easily from both entrances into the kitchen.
So, all of the things that were on wall #2 are now displayed on wall #3!
I'm happy to say my kitchen feels decidedly more decorated for Christmas now!
I will be linking up to these parties as well as to a Gingerbread Party at Cozy Home Scene!
Monday, October 24, 2011
Toddler Tees
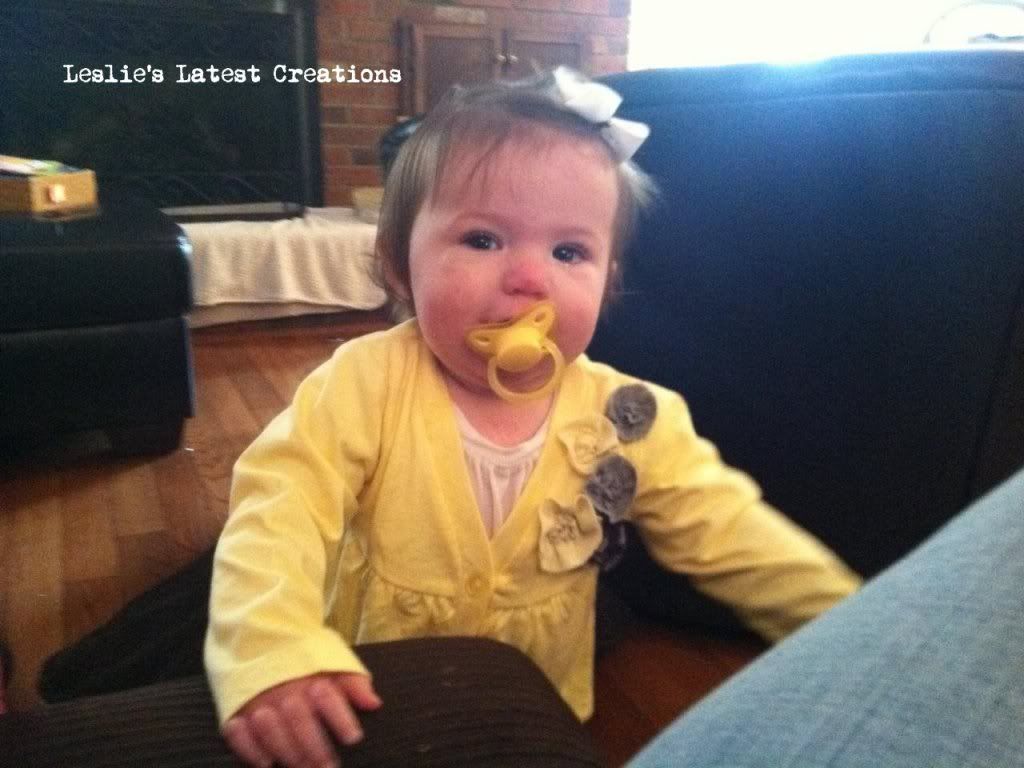
One of my nieces recently had her first bday. I couldn't resist making her a couple of embellished shirts.
I purchased 2 of these light purplr shirts, and then proceeded to cut one of them into strips. I ruffled the strips, then sewed them on. I used the same design here as I did for my Watermelon Pink Tee.
I think it's cute and if I were a 1 year old, I would wear it!
The second shirt is actually more like a light cardigan.
I made a few little rosettes from some scrap yellow and gray knits. I sewed them onto the left side.
I think this one is fun because its a grownup color scheme on a little toddler!
I think she looks cute.
I frequently participate in THESE parties.
Sunday, October 23, 2011
Halloween Clay Pot Characters
Today, I'm reposting my Clay Pot Halloween Characters, a project that I made last year that has been getting a ton of hits the past couple of weeks. I didn't really take good pictures last year, so I want to help out all of those people that keep checking them out!
Making clay pots into figures really isn't a new idea. My inspiration came from a nativity I have which is made from the pots and the wooden balls. I had some extra pots, I was trying to come up with a way to use them, and it was October. Hence, I decided to make a witch.
As I was painting her, the idea snowballed until I was painting pots to make into a ghost, mummy, vampire, Frankenstein and scarecrow. I used items I had on hand to glue onto the pots to create the various features I wanted.
My least favorite: The ghost.
I don't know why, but I think it has something do to with the fact that a ghost is supposed to be transparent and there really isn't anything more solid and less transparent than clay! Maybe I should redo this one with a glass babyfood jar???
My favorite character: The Vampire.
I just think he is so stinkin cute! To create his cape, I used Heat N Bond to fuse the two fabrics together so that it appears that he has a lined cape! This also makes the fabric stiff, so that when I glued it on, the collar stands up. Love it! I also just really love his toothy grin.
I think my second favorite is the Scarecrow.
I used rafia for the "hay" and some teeny-tiny pots for the arms. Only one other character has arms, but I just didn't think you could make a scarecrow without arms. My mental image of a scarecrow is always one with his arms out!
For the Witch, I made her hair out of shredded paper.
The hat is formed from a plate that goes underneath the pot, with a smaller pot glued upside down.
For the mummy, I painted eyes and then just glue ragged, fraying strips of muslin around.
To make the Frankenstein, I shaped cardboard into the hair, and then glued black felt to it. Since the heads are woodenballs, I actually put in a couple of screws on each side! His arms are formed from some leftover wooden knobs.
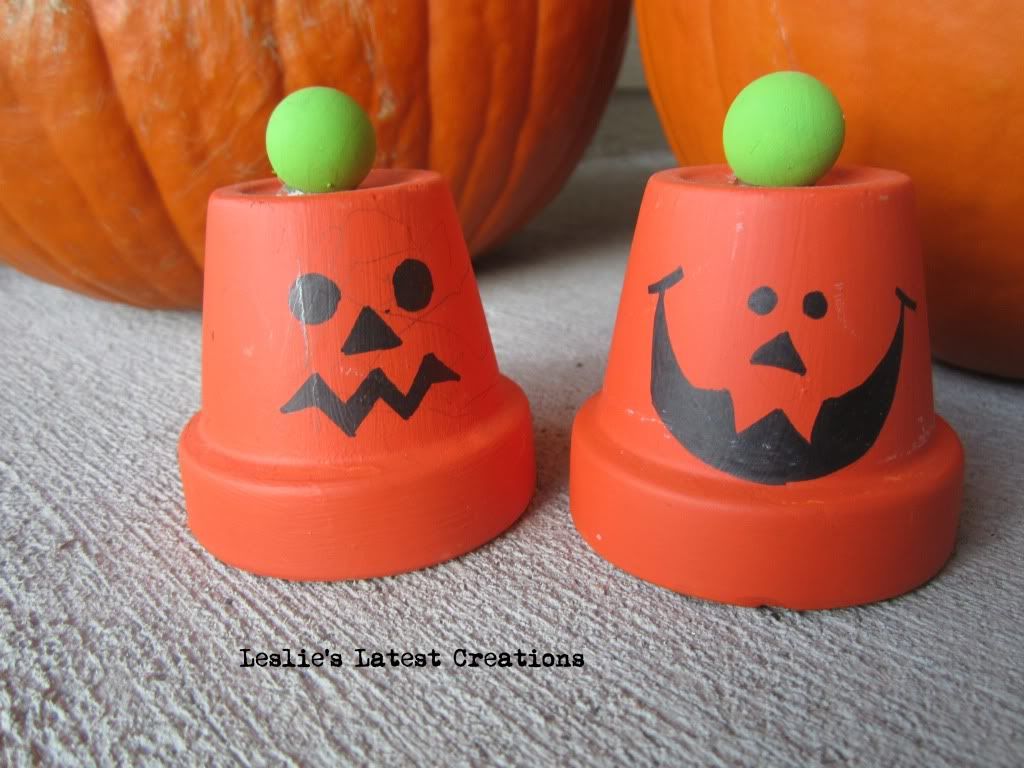
Along with the characters, I made a couple of jack-o-lanterns too. If you haven't been able to tell, my kids have actually been "playing" with these characters and some of them are a little worse for the wear. These pumpkins are now covered in scratches and pencil marks. Oh well.
This was a really fun project to make while I was relaxing in front of the TV in the evenings!
I frequently link up to THESE parties.
Saturday, October 22, 2011
Thanksgiving Advent Quilt Sew Along, Part 3
Happy Saturday Everyone!
I hope that it has been a good one. We've been busy. Mr. Right and I cleaned out the workshed and garage today. Not the most exciting job ever, but very rewarding at the end. It's been on my to-do list for the past 2 months. But, as always, there are always other projects that are much more appealing that have a way of creeping onto my list. But today, when Mr. Right started working on it, I got the guilties and had to go out and help since 95% of the mess was mine. Out 3 car garage could only hold my car because there was just too many tools and scraps and thrifted furniture plus bikes and strollers in the way. A good sorting, plus putting those tools and the furniture in the shed cleared the way. Extra bikes and strollers are up in the rafters or on pulleys. And now, we can easily fit both of our vehicles plus several bikes and strollers in the garage. And, even with all the tools and furniture in my shed, with all the tools put away on shelves, I can actually walk into it and work now!
So are you ready to finish sewing the quilt today?
If you've missed the first 2 parts, go ahead and catch up. There is plenty of time to finish this quilt before November.
Thanksgiving Advent Quilt, Part 1
Thanksgiving Advent Quilt, Part 2
Now, if you've completed parts 1 and 2, your quilt face is completed. Today, we will add the batting, sew on the quilt back and tabs, and quilt the top.
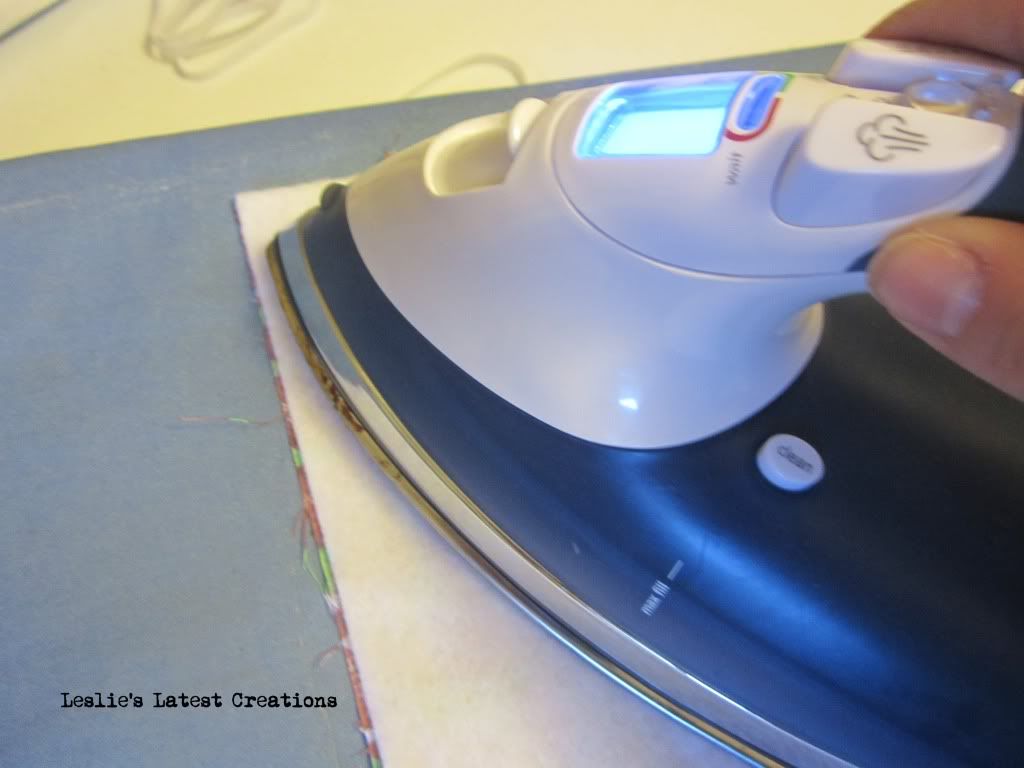
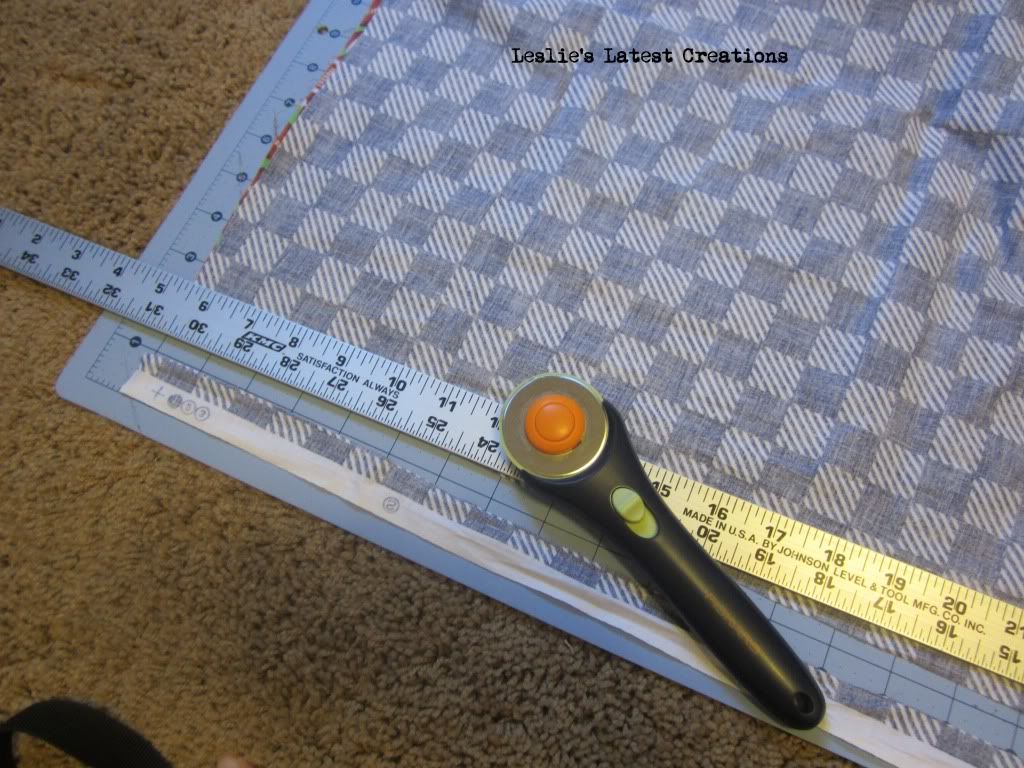
First, take your fusible fleece and cut a piece that is the size of your quilt face. Then, iron it on.
Since this is a wall quilt, we can use the fusible fleece instead of regular, heavy batting. (this quilt isn't going to keep anybody warm!)
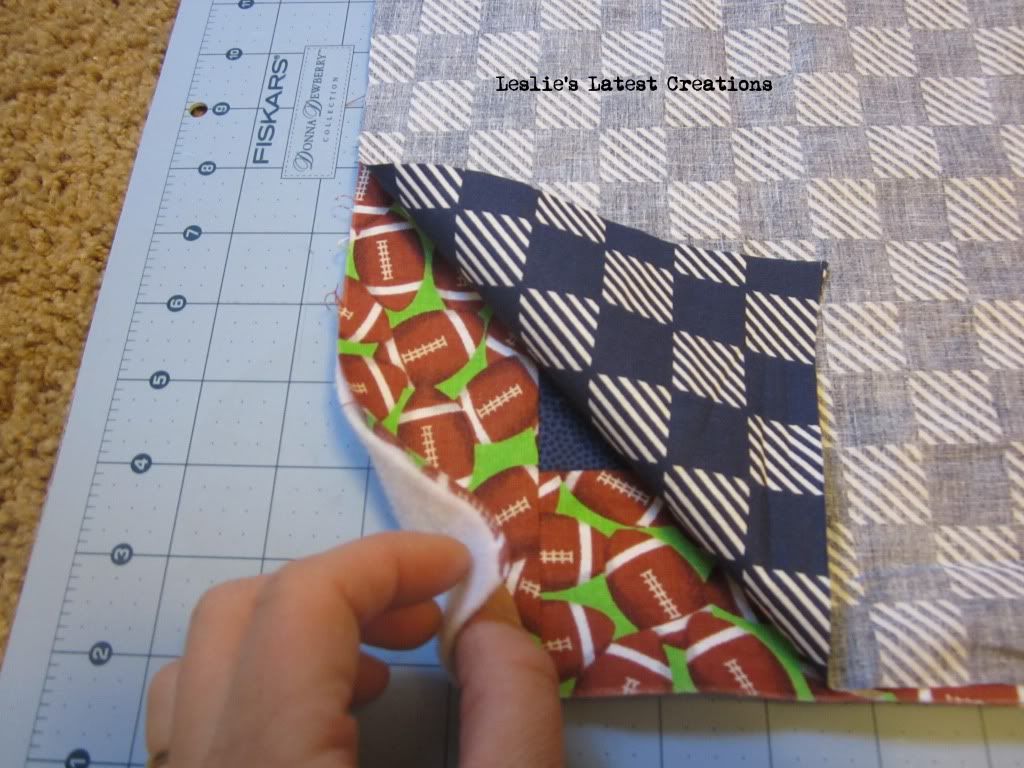
2. Next, cut the back to match the quilt face. (In these pictures, I am actually working on a different quilt. I forgot to take photos of the advent quilt while working on it.)
Now, the backing should match up perfectly with the quilt face and the fused on fleece.
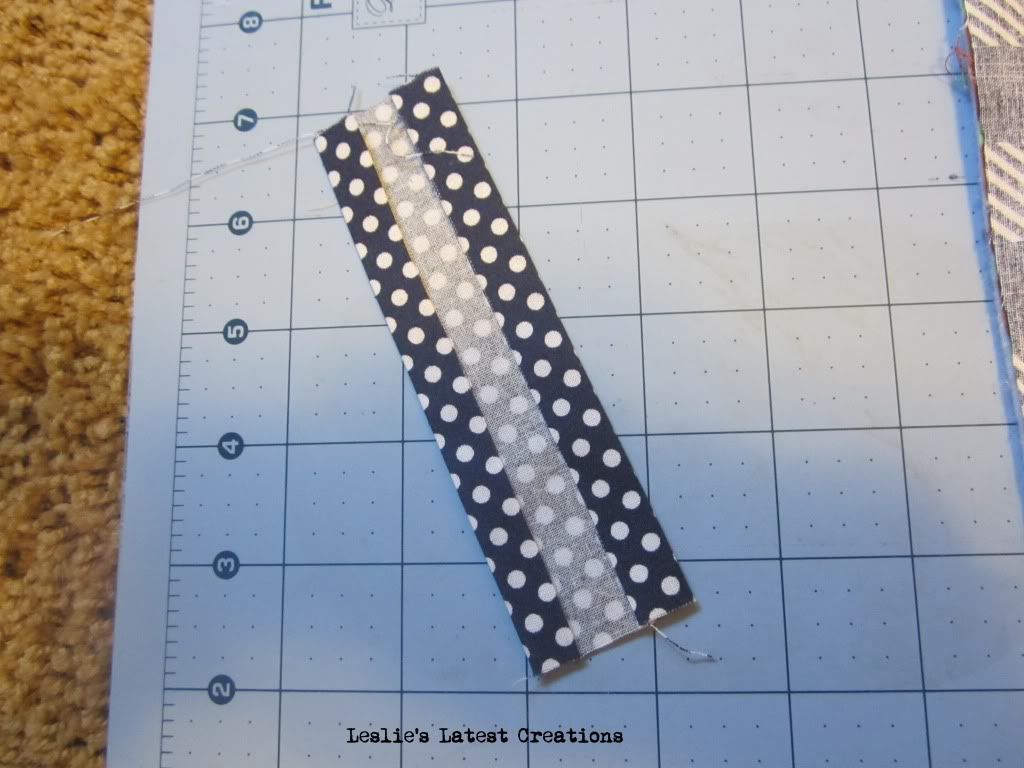
3. To make your tabs, cut strips and iron on Heat N Bond hem tape to the edges.
4. Fold in half and pin. This is your tab. I made three tabs.
5. Now figure out your spacing. I place one tab in the center of the quilt, then the remain tabs on either end, about 1-2 inches in.
6. Pin the back to the quilt face, right sides together.
7. Sew the quilt together, 1/4in seams. Leave a samll 6-8in gap on the bottom edge. When the seam is completed, you will turn the quilt right side out through this hole.
8. Press the edge seam open and quilt flat!
9. Hand sew the opening closed.
10. Now it is time to "quilt" the quilt. I "stitch in the ditch" along all of the seams. Simply line up your needle with the edges of all of the pieces. Then carefully sew down the length.
The quilt is now complete and ready to hang up!
For the turkey I'm using as a marker, I used a felt sticker I purchased at Michaels.
Next Saturday, I will share the notes and activities that I will be placing in each of the 12 squares.
Subscribe to:
Posts (Atom)