Check out these super easy, quick pumpkins! I wanted some cute candles for my dinner table on Halloween. I got the idea from my SIL only instead of using Mason jars, I used baby food jars and paint instead of mod podge and tissue paper. It was a very fast project. Maybe only 30min to make 6 jars. I kept the brush lines in the paint to resemble to lines found on a pumpkin. Just took a little orange and green paint, plus a little raffia. These are the perfect size for a tea light candle. The candle does make the jar get quite hot, so I plan on using the battery operated fake candles next time!
Thursday, November 4, 2010
Tuesday, November 2, 2010
Modern Book Pumpkin
Modern Book Pumpkin
I copied this idea from my SIL Meagan.
Time: Plan on watching a couple movies while working on it!
Step 1: Take an old hardcover book and rip of the cover. Then, begin folding each page in half.
When my kindergartner saw me doing this, he was horrified that I was ruining a book! However, I quickly reassured him that we were actually recycling because I no longer needed an ancient thesaurus when I have it online. This pacified him!
Note: This step can take a long time depending on how may pages the book has. I would not recommend working on this craft during precious nap times; work on something more complicated then. This craft is perfect to work on while sitting around watching TV or hanging out at your MILs, etc. This book took me about 5 hours to fold.
Step 2: After folding all of the pages, you need to glue to spine together. I used a lot of hot glue but looking back, probably using E-6000 glue would have worked better.Friday, October 22, 2010
Trick or Treat Banner
Is this banner cute enough to justify the time and effort?
Recently, while blog surfing I came across this adorable Trick or Treat banner that I thought I could use as an inspiration point for my own banner. I basically just copied the idea from the ribbon tabs, the bats as word spacers and the quilted squares for the letters. However, I changed the color palatte and added the pumpkins, candy corn and ghosts that you can see inbetween each letter. I think the banner is super cute, but it also took much longer to sew than I expected (don't most projects?) I assumed I could complete it in 1 afternoon naptime. However, the banner ended up taking well over 10hours total. I had already begun drafting the design for a similar Thanksgiving banner when I finished this one. Now, I am wondering if I want to make the banner for next month, or just skip it.
I really like the ribbon in this banner. That is what originally sparked my desire to make a banner because I had never seen a banner with ribbons used as tabs before. But I could easily cut out at least 2 hours of work (probably closer to 4hrs) if I skipped ribbon tabs, and used bias tape instead and even made my letters in the traditional triangles instead of rectangles. So, I am requesting any and all input. What do you think if this project and should I continue to make similar banners?
Recently, while blog surfing I came across this adorable Trick or Treat banner that I thought I could use as an inspiration point for my own banner. I basically just copied the idea from the ribbon tabs, the bats as word spacers and the quilted squares for the letters. However, I changed the color palatte and added the pumpkins, candy corn and ghosts that you can see inbetween each letter. I think the banner is super cute, but it also took much longer to sew than I expected (don't most projects?) I assumed I could complete it in 1 afternoon naptime. However, the banner ended up taking well over 10hours total. I had already begun drafting the design for a similar Thanksgiving banner when I finished this one. Now, I am wondering if I want to make the banner for next month, or just skip it.
I really like the ribbon in this banner. That is what originally sparked my desire to make a banner because I had never seen a banner with ribbons used as tabs before. But I could easily cut out at least 2 hours of work (probably closer to 4hrs) if I skipped ribbon tabs, and used bias tape instead and even made my letters in the traditional triangles instead of rectangles. So, I am requesting any and all input. What do you think if this project and should I continue to make similar banners?
Sunday, October 17, 2010
Car Seat Canopy
Over the summer I made a couple of car seat canopies. My SIL requested one for her upcoming baby, and she sent me to http://just-because-i-am-me.blogspot.com/2010/02/car-seat-canopy-tutorial.html to get the idea and instructions. Its basically a blanket with 2 velcro straps on one side that you can use to attach the blanket to the car seat handle. Thus, you can cover up the baby and still grasp the handle! I think they are super cute, so I made a second one for a baby shower gift.
Thursday, October 14, 2010
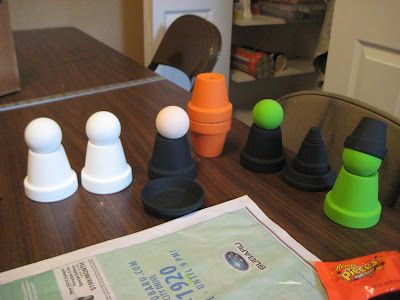
Clay Pot Halloween Characters
Fabulous Friday Crafts
These are the crafts I made or created for my Relief Society's annual Fabulous Friday Craft Night last week.
Very simple, rustic Nativity to add to my collection. It was made from 2in clay pots and 1.75in wooden doll heads. Paint the pots and the wooden heads. Glue them together with a hot glue gun. Glue pieces of muslin for the headdress. Use Spanish moss for the hay in the manger.
This Rosette pin was super easy and cheap to make. Each pin costs less than $1. It is made by layering synthetic fabrics such as chiffon and lining in decreasing sized circles. Then with a heat gun, melt the edges, causing them to curl up. Attach the circles together with a brad and then glue onto a pin, or a hair clip, etc for endless fashion variety.
Directions:
http://www.youtube.com/watch?v=dQG5ms7dUtw&feature=related
These are magnetic playsets for the kids during church or a car trip, anytime they really need to sit still and be quiet. They are made from color copies of the Betsy McCall vintage paperdolls that have been attached to magnetic sheets and then cut out. The tins can be purchased at craft stores next to the gift cards (they are meant to be gift card boxes!)


I made these Rustic Pumpkins from landscape timbers that I cut into 4", 5" and 6" blocks, painted orange, antigued, and then glued a stem to the top. Finish it off with a ribbon and raffia.
These SPOOKY blocks I made from a 2x4 that I cut into blocks, then painted black. Sand the edges. Stencil the letters and tie a little purple and orange tulle for a garnish.
Directions:
http://www.youtube.com/watch?v=dQG5ms7dUtw&feature=related
These are magnetic playsets for the kids during church or a car trip, anytime they really need to sit still and be quiet. They are made from color copies of the Betsy McCall vintage paperdolls that have been attached to magnetic sheets and then cut out. The tins can be purchased at craft stores next to the gift cards (they are meant to be gift card boxes!)
I made these Rustic Pumpkins from landscape timbers that I cut into 4", 5" and 6" blocks, painted orange, antigued, and then glued a stem to the top. Finish it off with a ribbon and raffia.
Labels:
Christmas,
Halloween,
magnet playsets,
Nativity,
pumpkin,
rosette,
Thanksgiving
Wednesday, June 2, 2010
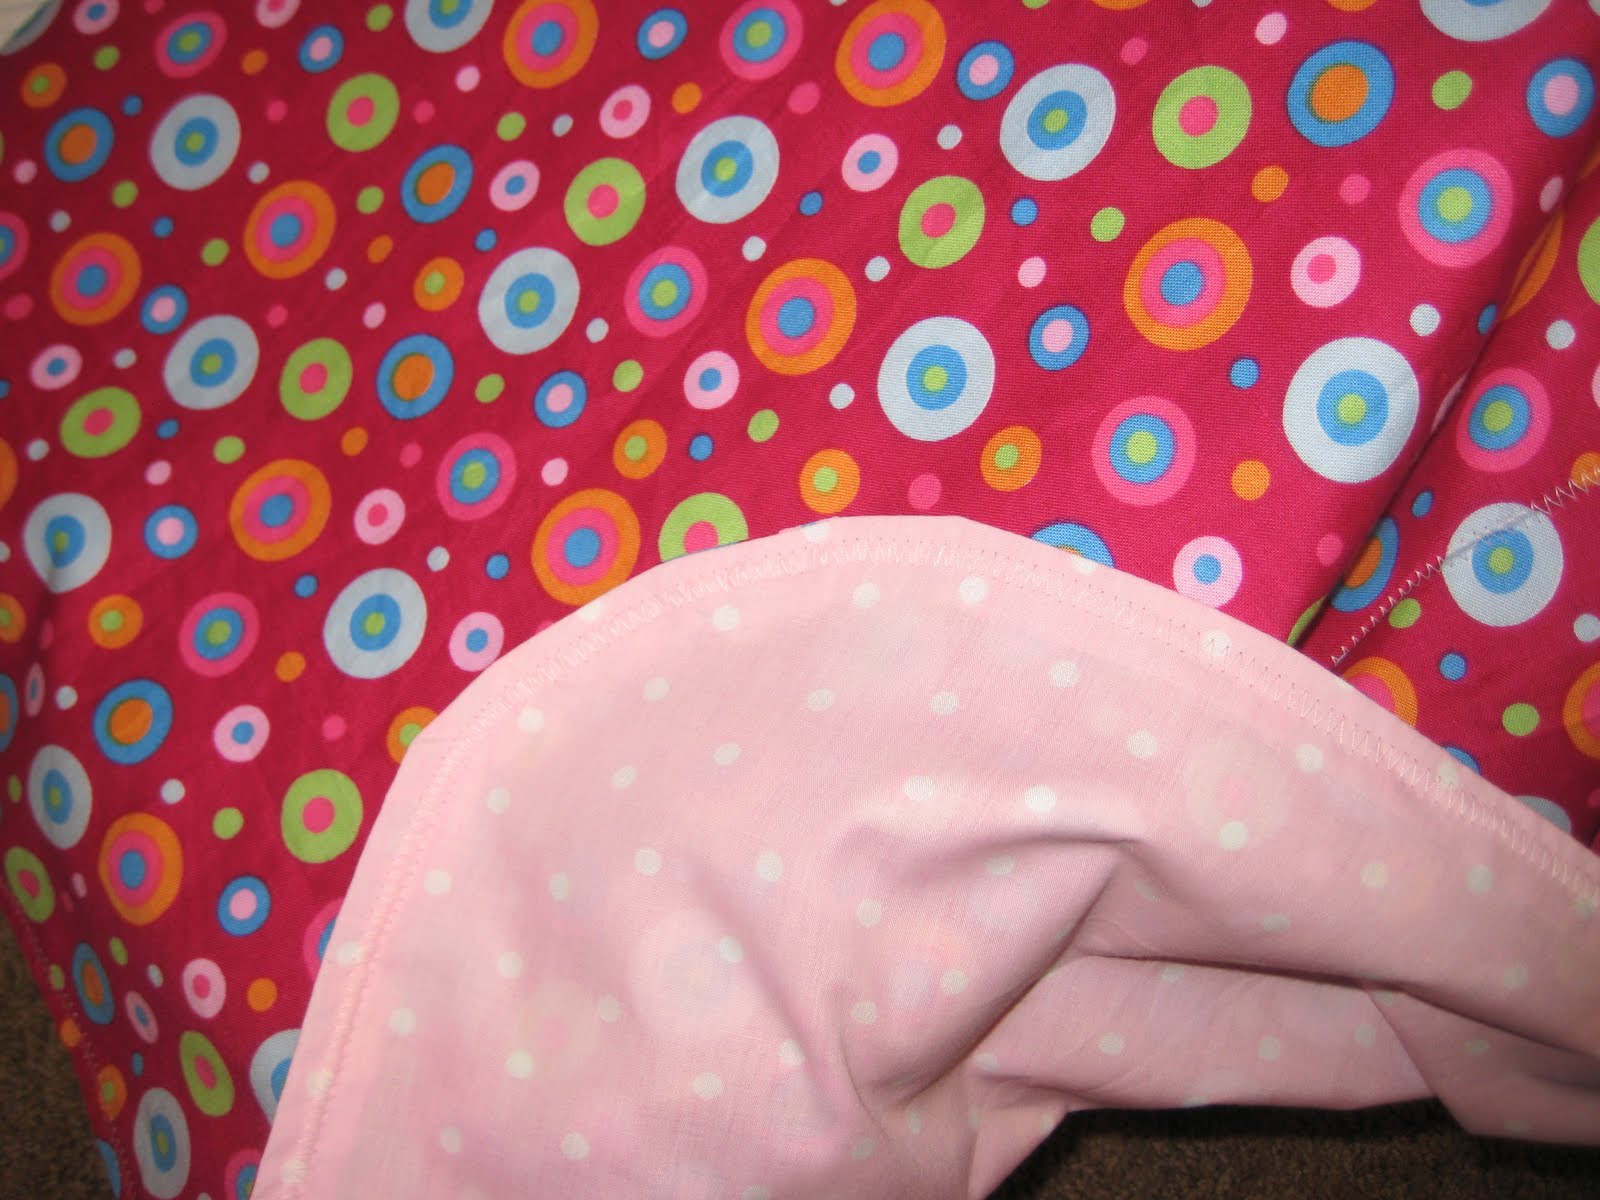
Basic Flannel Baby Blanket
Subscribe to:
Posts (Atom)