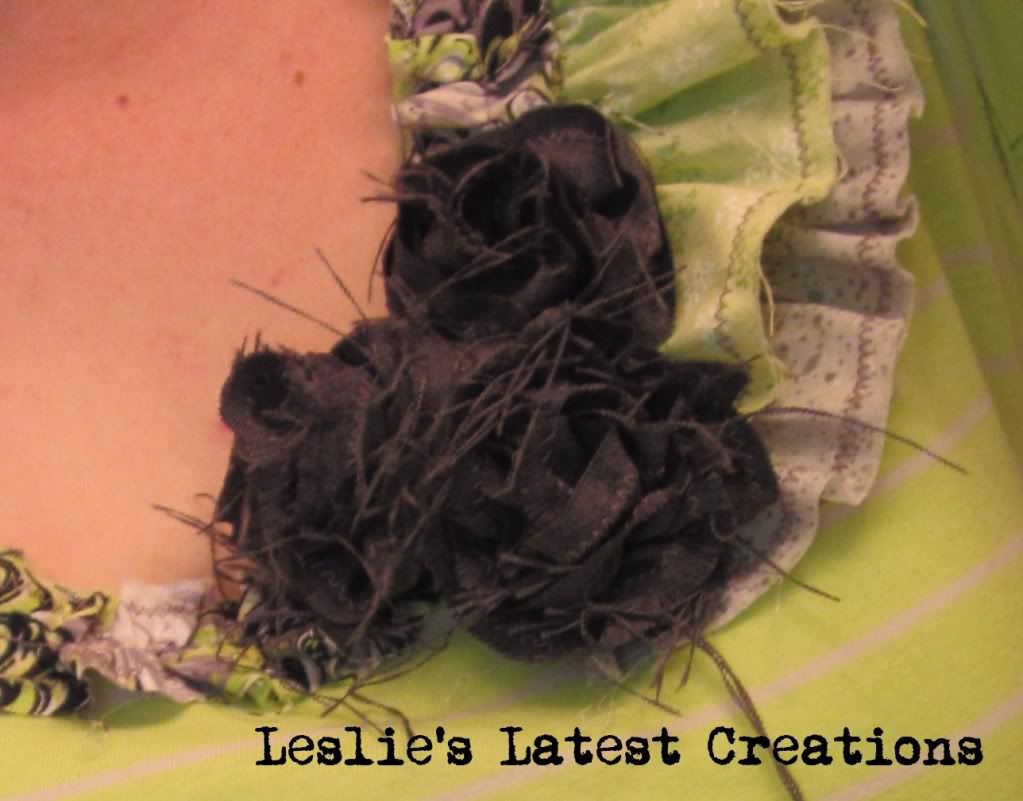
I promised a tutorial on the rosettes I made for my Lime Sherbet Shirt, so here you go. These really are extremely easy, fun and FAST. Plus, it's a great way to use up fabric scraps.

I love the messy, fraying look of these rosettes.
To achieve that look, I didn't finish the edges of my fabric. I grabbed some charcoal suiting scraps and cut 3 long strips (one for each flower) about 2 inches wide. As you can see, my strip doesn't have a nice straight cut line, its uneven, and that's ok.

I zigzagged the edges of the strip about 1/4 inch inside each edge to prevent the fabric from completely unraveling. I want some fraying, but I also don't want the roses to fall apart too quickly and the zigzag stitch should keep the fabric from fraying past that line.
Next, I set my stitch length to the longest setting and sewed down the length of my strip. Then, pulling on one thread at one of the ends I was able to create a gather. The more you pull, the more gathered the fabric becomes.

Next, fold the fabric in half lengthwise along the gathering seam. Then, fold one end of the strip 1/2 inch. Continue to fold/roll the fabric, wrapping until you are happy with the size of the flower.

With a needle and thread, sew the roll together as you turn the fabric.

The back of the flower should look something like this You could use a glue gun on the flowers instead of stitching them if they were going to be on something with minimal wear and tear. Since I was making these for a shirt, I wanted to sew them together. However, I made similar flowers for my HOPE letters a couple weeks ago (out of the same fabric scraps too!) that I glued together.

I sewed a pin onto the back of each rosette. These can be purchased in the jewelry sections at Michaels, Joanns, Hobby Lobby , craft store of your choice. They come in a large pack for just a few dollars. I wanted pins on these flowers since I don't really want them going through the wash even though I sewed them rather than using the glue gun.

After sewing on the pins, I pinned them to my shirt. Simple as that. Each flower only took me about 10 minutes. I'm seriously thinking of grabbing my scraps stash when I sit down in front of the TV. I could whip up a ton of these, and they would be fun to clip to headbands, purses, and scarves.

I will be linking up here and here this week.

2 comments:
Thanks for adding the tutorial. I want to try these!
I love these rosettes. Tutorial is perfect! I'll give it a try. You made it look very easy!
Thank you for your kind words regarding my Blue Vintage Table. It was such a fun project. Love that Duck Egg Blue!
I would love it if you would post one of your projects at my First Party Link that started today!
www.projectqueen.org. Thanks again!
Post a Comment