Monday, February 14, 2011

Brie and Pesto Fondue

Once a month, I attend Recipe Club.  Its a group of women from Relief Society, the women's organization of my church, and we get together the second Tuesday of every month to eat, swap recipes and socialize.   We pick a theme for the month, and everyone brings something that fits the theme.  We then gorge on wonderful savory and sweet dishes while we sit around and chat for hours.  Its delightful!  We email the recipes to our host, and she then sends out mass emails to everyone with all of the recipes.  Sometimes we bring tried and true recipes we want to share, and other times we experiment and try something new and exciting. Sometimes the experiments are wonderful and sometimes they are less than delightful.
I experimented this month.  Our theme for February was "Dip It."  I thought this would be a perfect time to try a new fondue.   I was right.  I made this yummy Brie and pesto fondue that was melt in your mouth good!  So good that decided that I needed to share this recipe to more than just my friends in recipe club.


Brie and Pesto Fondue
¾ lb (3 cups) Brie cheese, softened (can substitute Camembert or Explorateur cheese)
1 ½ c ginger ale (original recipe calls for white wine, but we don't drink!)
1/3 c pesto sauce
½ lb mozzarella cheese, diced into ¼ inch cubes
1 TB corn starch
1TB water
Salt and Pepper to taste
1.   Scrape the top rind off Brie, scoop out interior cheese. Discard bottom and side rinds, set aside.
2.   Combine ginger ale and pesto sauce in a heavy 2qt saucepan and whisk well. Bring to a simmer over low heat.
3.   Add Brie and mozzarella by ½ c measures, stirring constantly with a whisk in a figure-eight pattern. Add additional cheese after the previous addition is melted.
4.   Combine water and corn starch in small bowl. Add to fondue to bring to a simmer, stirring constantly.  Cook over low heat for 1-2 minutes, until fondue has thickened.
5.   Transfer to fondue pot and serve with crusty bread, broccoli, cauliflower, gnocchi, cooked tortellini, or bite sized pieces of cooked chicken. 

Friday, February 11, 2011

Friday Fashions #4, Embellished Blue Tee


This week, I wanted to try an embellished tee like so many of the tees that I have seen around. Here are a couple tutorials from blogs that I love that are my inspiration for today, http://www.makeit-loveit.com/2010/11/blog-post.html and http://tearosehome.blogspot.com/2010/07/four-shirts-four-ways-navy.html.  Both of these ladies take 2 purchased tees to create their shirts.  One shirt they cut up for fabric to make the ruffled embellishments that they sew onto the remaining tee.  They are darling.  But, I had one problem.  I didn't have 2 plain matching tees and I didn't feel like dragging 3 little boys clothes shopping with me either.  However, I did have tons of this blue knit in my fabric stash.  I think this might have been in a bunch of fabric my mom gave to me, but I really can't remember.  I did have tons of it though and no immediate plans to sew anything else out of it.  So, I grabbed a tshirt pattern and started cutting.  Since I would be sewing my shirt from scratch, I cut out the pieces, and then cut out a bunch of 1.5 in fabric strips.  I made my ruffles out of the strips and then sewed them onto the front shirt piece before I sewed the shirt together.  That way, my fabric was flat and I didn't have to worry about all of the extra fabric getting in the way.
 I made a few swirls at the top left. 

And a few on the bottom right. 
 And one swirl on the bottom of each sleeve. 
 Time to go get ready for my date with Mr. Right!

Thursday, February 10, 2011

Be Mine Banner


 I saw the most fantastic banner over at Crap I've Made a couple weeks ago that is the inspiration for my banner.    Char has a great tutorial!  I've made mine a little different, mostly cause I'm lazy (also cause I love burlap and wanted to use it!).   Here are my lazy, copycat instructions.
Supplies needed: Freezer paper, Tulip Fabric Paint, ribbon, natural and red burlap, cotton fabrics about 1/4yd each.
First, I made a heart template.
 Then I cut out 6 hearts in the natural burlap.  I cut mine on the bias, because I like the idea of the burlap fraying a bit over time.

Next I made stencils for the letters. Using my hearts as a size guide, I drew my letters onto Freezer paper.  After that, I had to cut out each letter. This step was by far the most time consuming.  If I had a Silhouette, this step would be a cinch!


I ironed the freezer paper onto the hearts, plastic/waxy side down.  All over blogland, I have seen people using freezer paper as stencils.  This was my first venture.  It is awesome!  I have to admit, I was a little worried that the paper wouldn't peel off  or that it would leave a sticky residue.  My fears were groundless.  The paper worked like a dream.  Having it ironed onto the fabric hearts kept the stencil from slipping all over the place and paint only went were it was supposed to.  I will definitely be using freezer paper stencils again!  I let Anakin and Buzz stencil away, using the tulip fabric paint and sponge brushes.  They love to be included in craft time. 


 After they were done painting, I peeled off the paper and let the paint dry.  It can take up to 4 hours.

Meanwhile, I cut out my cotton fabrics.  Based on the size of my hearts, I ended up making 7.5in squares.  I had 2 prints, so I cut out 3 squares from each fabric. I ran a bead of fray check along all of the edges. Then, I cut out six 9"x9 squares from the red burlap. 


Next, I sewed the hearts on the cotton prints and the prints onto the red burlap.   I didn't turn the edges under on the cotton, just a plain straight stitch.  Hence, the need for the fray check in the previous step. 

After that, I cut 2 slits near the top of each square so I could thread my ribbon through.  Now, just a hint of the ribbon peeks through between each letter. 


I ended up making a heart to sew between the B and the M squares to separate the words.  I just freehanded the hearts and sewed the layers together.  Then, I sewed the sides of the heart to the squares. 
Finished!  Now I have a great little banner for February. 

I "heart" U

One of the great little decorations my mom pushed off on me is this little white shadow box that has 3 pieces of velcro attached.  It is meant to hold 3 small holiday ornaments, something different for each month.  When she was working on it, she would tole paint the ornaments.  And as so many crafts go, it was never completed, she got tired of it, and gave it to me.  I have about 4 months worth of cute painted wooden ornaments.  But, I didn't have anything for February.  This year, I am going to finish all of the months.  Its a cute, small decoration.  Now, I do know how to tole paint, but I doubt I will finish my wood that way.  I think I would rather use paper and mod podge.  This is what I came up with for Valentine's day.  So cute and so easy.  I finished this in about 30 minutes last night. It would have taken at least 2 hours if I had used paint.  And, I even used left over scrapbooking paper from Love and Kisses. So, I didn't spend any money!

Friday, February 4, 2011

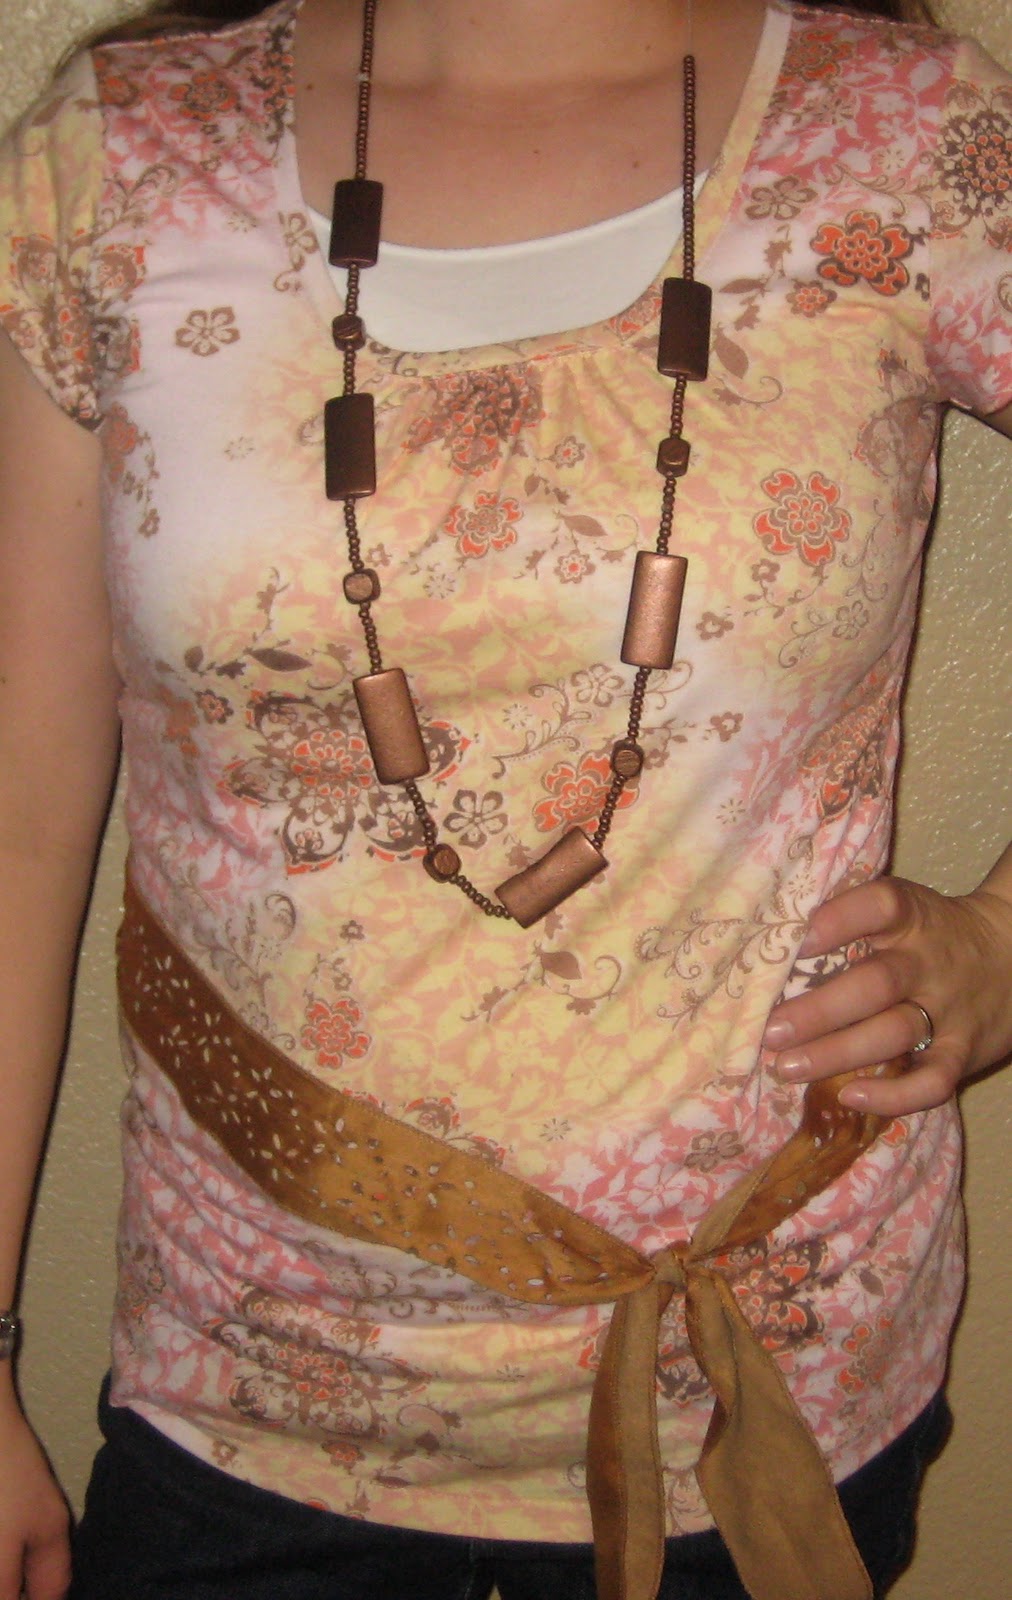
Friday Fashions #3, Pink Shirt

I sewed this simple tee today.  I've had this fabric for ages, and decided to sew something simple today.  Its a basic tee except for a little gathering at the neckline.  This is a very good feature for women that have a figure. It gives me a little bit more fabric in an area that I need it.  


Knits are fun to work with, especially if you have a serger.  Zip zip and the seam is sewn and the edge finished all at once!


Thursday, February 3, 2011

LOVE

I think I need to take some photography lessons!  These letters are so much cuter in real life than this picture even begins to show!  I cut these letters out the same afternoon I cut out SNOW.  But, I finished them today, at the beginning of the month, so I will get to enjoy them for a while!  I really think the red feathers add a really fun whimsical touch to the L and E.  The flowers are made out of felt. There is pink glitter on the V and a strand of mini imitation pearls. The O is decked out with lace, just like a traditional valentine.

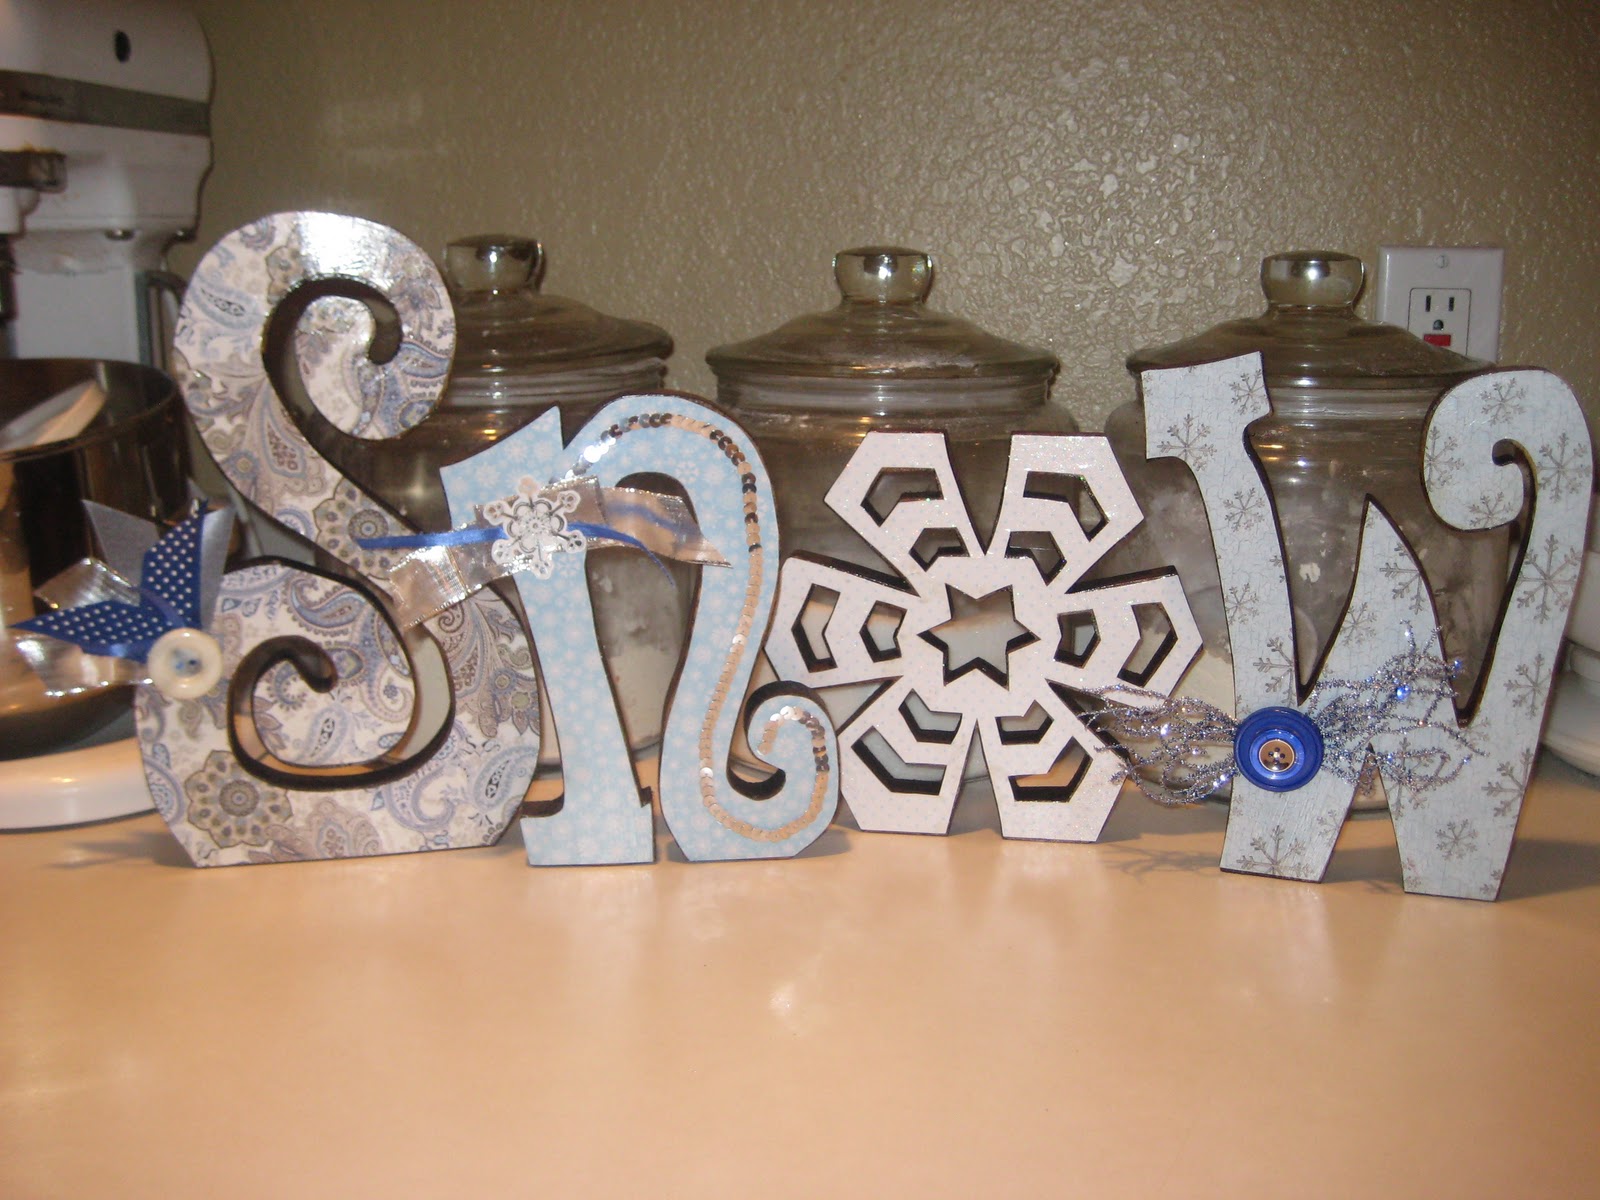
SNOW

So even though it is now February, I still wanted to complete this half finished project from January!  I cut out these wooen letters a couple weeks ago, but I have ADHD when it comes to crafting projects (I worked on HOME first!) So, I have been finishing these up this week.  However, since we have had severe winter cold temps, my stain and varnish took FOREVER to dry!  So, here we are today, Febuary 3, just barely finishing up a Winter craft when it is past time to be working on the Valentine's crafts.  I took this picture and I've already put these cuties in a box.  I will get to enjoy them next year! 
The S is the tallest letter at 11 inches.  I had a lot of fun cutting out the snowflake with my scroll saw.  It was a good project to practice a little bit more intricate cutting.  I stained the backs and sides of the letters with a walnut stain. Then, I decoupaged scrapbooking papers.  I added ribbons and embellishments next.  It doesn't show up on the photo, but there is white glitter on the snowflake.  A little bit of varnish later, and Ta Da!

LinkWithin

Related Posts Plugin for WordPress, Blogger...