I know it has been a while. Blogging has a way of sucking me in and I start to feel totally obsessed with posting and linking, and reading everyone elses posts. I think maybe I have a problem with time management? :)
So, in an attempt to really focus on the kiddos and sewing projects (the kiddos Halloween costumes), I put posting on the back burner for a few days the end of October. Well, after a few days, the amount of posting I needed to accomplish built up to a slightly overwhelming time amount, so I continued to put it off. (I just didn't have 2 hours to spare that week!) And put it off, and put it off. And really, all I have done is just postpone a task that will continue to become larger and larger. I now have 6+ weeks of projects to write up. So instead of 2 HOURS, I'm looking at a solid 2 DAYS of photo editing and writing to catch. But who can spend that much time on a blog during December? I can't. I have too many Christmas projects to work on. Plus, with many of my completed, postless projects revolving around Halloween or Thanksgiving, I'm not feeling super enthusiastic at the moment. I am completely in Christmas mode right now. Maybe if I tackle one post a day I can get caught up? Maybe... But, I am going to post what I am working on now first. On days that I have nothing, I can tackle items on my backlog. Maybe...
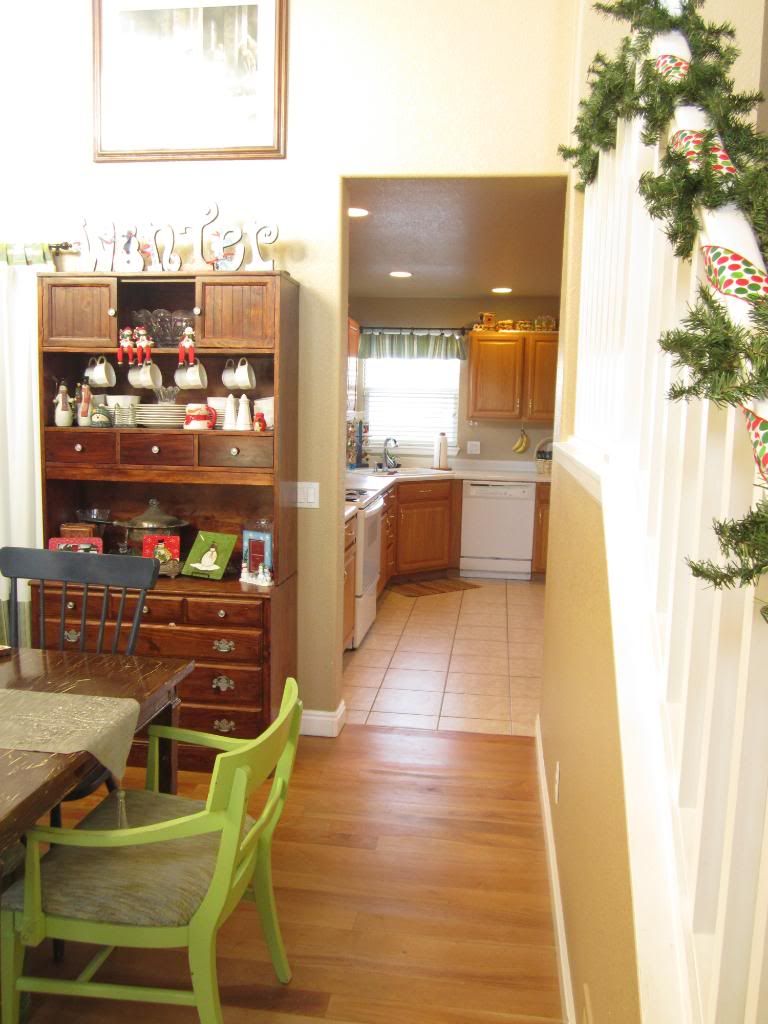
In December 2010, I decided that I wanted to decorate my kitchen for Christmas with a gingerbread theme. I really love to eat all things gingerbread/gingerspice/gingersnap and the season just wouldn't be the same without them. So, a gingerbread kitchen is perfect for me. My mom happily passed down her old gingerbread decorations. I love them! And, I will slowly add to the collection so that I can fill every little nook and cranny!
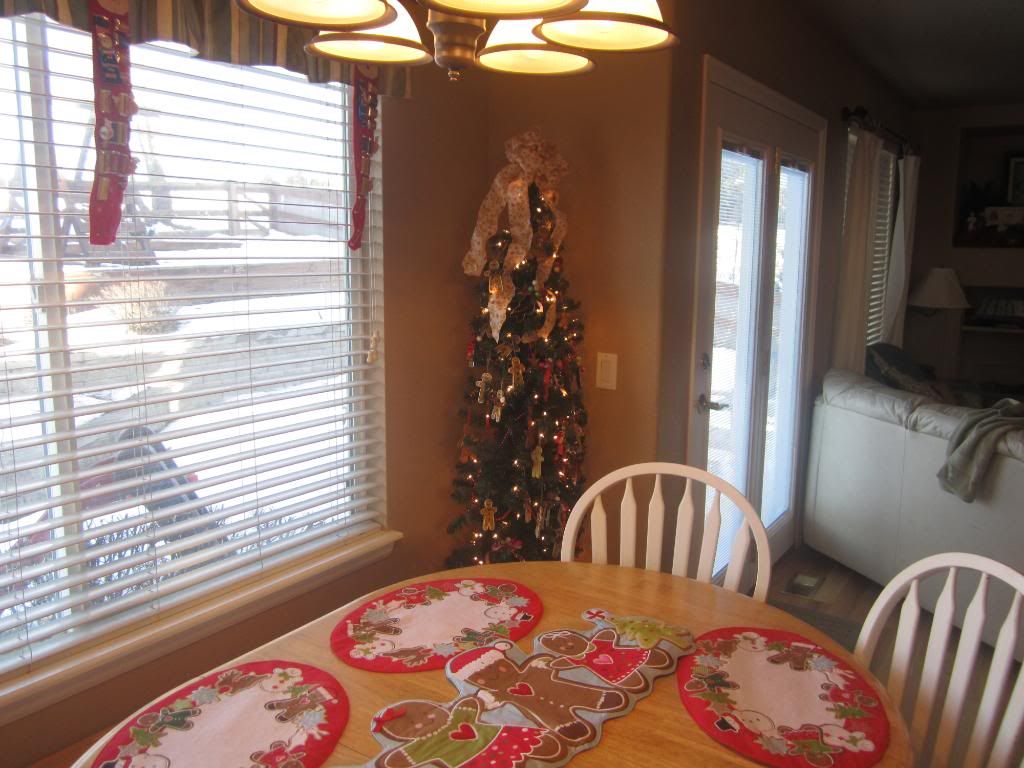
I keep a slim tree tucked into the corner of the breakfast nook.

Last year, I fixed some of her ornaments to match my more obnoxious Christmas color scheme of lime green and bright red. I love the way it looks. I wouldn't change a thing...
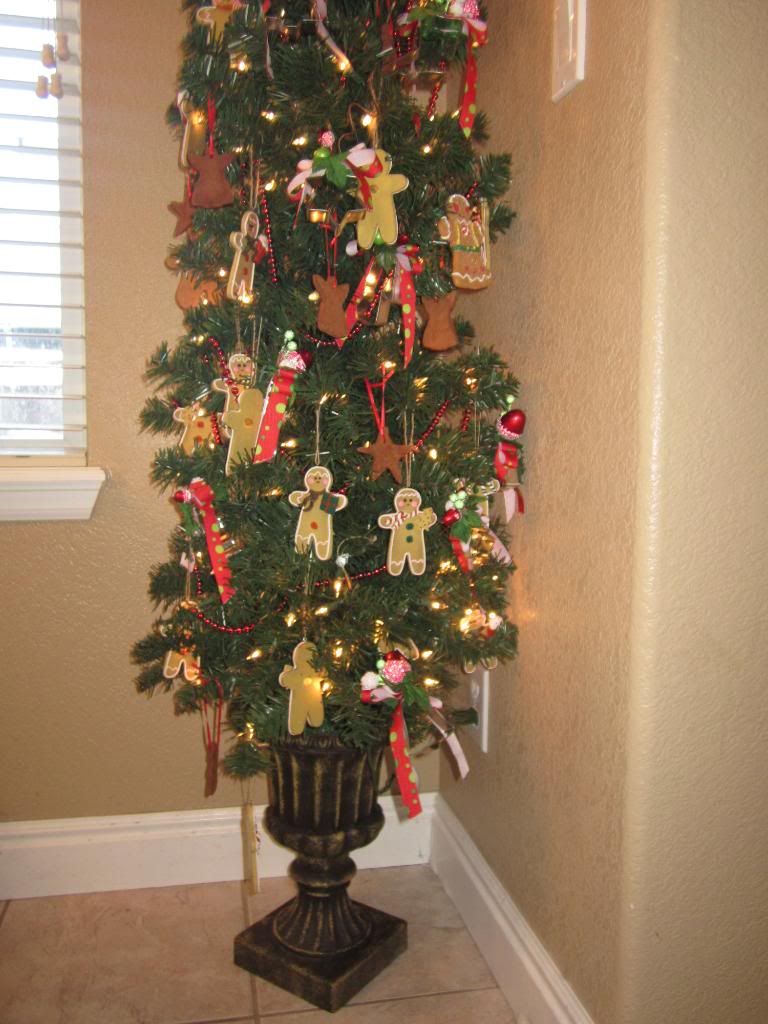
except to add a tree skirt. I have a brilliant idea, now I just need time. I may or may not get to it this year.
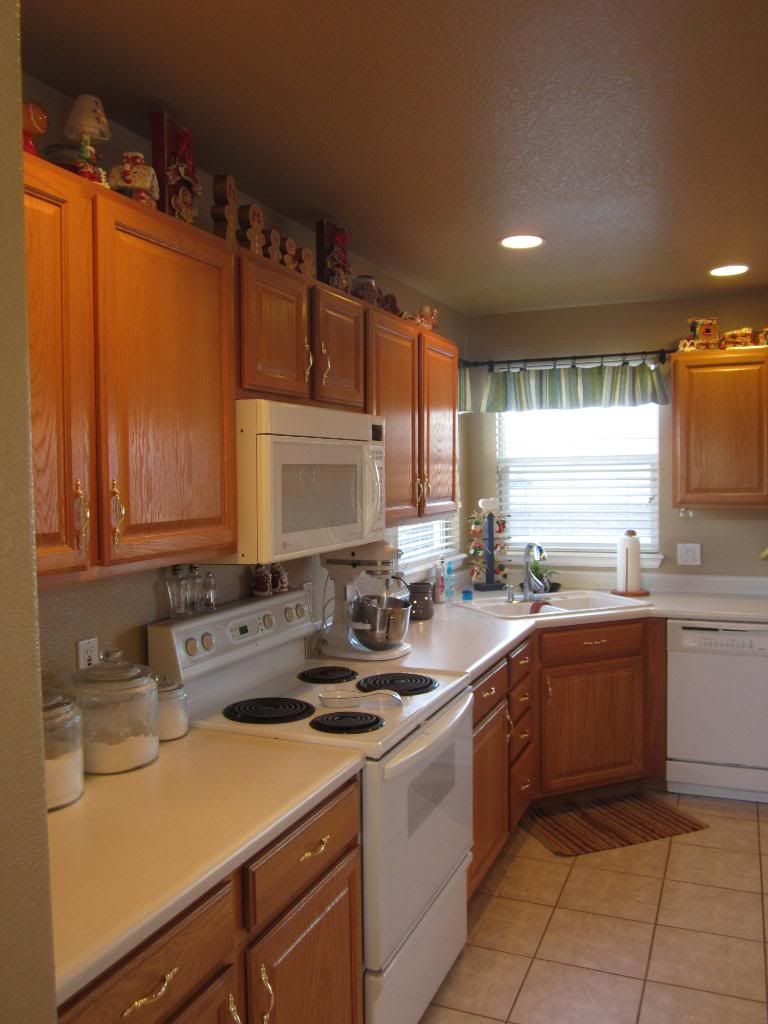
My kitchen is triangular shaped, and I have cabinets on all three walls. They are the short cabinets, so I am left with space above them before hitting the ceiling. This is a perfect place for me to stuff decorations, thus leaving my countertops cleaner. I don't have quite enough gingerbread stuff to fill all 3 of the spaces right now, so I will gradually add gingerbread pieces every year until I do.
The first wall you face as you enter from the dining room, and thus can be seen from our front door.
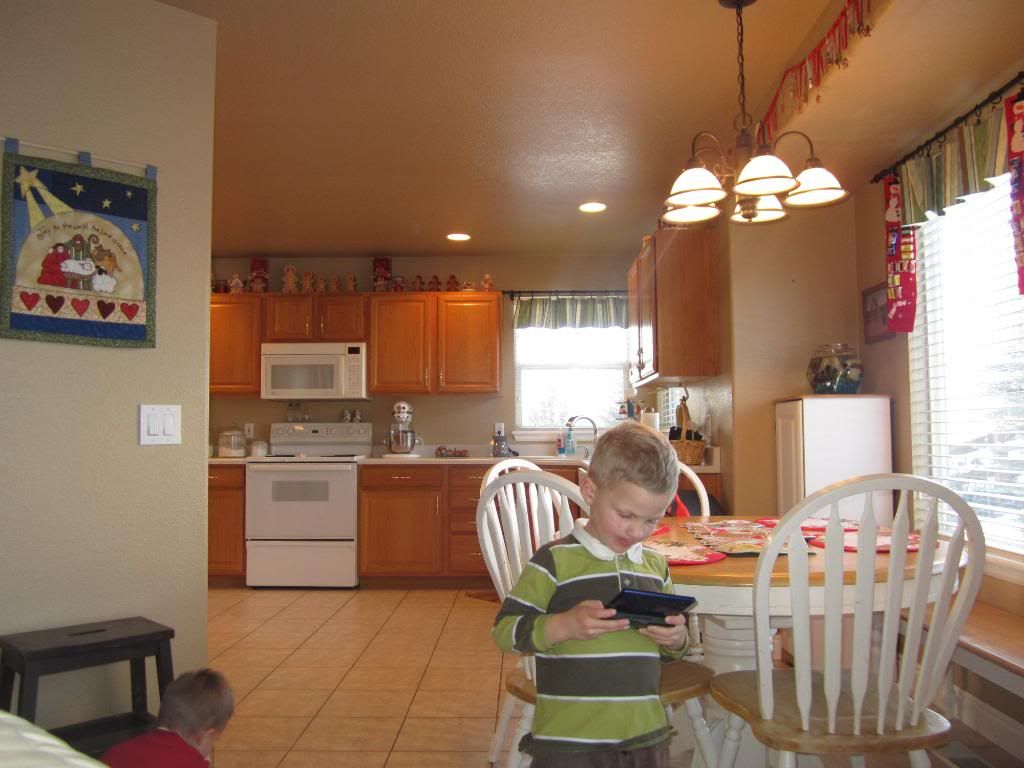
The second wall is to the left, and you face it as you enter the kitchen from the family room, but you can also see it when you are looking at the first wall.
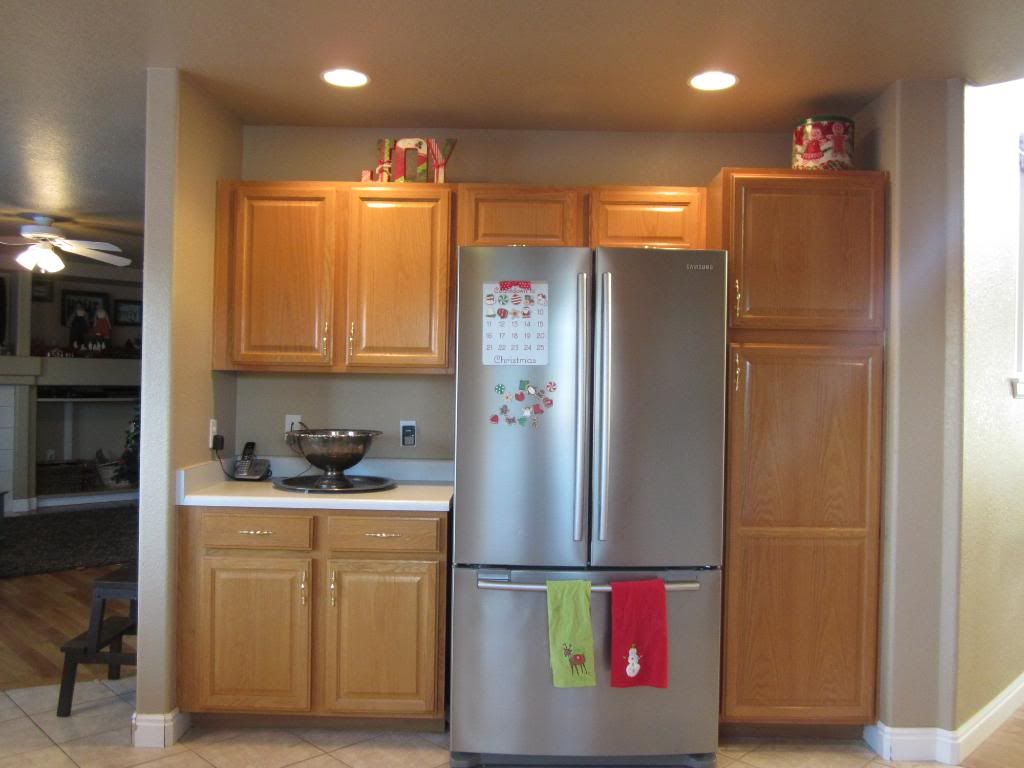
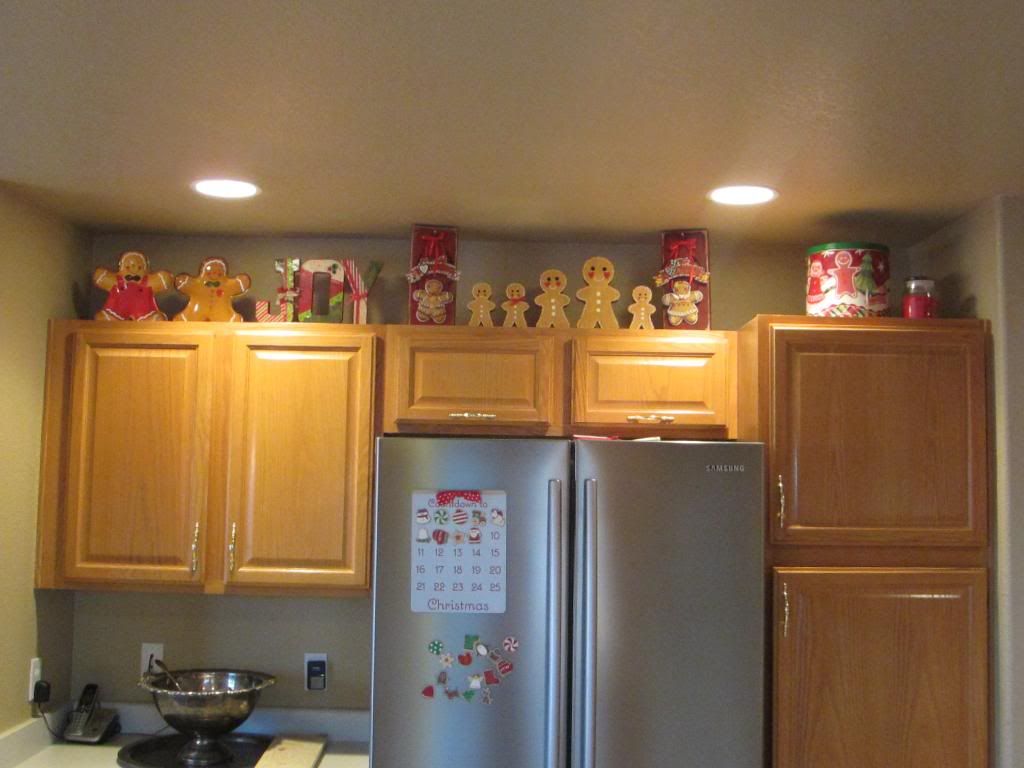
The third wall can only be seen when you are in the kitchen facing the fridge.
Consequently, the first 2 walls have decorations at the moment and the 3rd has had nothing (finish the places that are most easily seen first!)
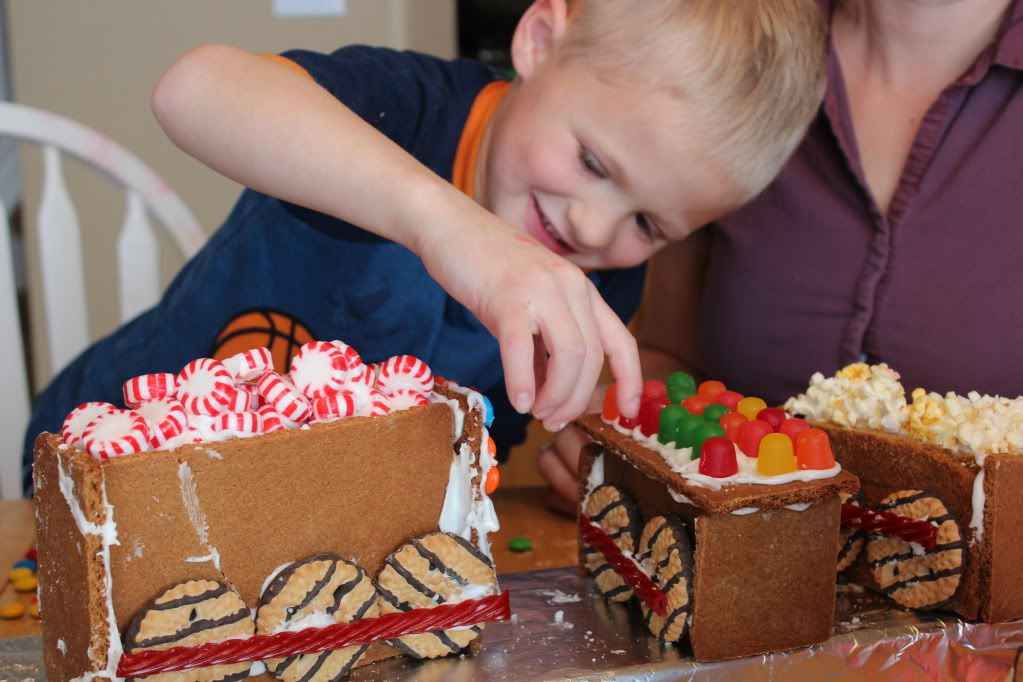
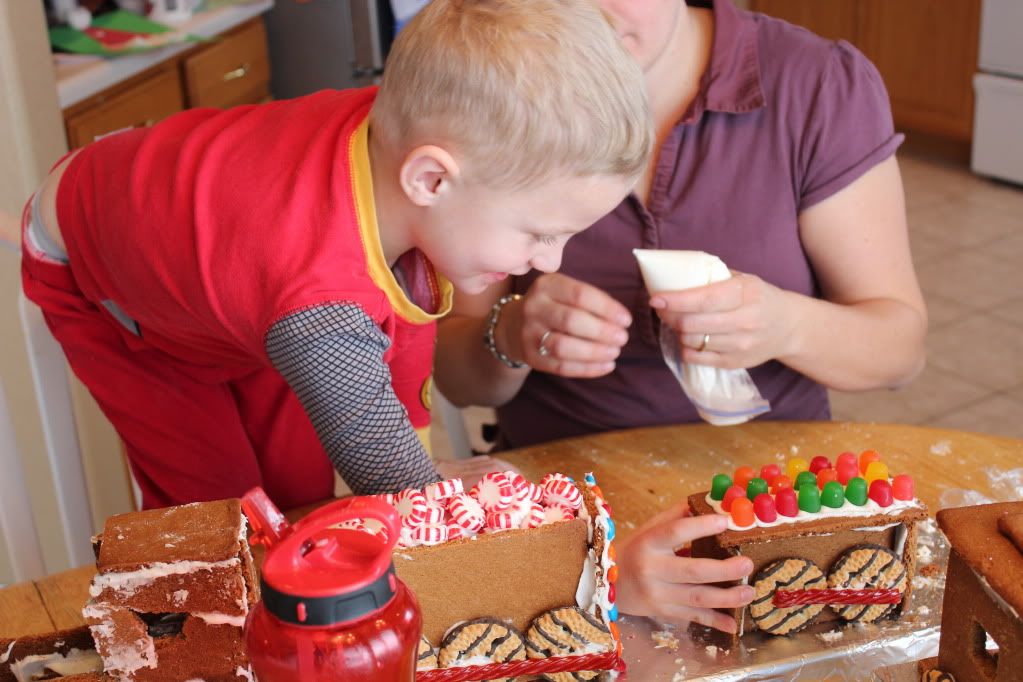
Above the cabinets on this first wall, I put our gingerbread train.
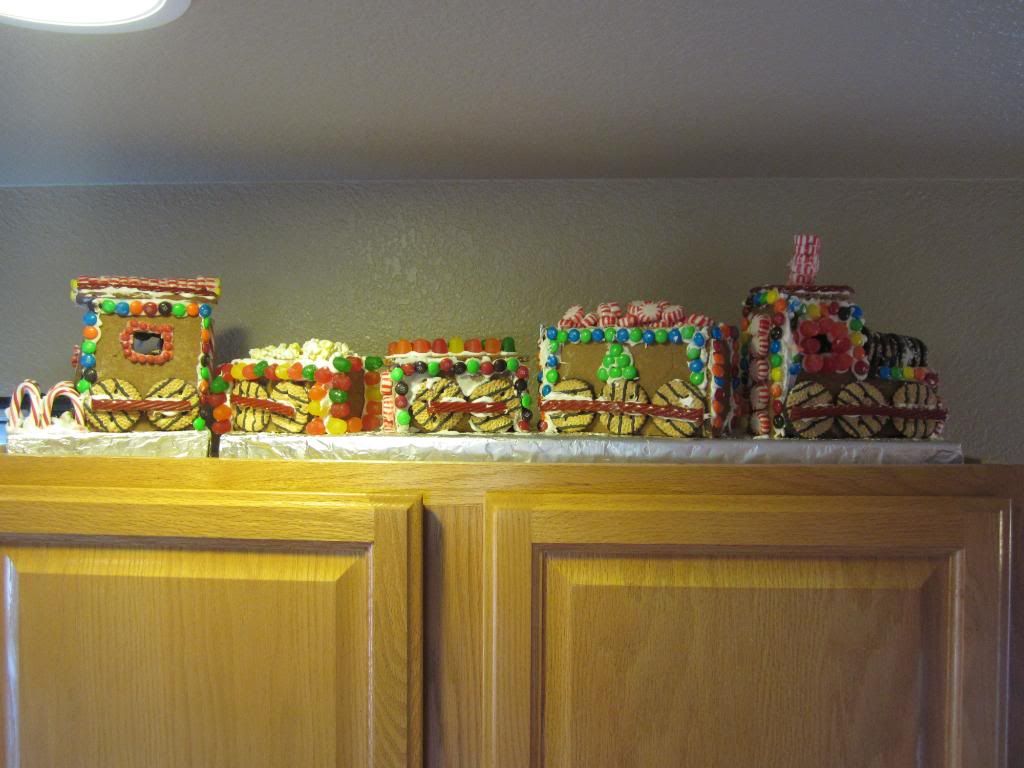
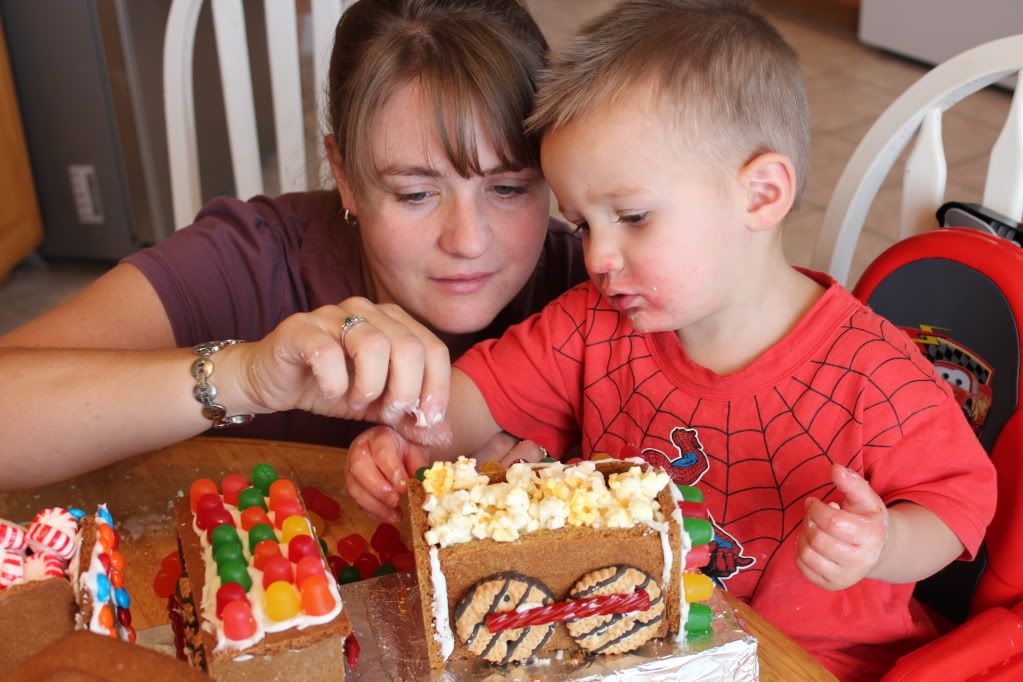
We made a gingerbread train last year, and the kids had so much fun! So, we decided to make another one this year. I made an engine, caboose and 3 cars (something for everyone in the family!) The train might not be perfect; it might look as if a kid frosted it (he did!) but maybe that is part of the charm. I really had to put my Type A personality away and let the kids go to town. They had a great time, and really that is all that matters.
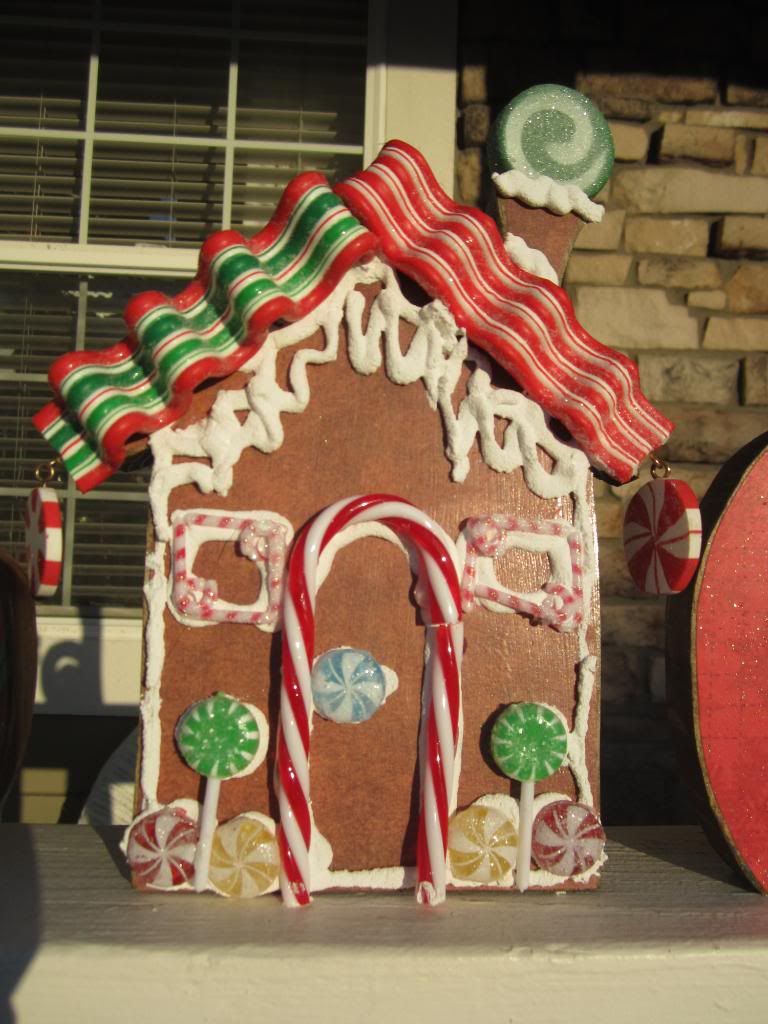
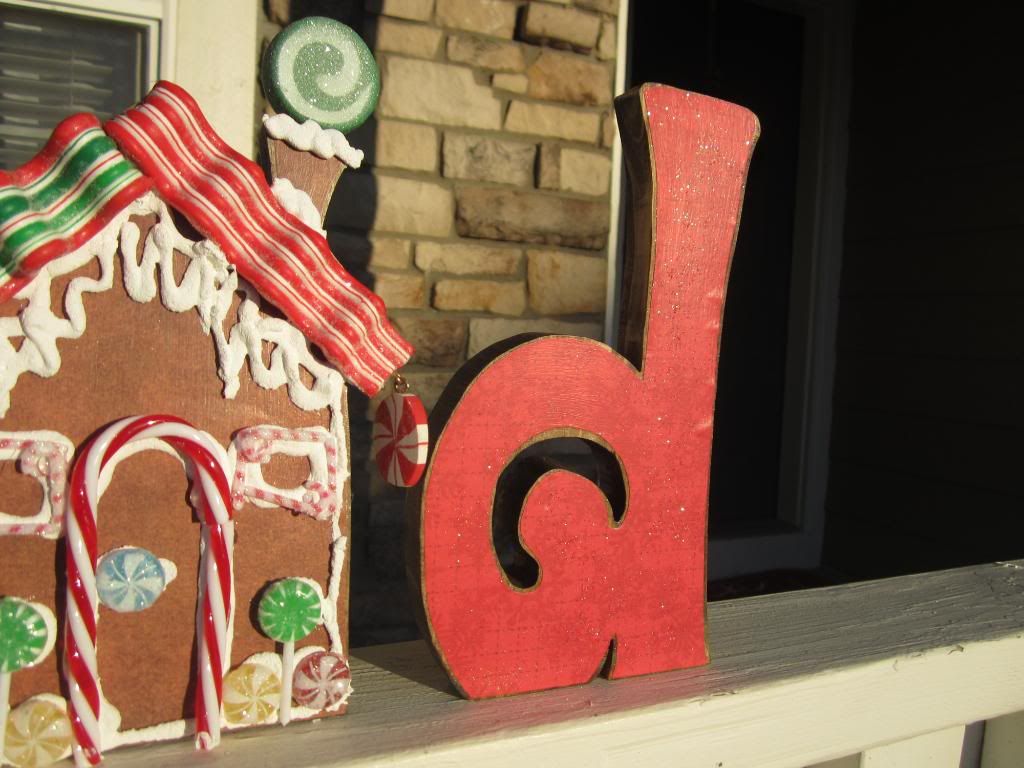
The "before" display on wall #2 holds all of my permanent gingerbread decorations, thus leaving nothing for wall #3. However, what if I add these darling letters?
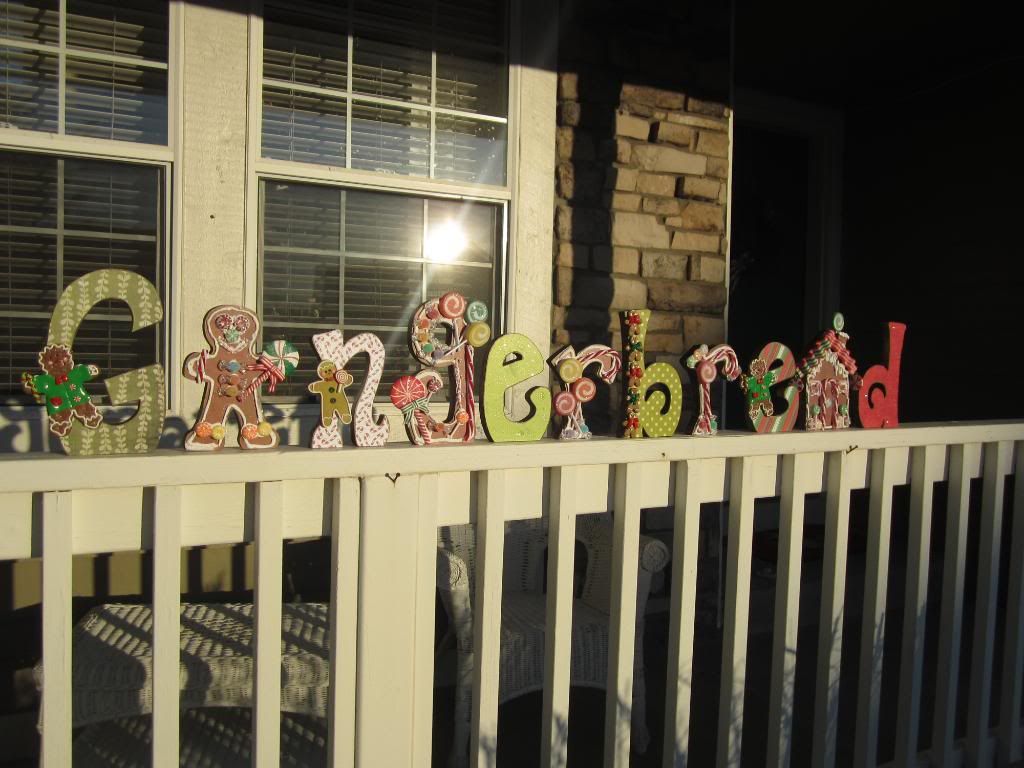
These are just some more of my wooden letters that I cut out with my scroll saw, stained and modpodged fun papers.
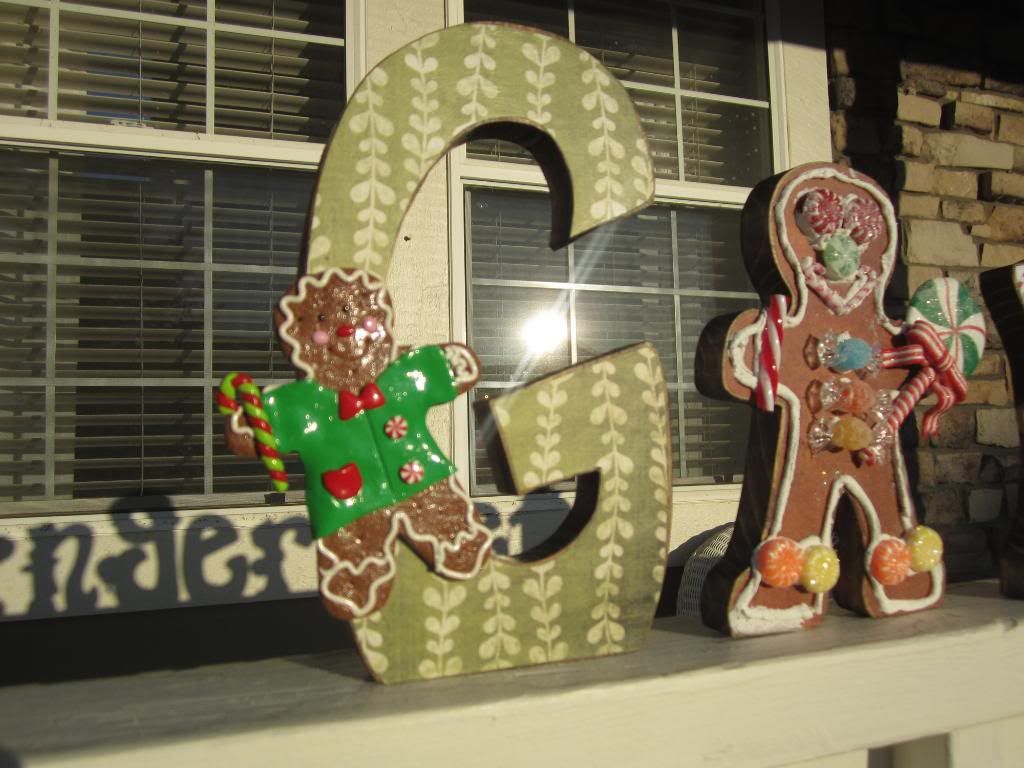
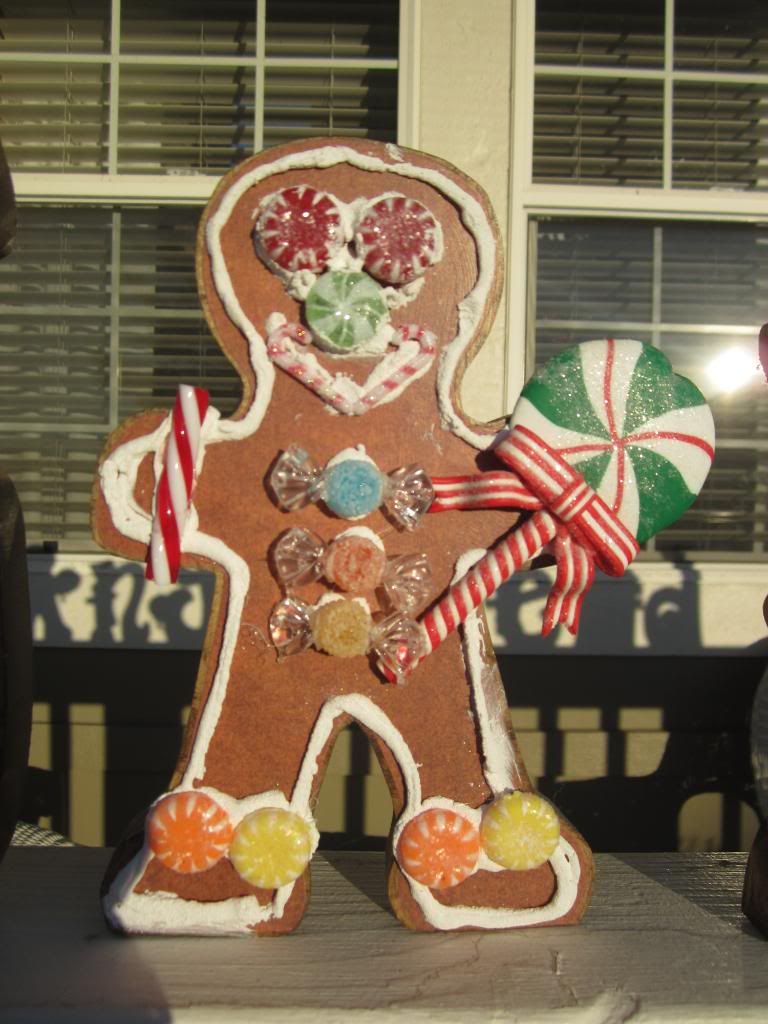
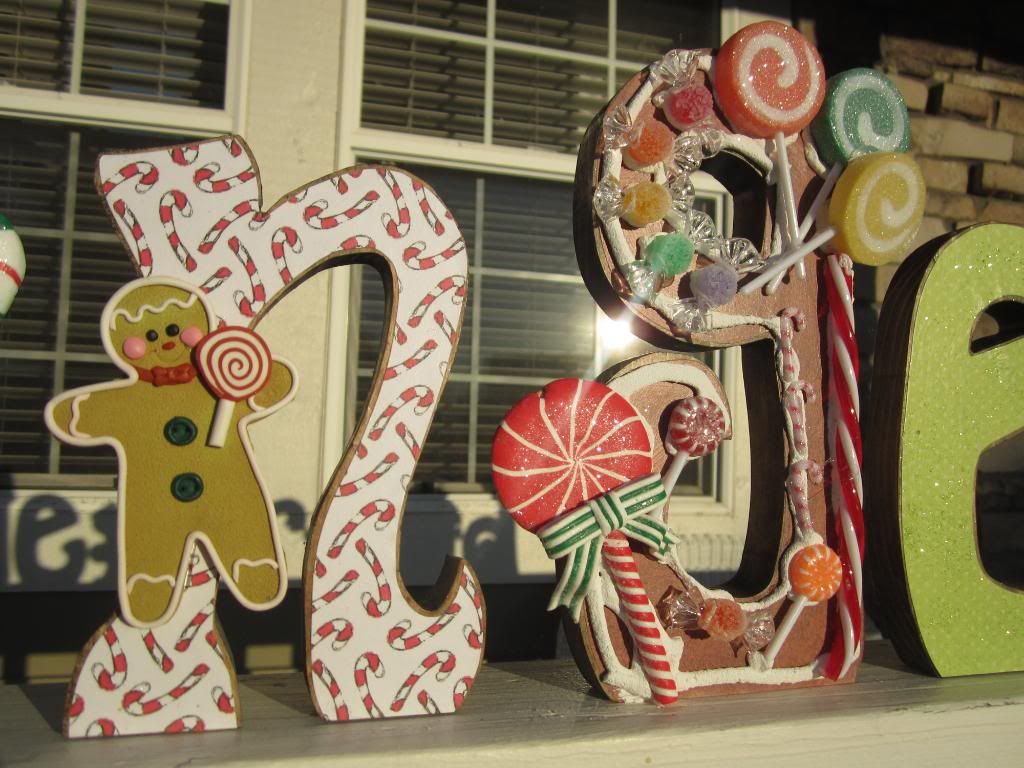
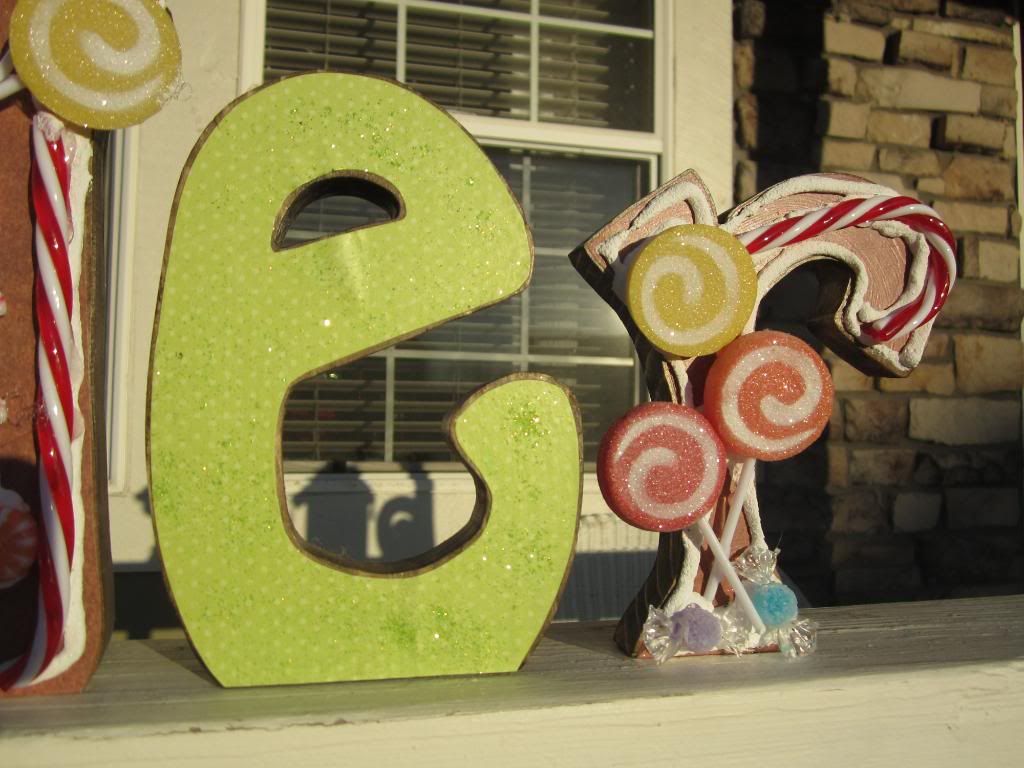
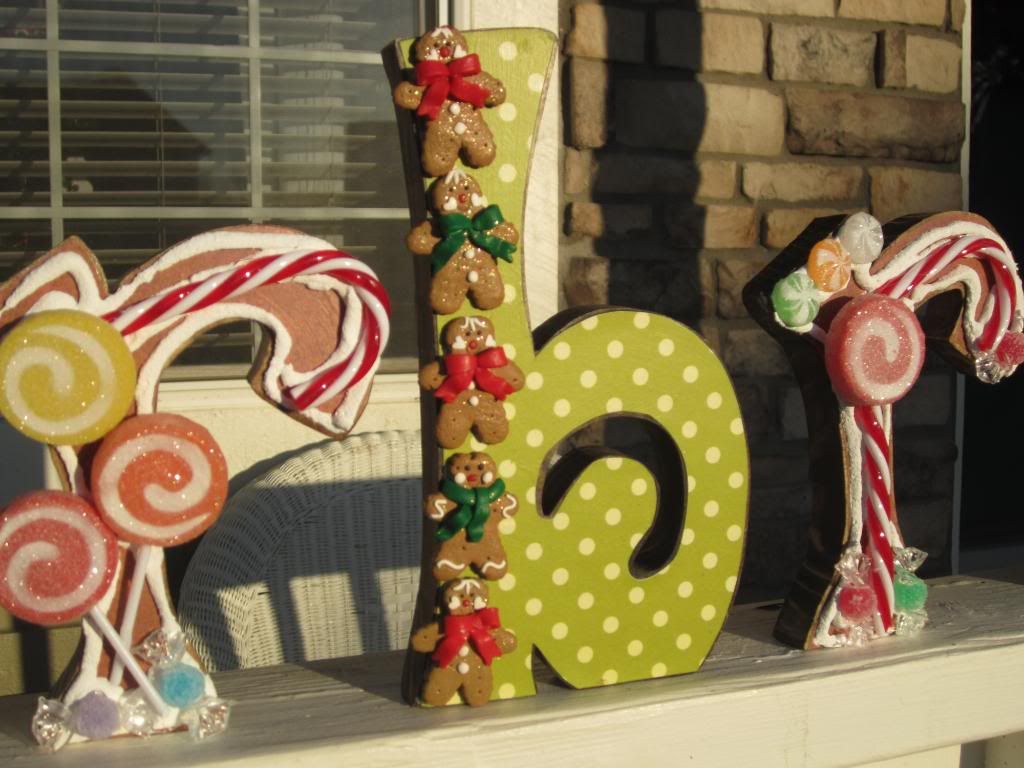
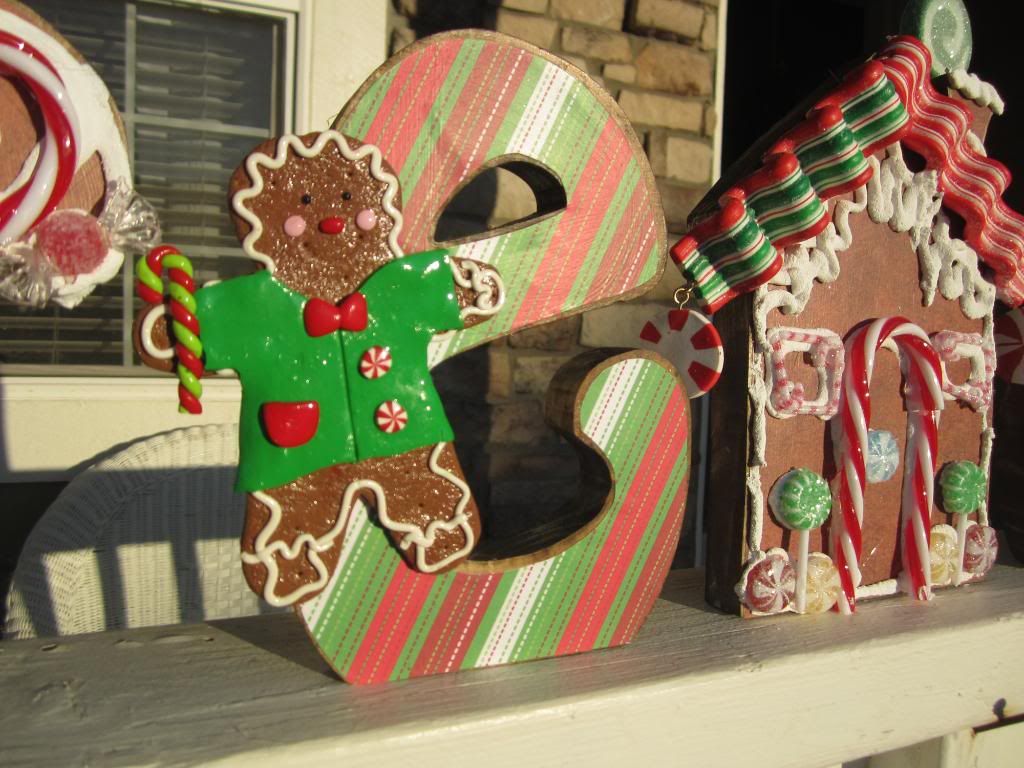
For the gingerbread letters, I used snow tex to create the look of frosting. I piped it onto the letters just like I would have piped real frosting onto a gingerbread man.
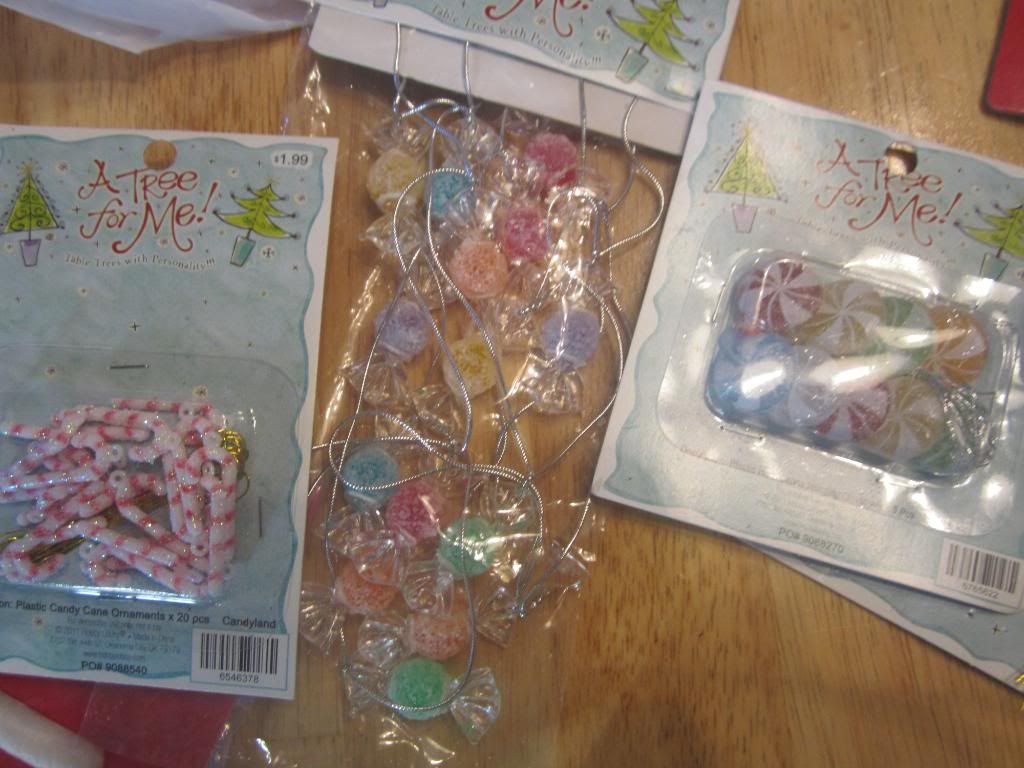
I found candy ornaments at Hobby Lobby and the Dollar Tree that I used for decorations. I simply removed the ribbons and hooks and glued them on. I think that these figures look almost like real gingerbread creations.
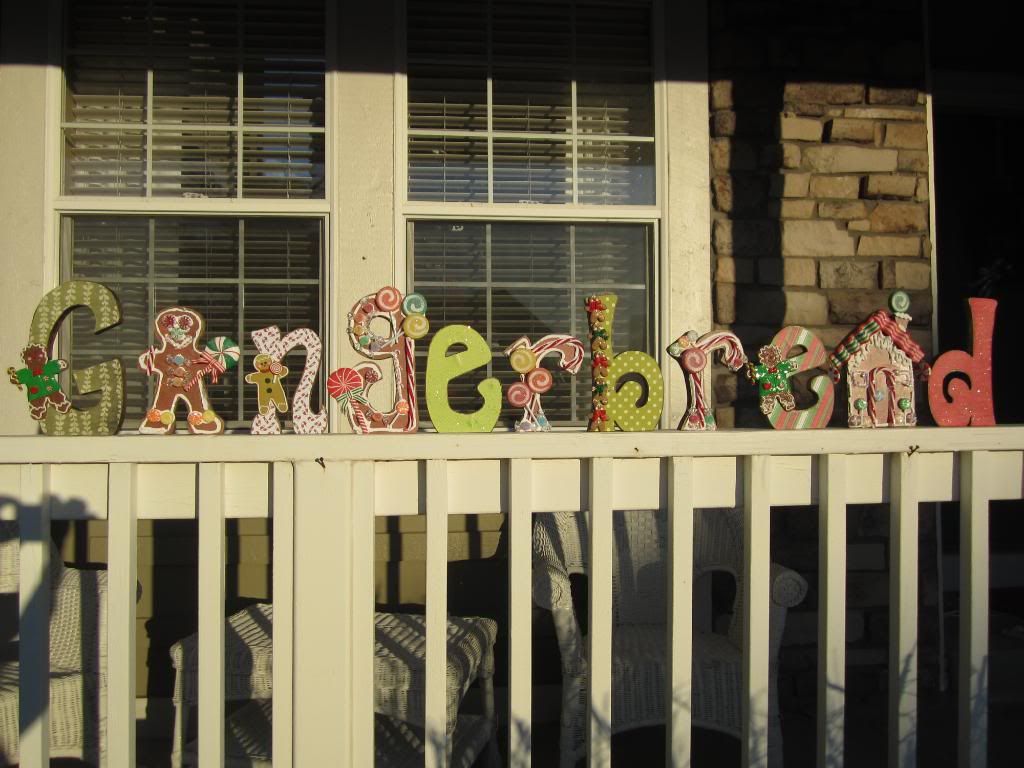
Now, with such a long word, I had to switch around my gingerbread displays. I wanted Gingerbread to be on wall #2 since it can be seen so easily from both entrances into the kitchen.
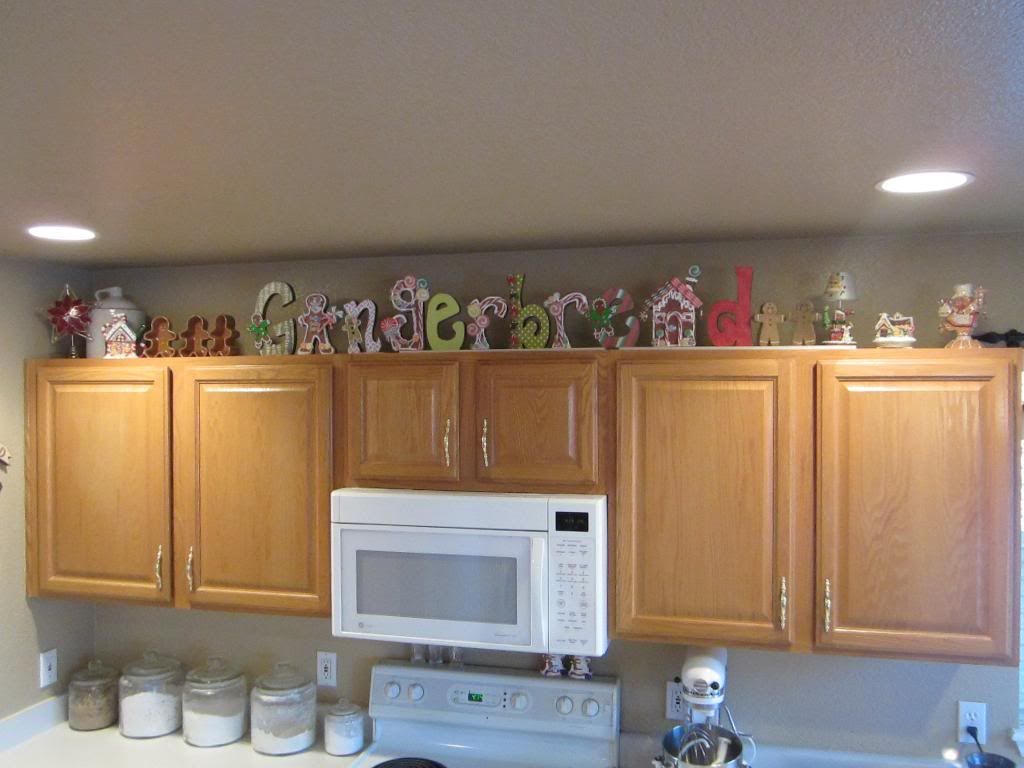

So, all of the things that were on wall #2 are now displayed on wall #3!
I'm happy to say my kitchen feels decidedly more decorated for Christmas now!
I will be linking up to
these parties as well as to a
Gingerbread Party at Cozy Home Scene!


